Tour de Fleece is coming!

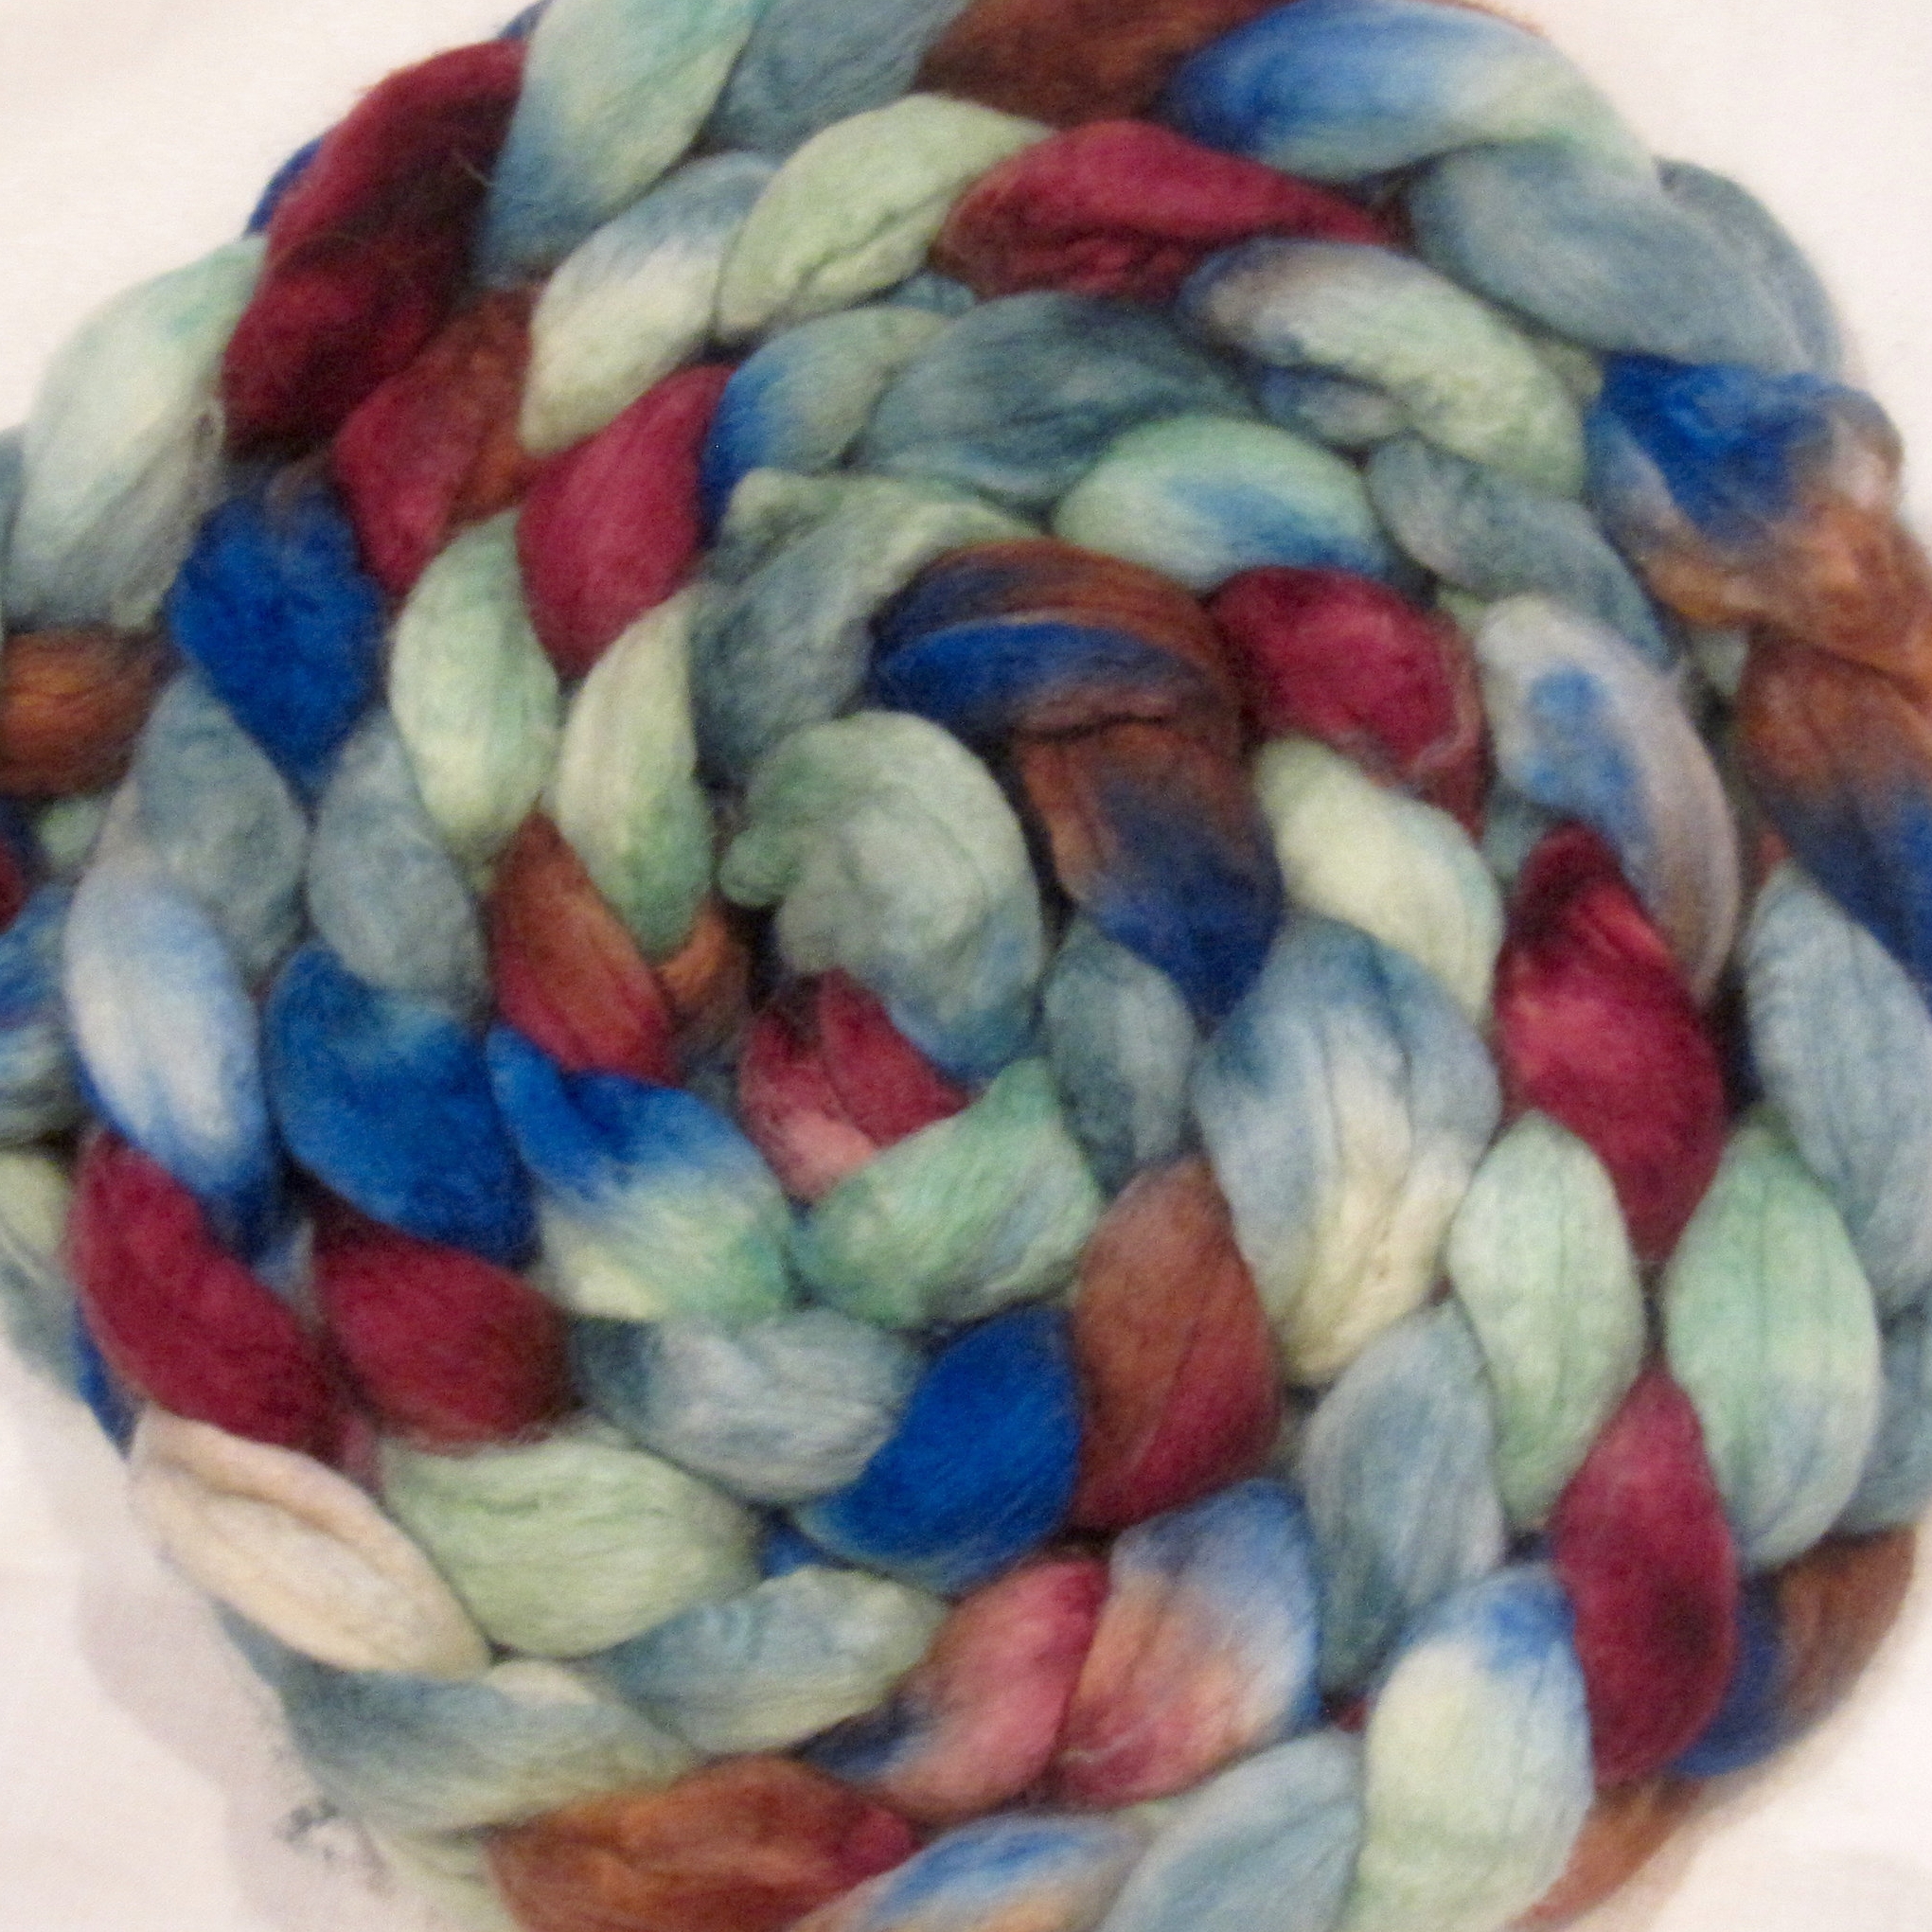
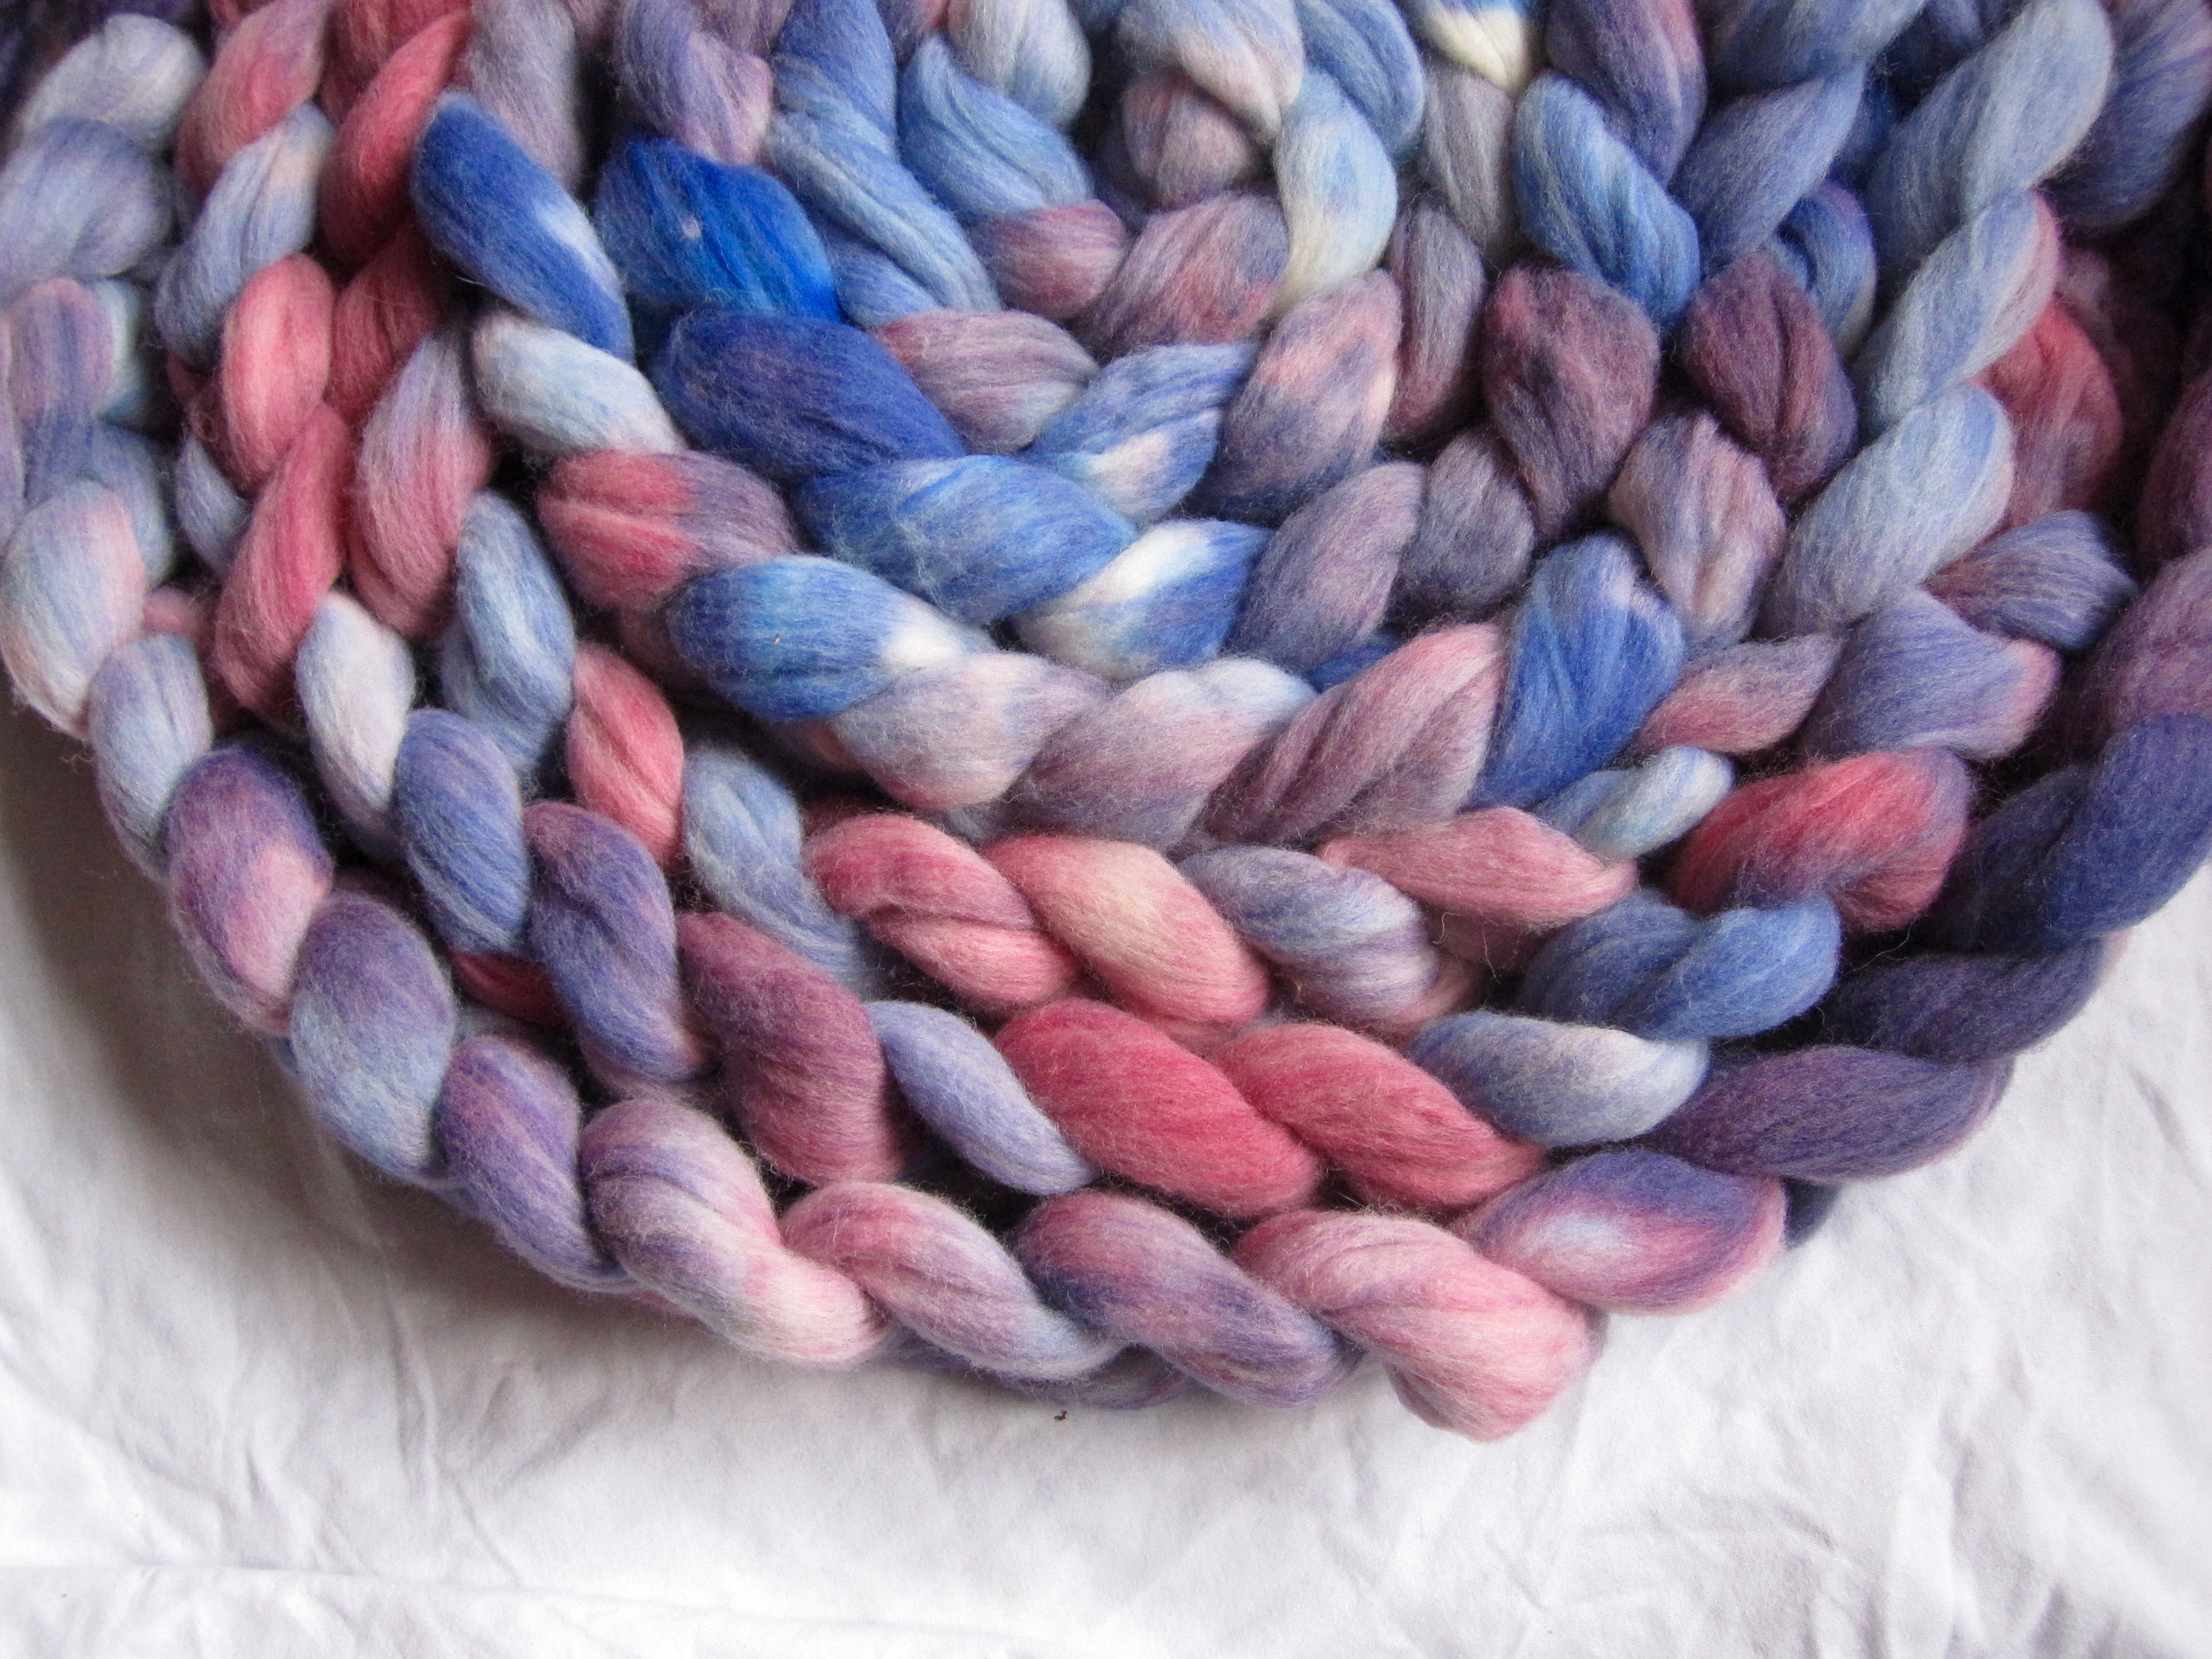
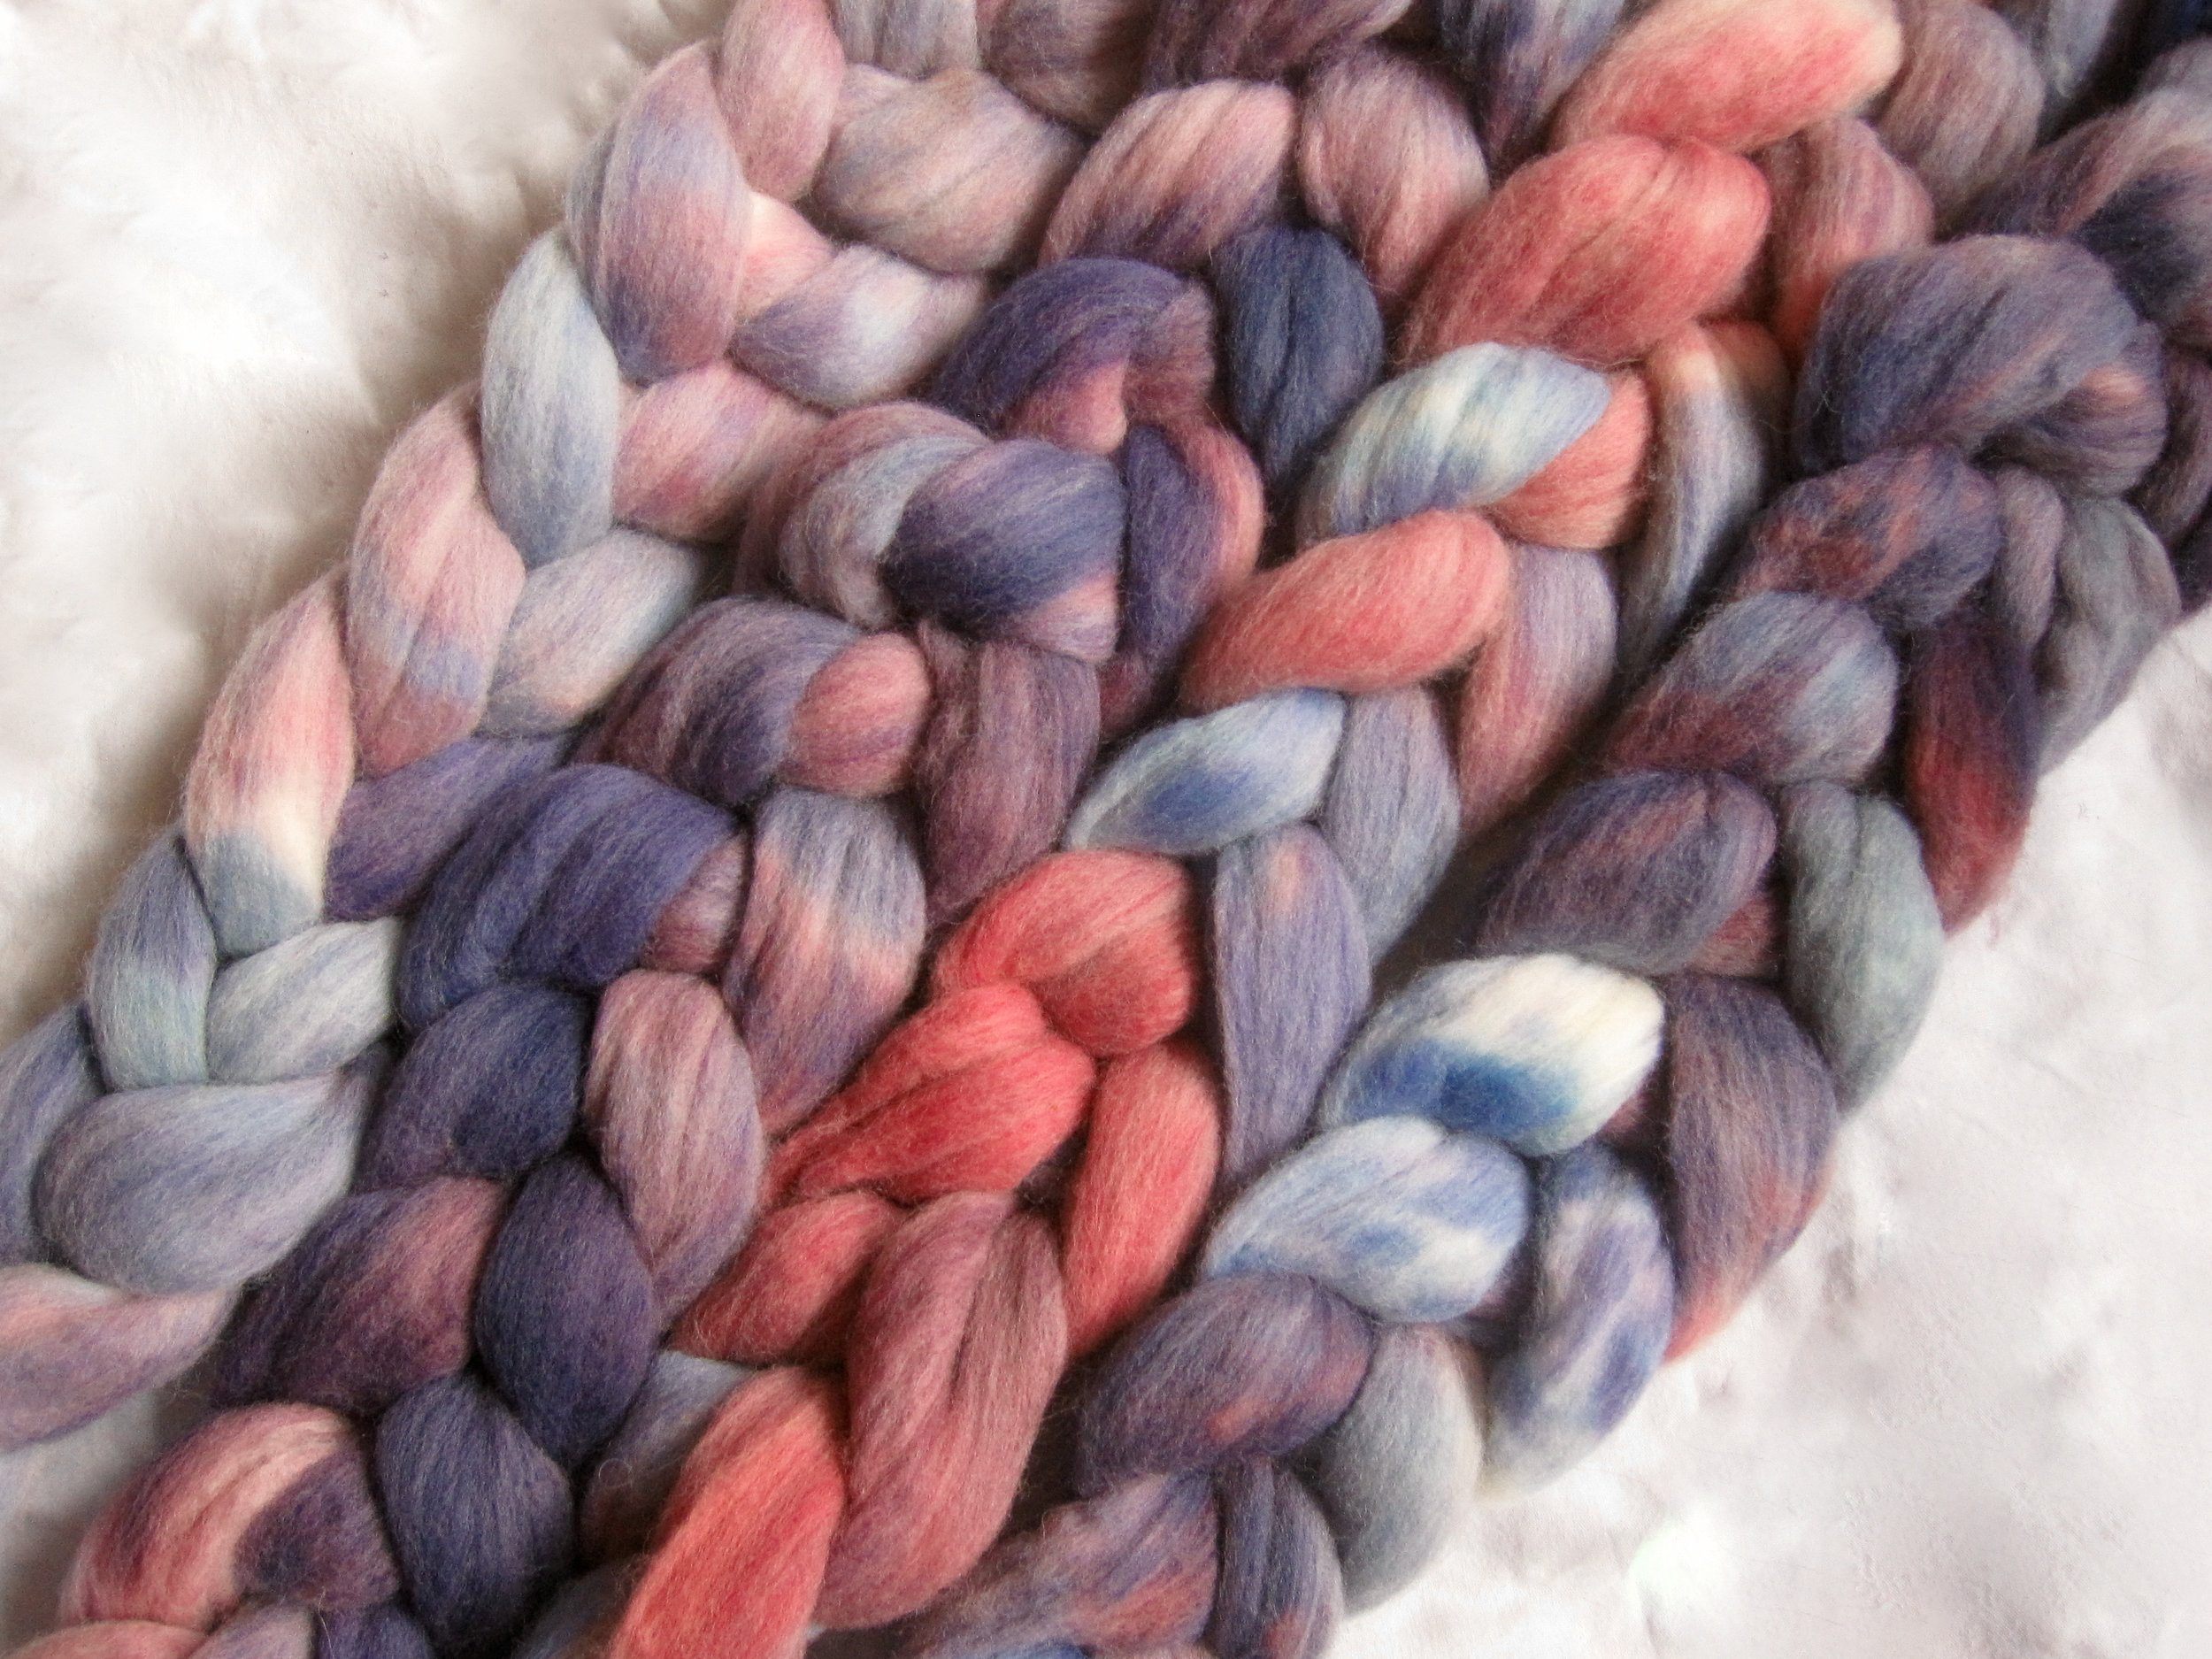
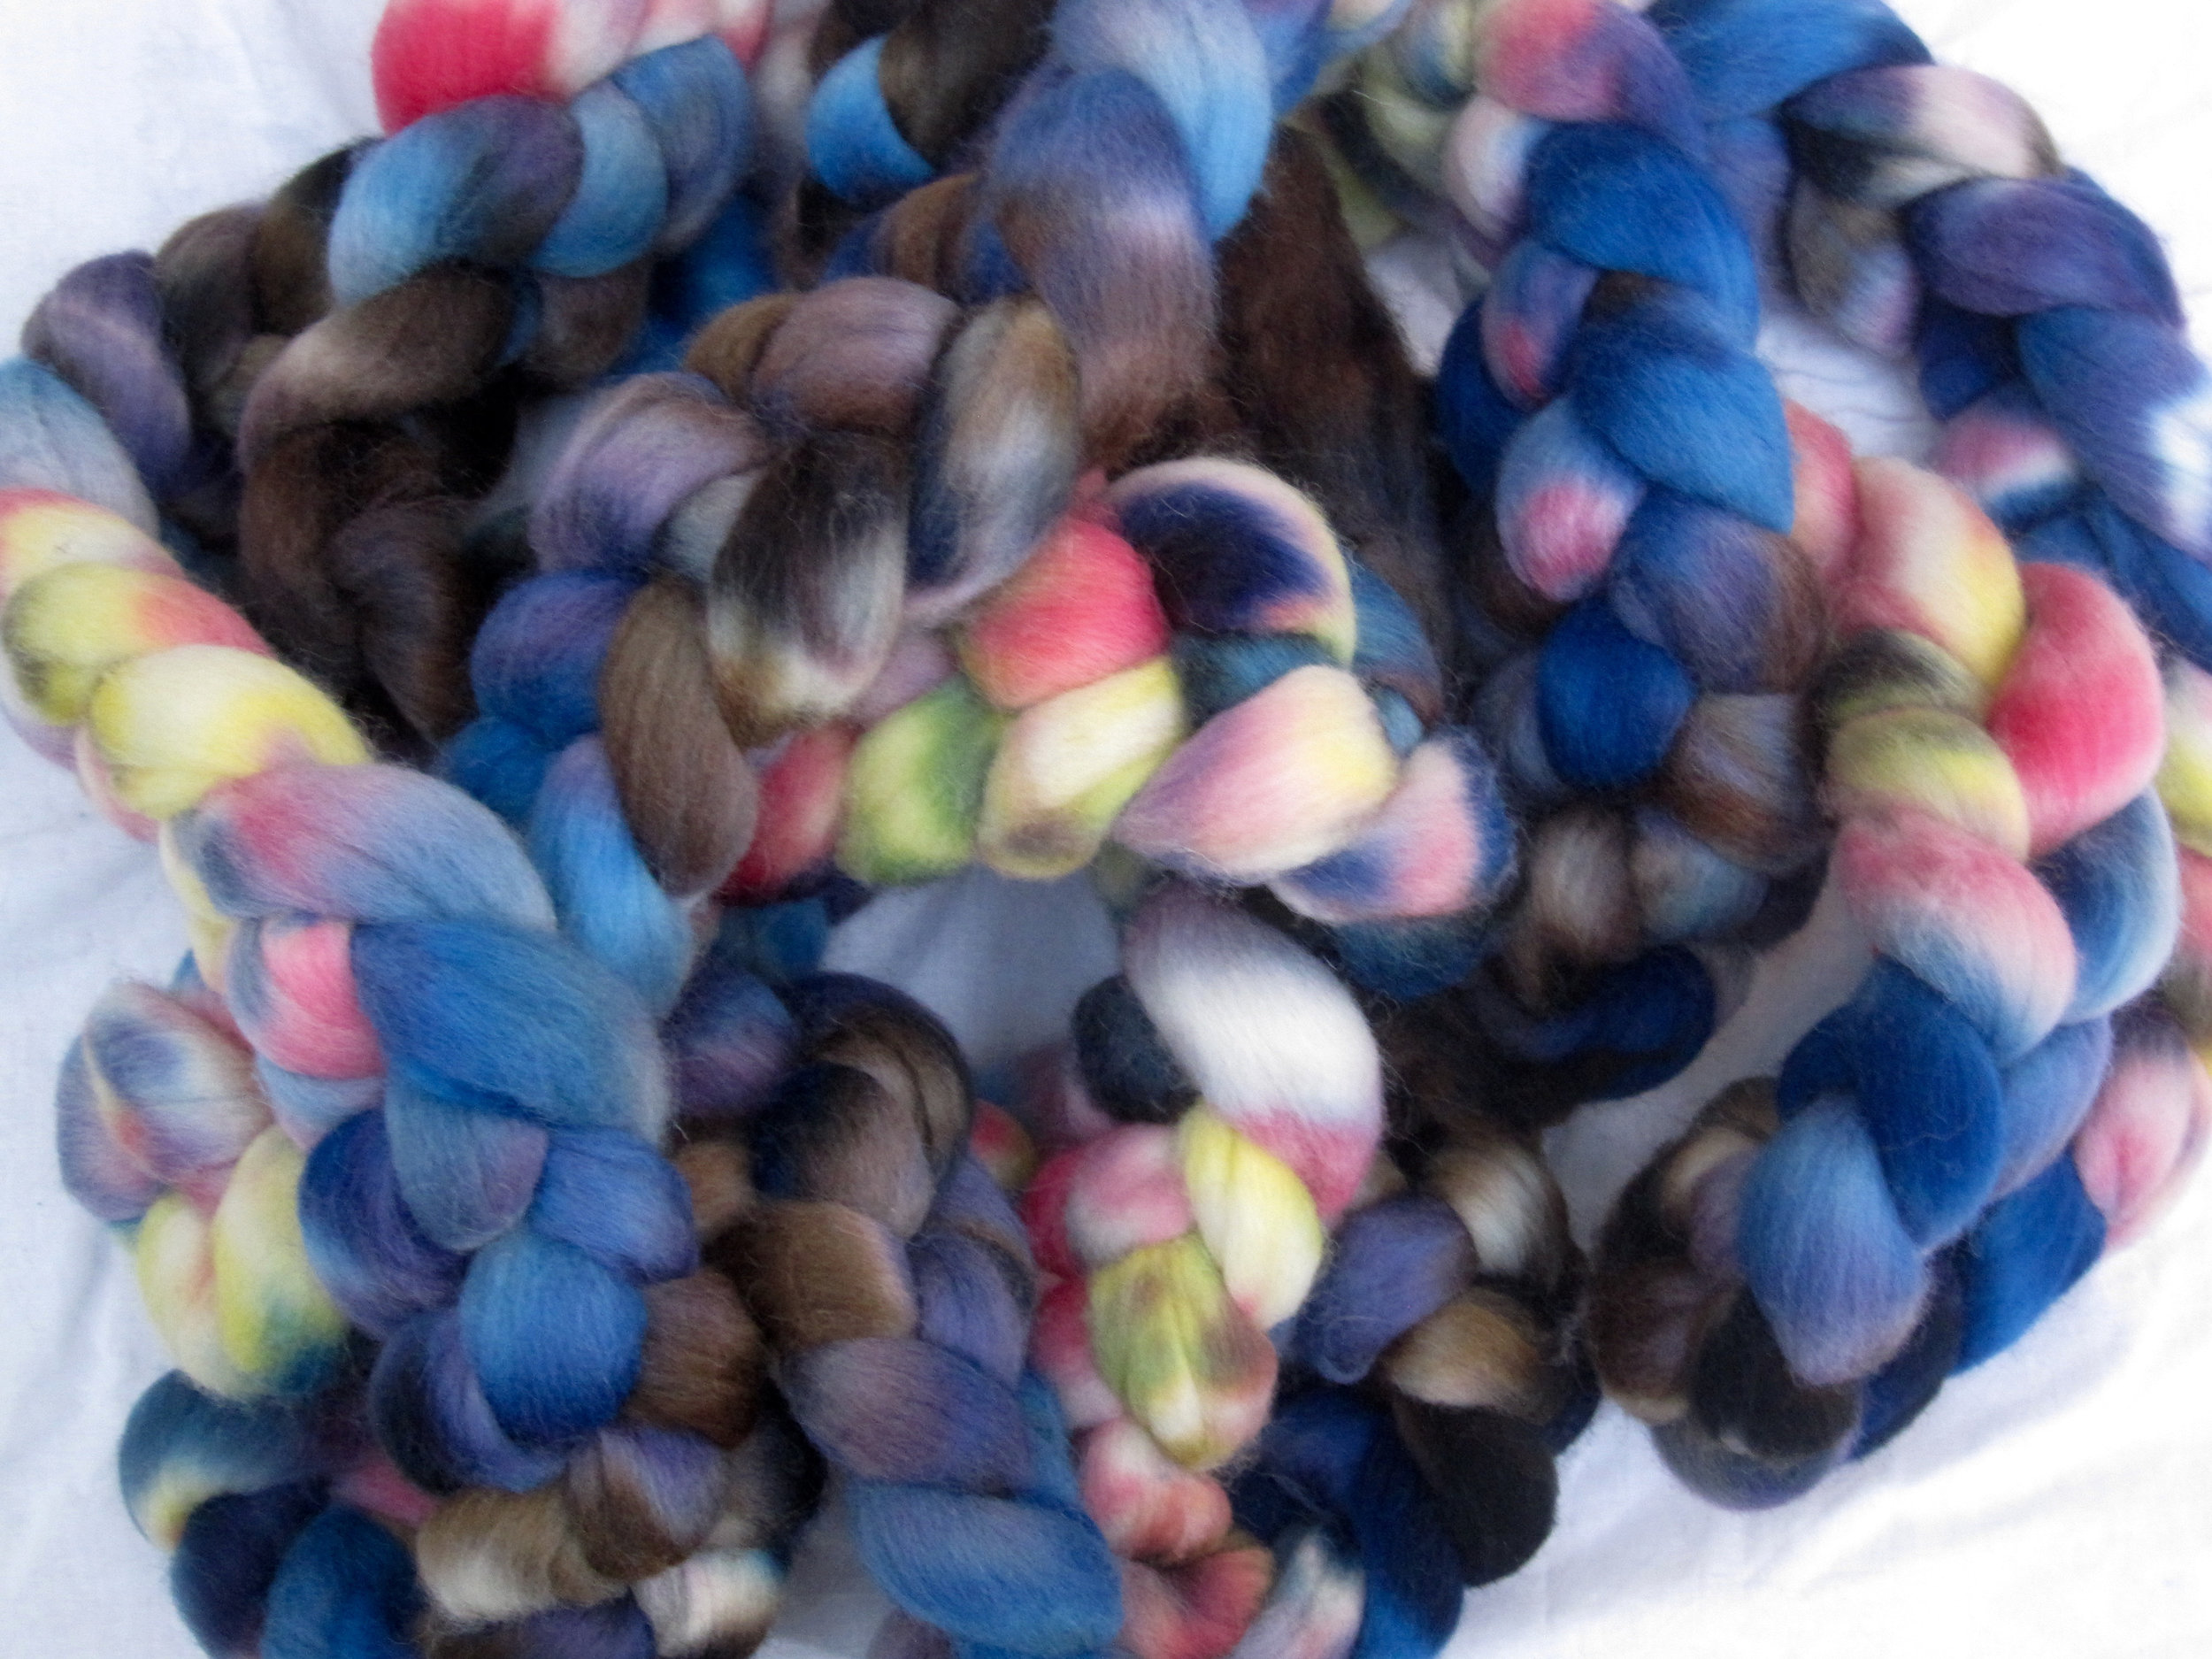
May means that I'm spending lots of time at the dye pots, playing with colours to come up with this year's Tour de Fleece exclusive colourways. I've got three of them nailed down, and am finalising the last one so look for those to be revealed over the next few weeks!

This year I'm going to try running a dye-to-order model for the TdF colourways. In previous year's I've dyed up batches of fibre, but that hasn't always mirrored the demand, so sometimes I end up with lots of leftovers which can sit around for quite a while as I can't sell them. Similarly, since I use an exclusive base each time around that isn't normally carried in the shop, I can end up with undyed base that I may or may not be able to use for something else. Long story short: with limited dye time available, I need to find a more efficient way to produce the TdF colourways.

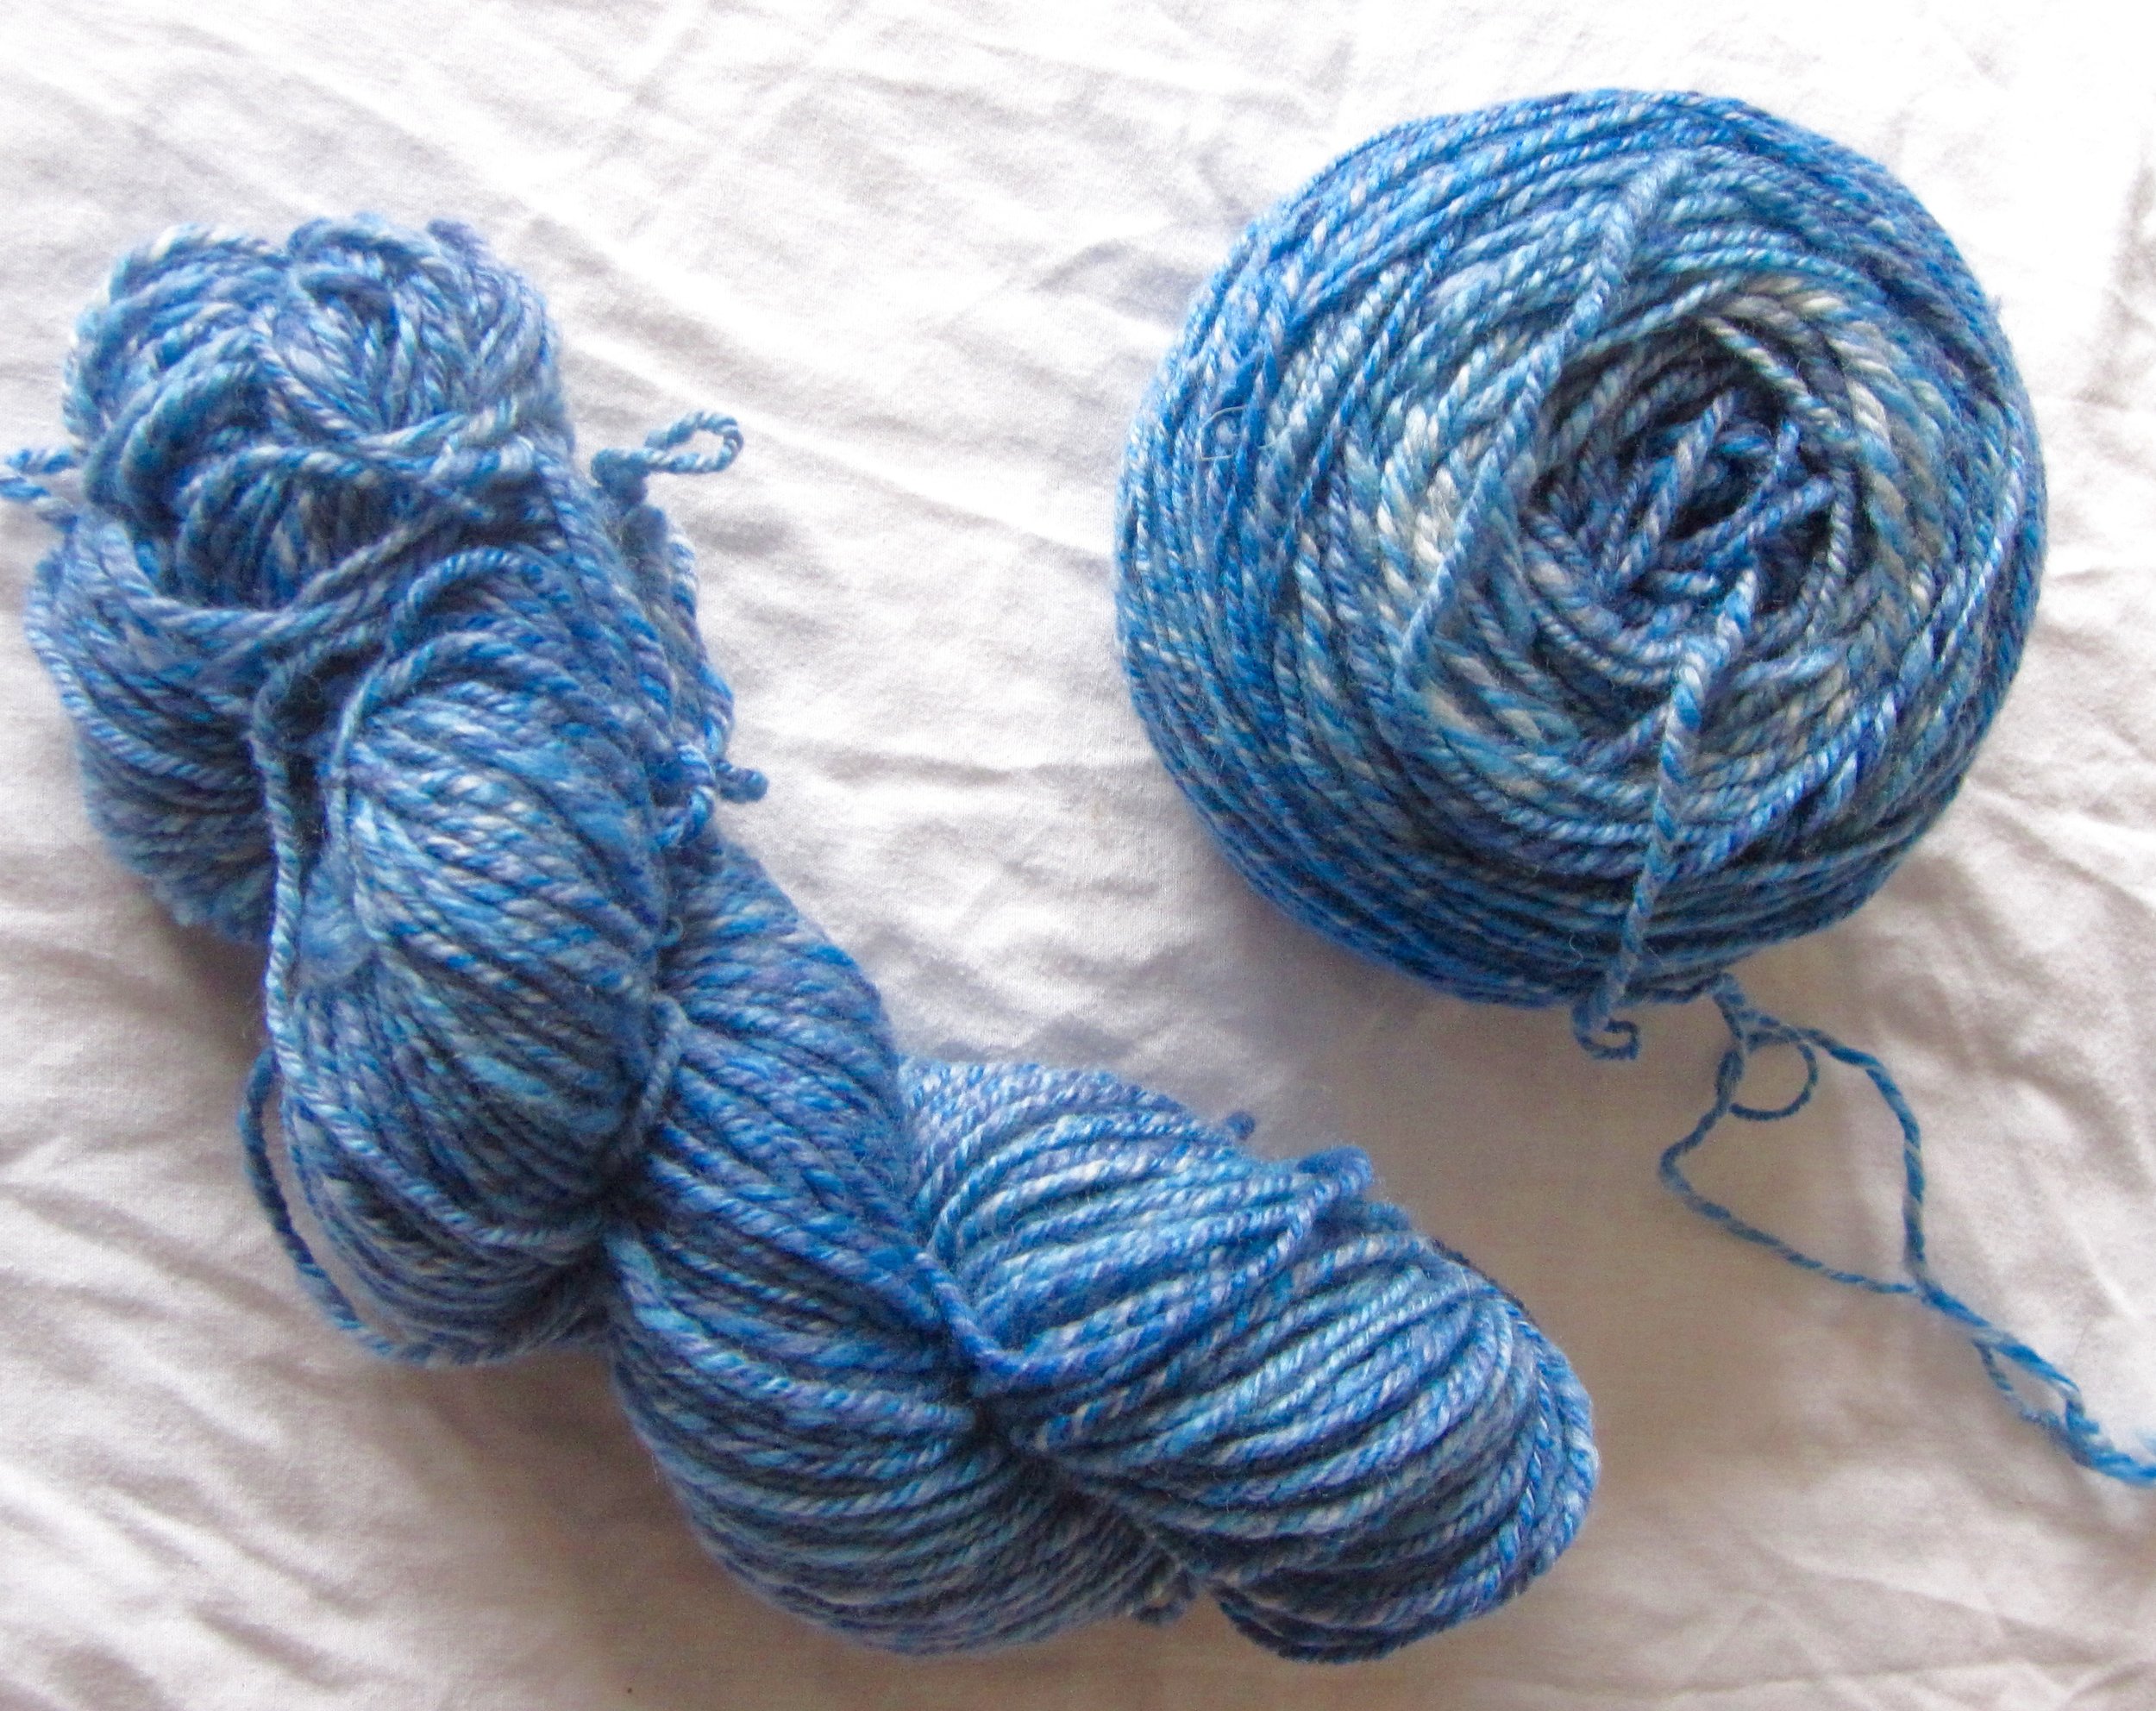
Preorders will be available starting from the shop update next Sunday (21 May), and I'll be getting colour previews up this week. I can reveal that the base this year is another French breed: the Charollais. This breed originated in east central France from a cross between the Leicester Longwool with local land-race breeds, but are now bred in the UK, and are used to produce high quality lambs for meat. Charollais produce fleece with a staple length of 4-6 cm, and a diameter of 29-30.5 microns. The wool is used in dress fabrics, flannel and knitting wool in the UK.

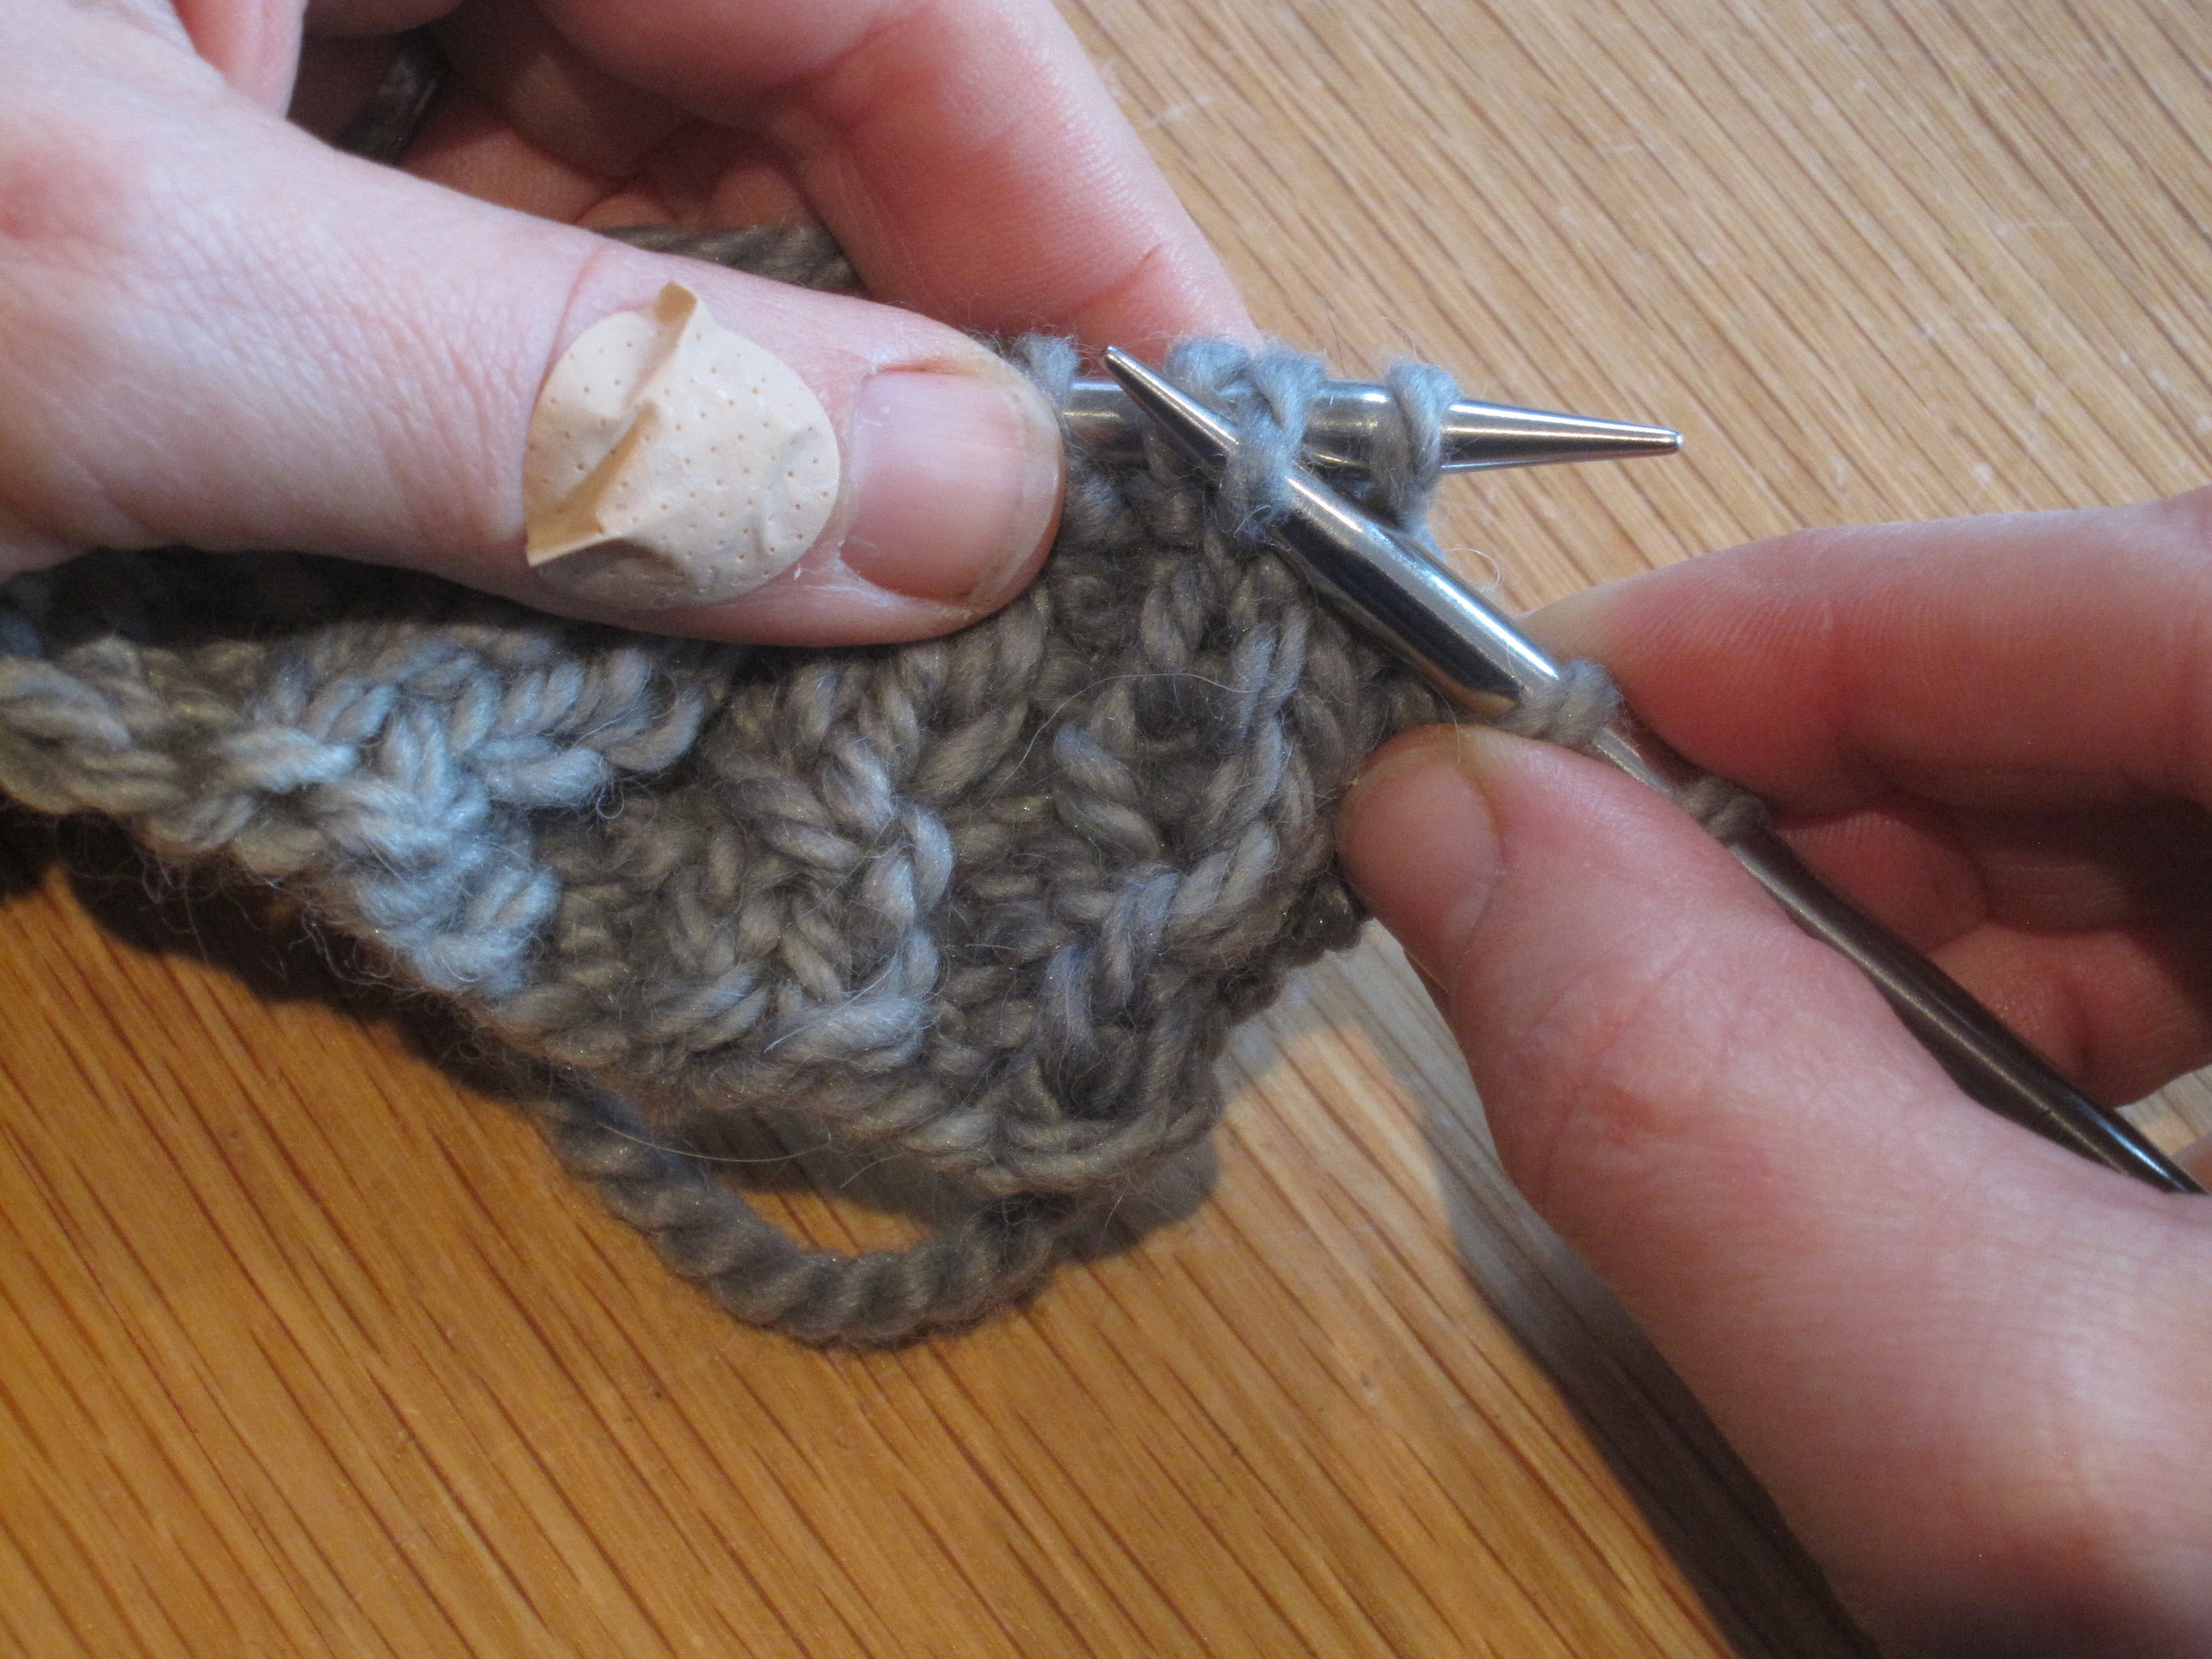
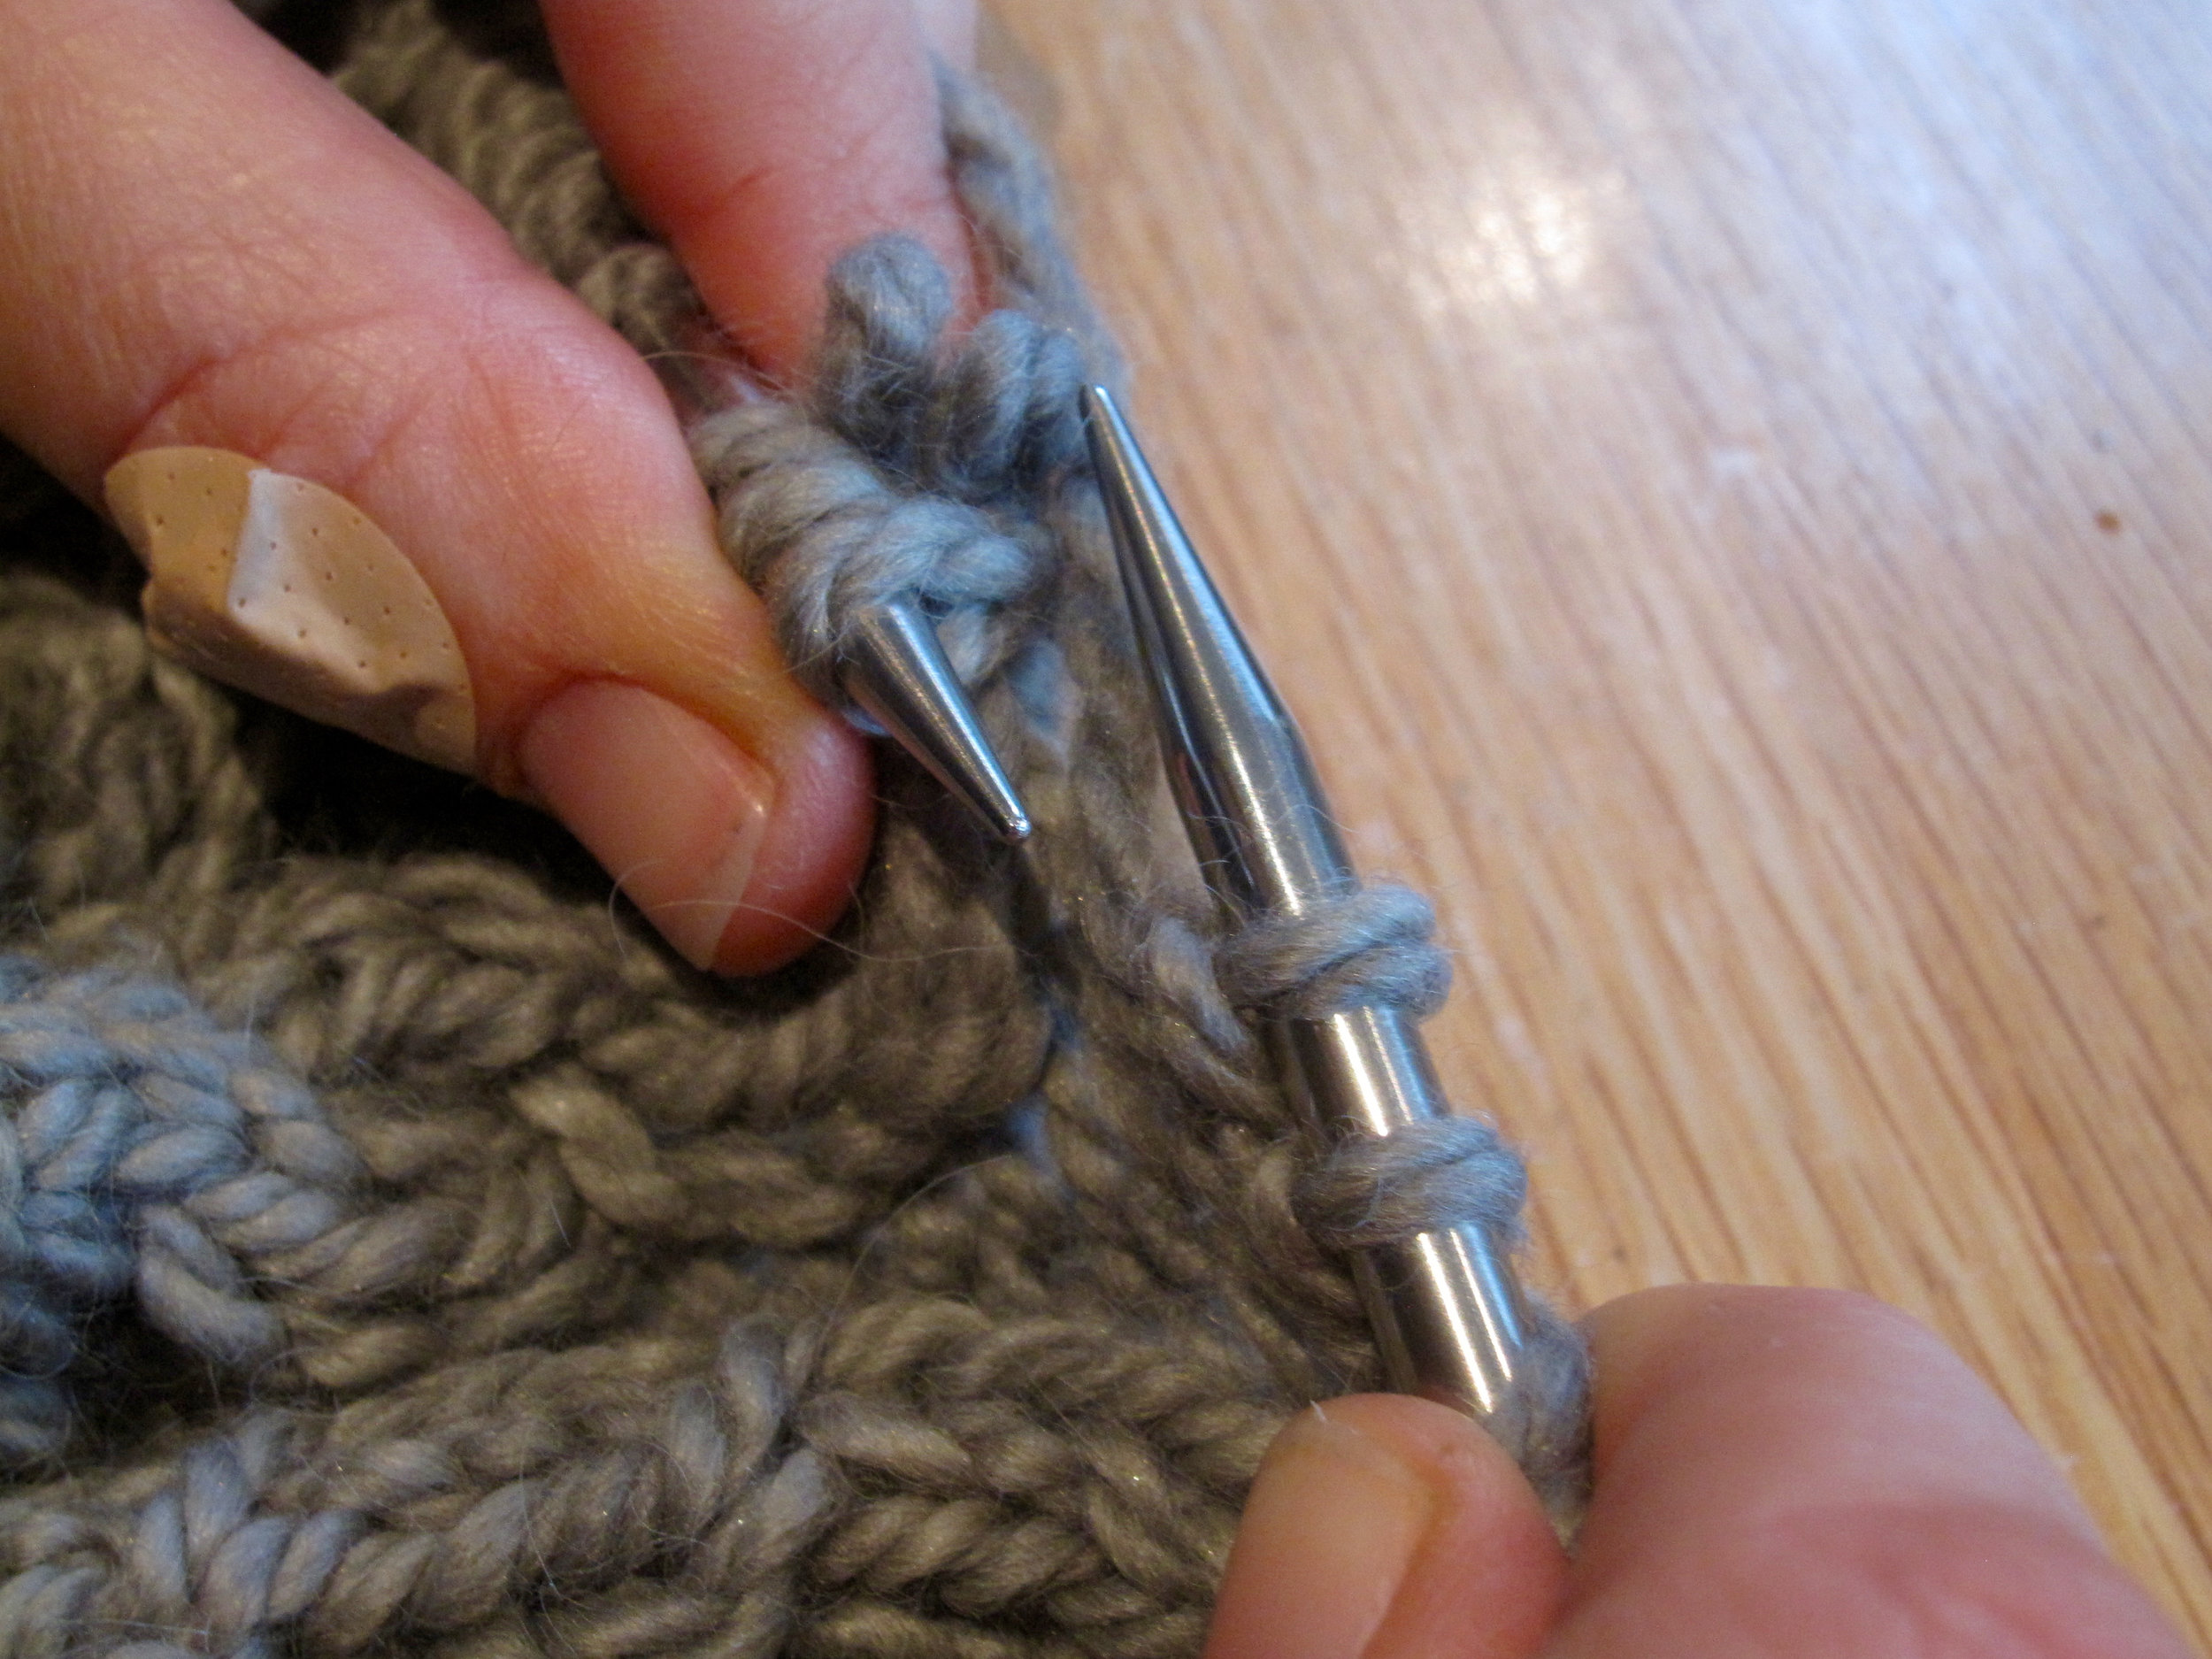
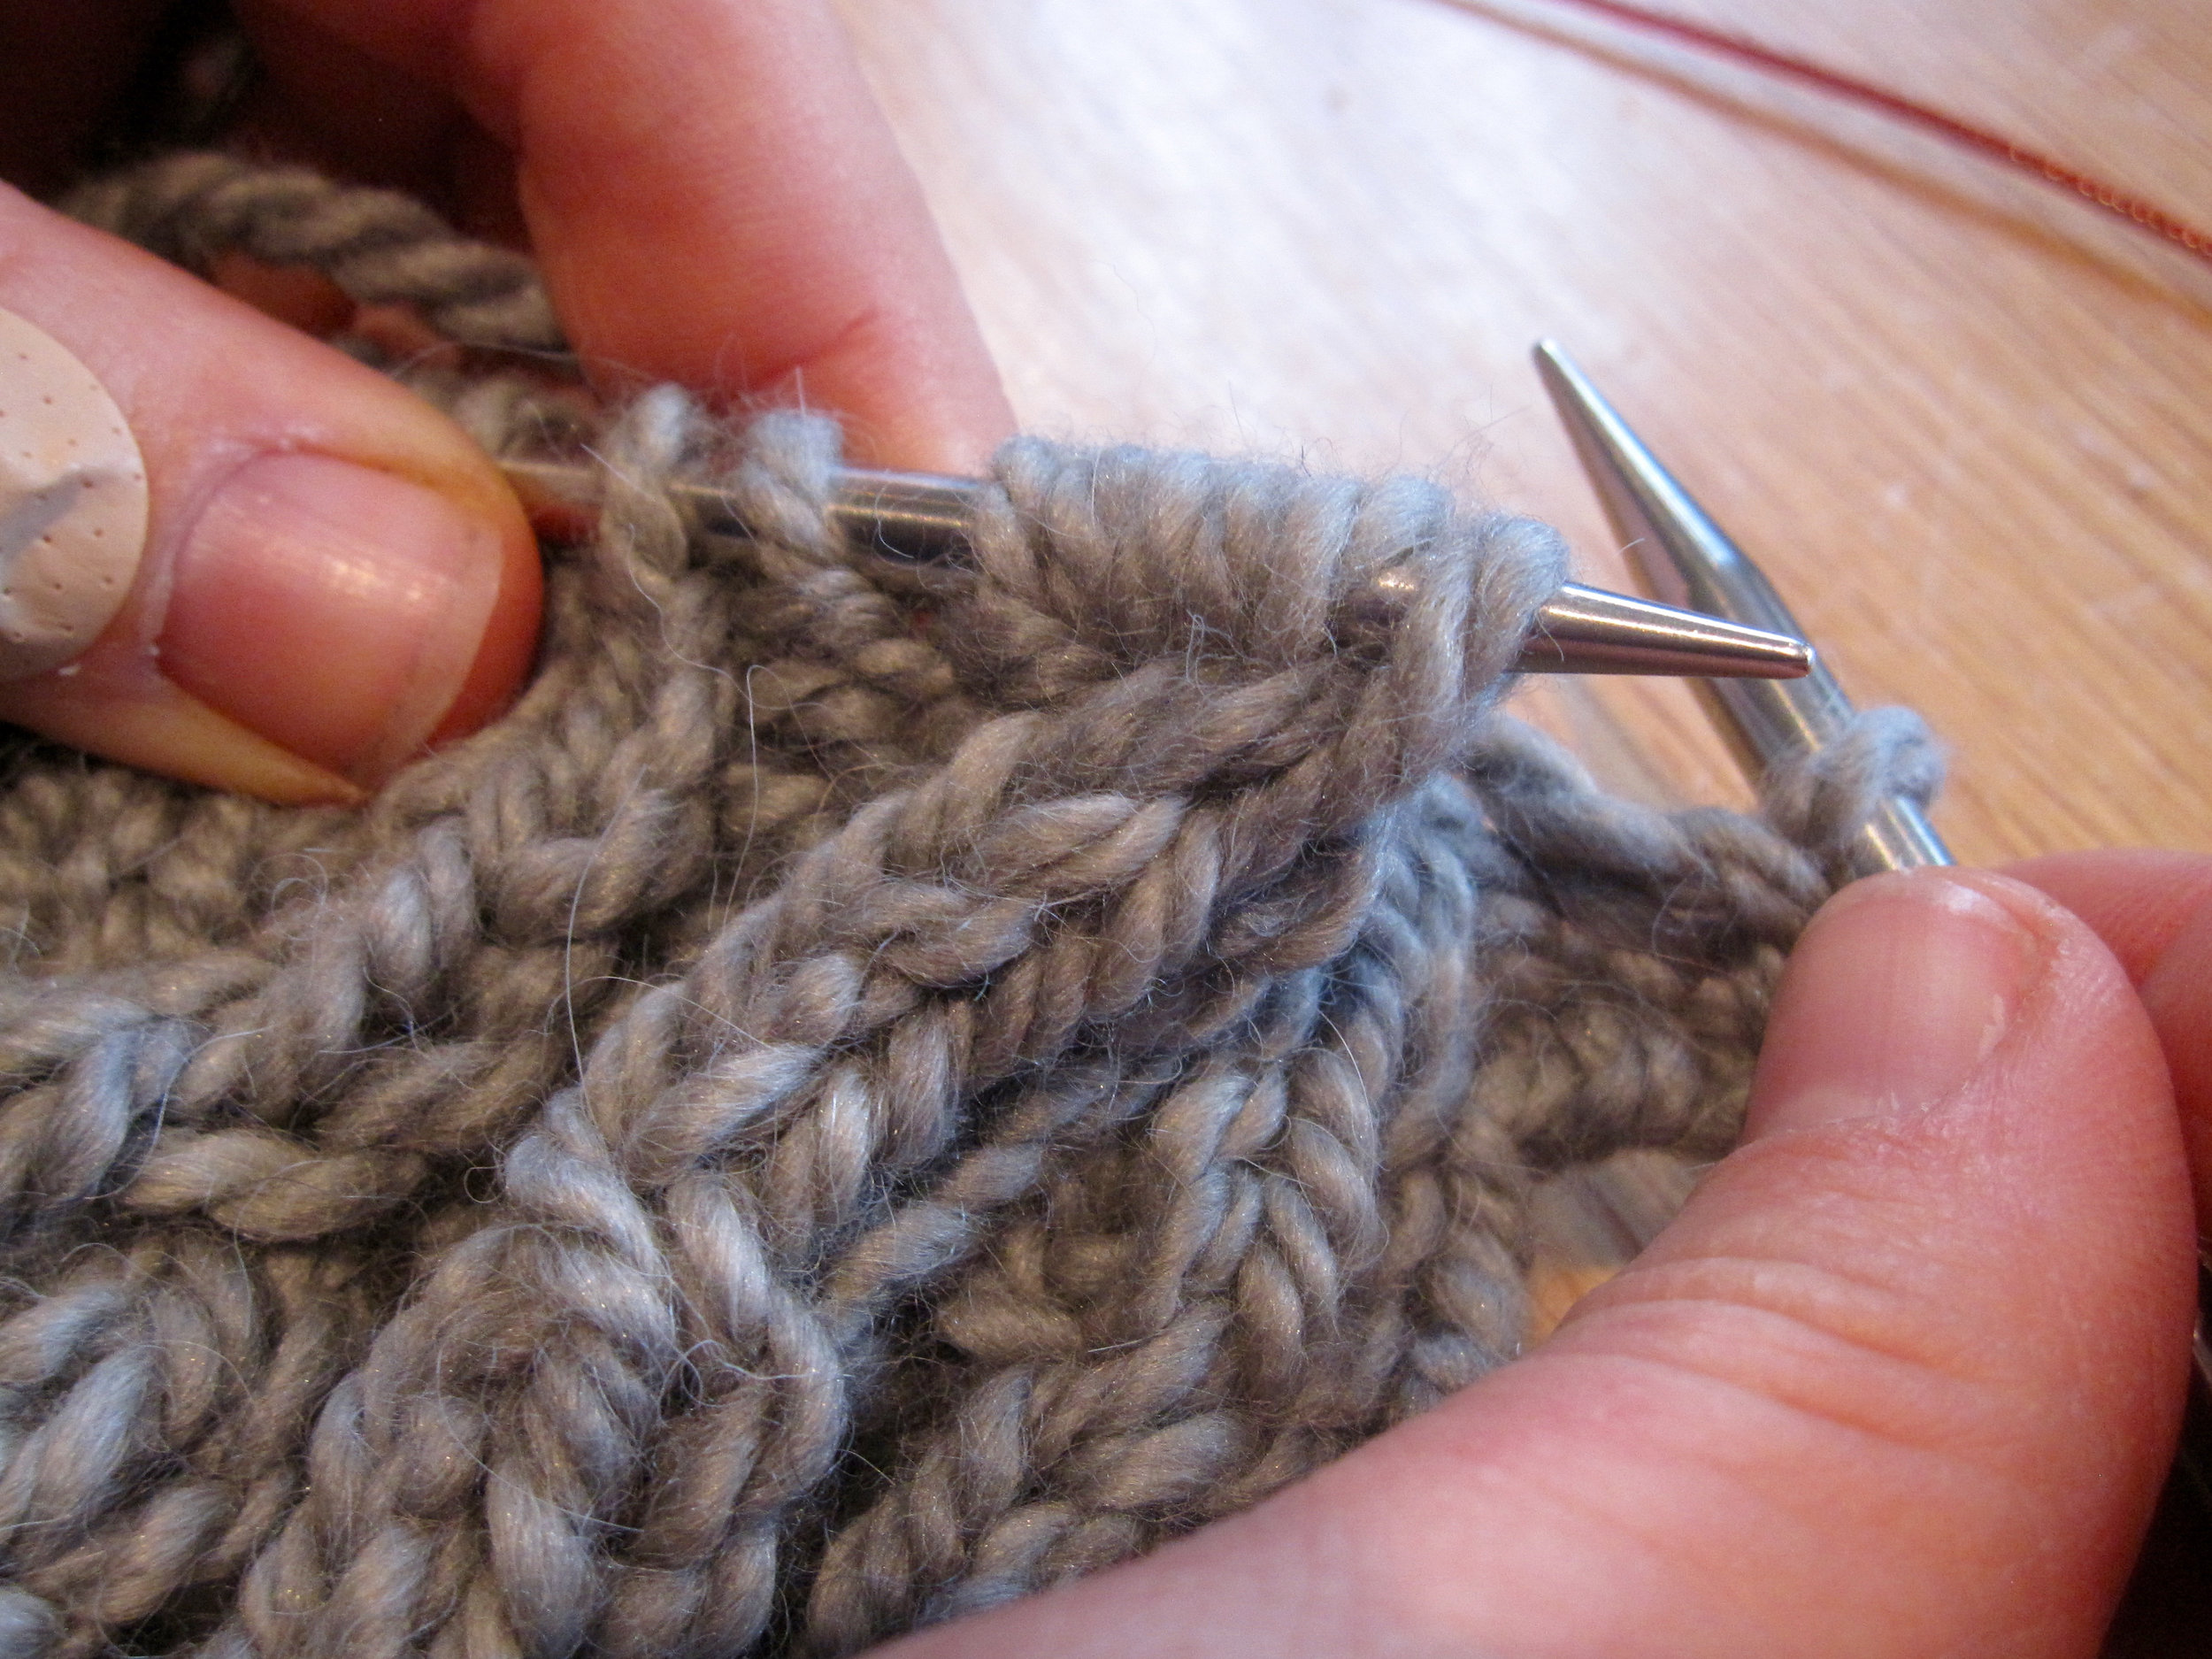
I've been spinning up some of my initial dye experiments, and am finding this to be a fine fibre, but the staple is quite short! It makes for a bouncy yarn if spun in a woolen style to preserve the elasticity, and I'm looking forward to knitting it up!

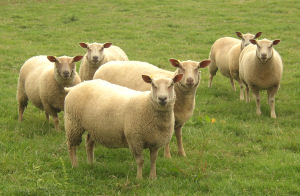
Image from http://coldharbour-charollais.co.uk/special.php?pageno=53

Lab Goddess Fibre Club March 2017

I've come back from two weeks on holiday to discover that while I was away, the leaves have come out and spring is truly arrived! (As my hayfever can attest!) What better moment to share the most recent Lab Goddess Fibre Club colourway?

Surinamensium on Bluefaced Leicester

Surinamensium is inspired by entymologist and scientific illustrator Maria Sibylla Merian, who lived from 1647-1717. Trained from childhood as an artist, Merian painted her first images of insects and plants at age 13. Her first book of natural illustrations was published in 1675 and in 1699 the city of Amsterdam gave her a grant to travel to South America, where she spent the next two years travelling through the colonies, sketching.

In 1705, her most famous work - Metamorphosis insectorium Surinamensium - was published, and was one of the first books to detail insect metamorphosis, a process which had been largely ignored as insects were considered unworthy of scientific interest. 

The image that inspired the colours used in the March Fibre Club.

I wanted greens for the March colourway, but coupled those with blue, brown and mauve from the moth's wings. I can't wait to see how this colourway spins up, as the contrast in the depth of shade of the different colours should make for some interesting pops in the finished yarn.

This month marks the start of the second Fibre Club of 2017 and slots are still available - they will be closing as of early tomorrow morning, so if you'd like to join in please don't wait! I'm off to enjoy the fresh spring greens and start spinning up my Surinamensium - happy bank holiday to you all!

Lab Goddess Fibre Club February 2017

Things have been a bit crazy this month getting ready for EYF, but I'm very happy with how the club colourway turned out this time around!

Network on my new Sock Blend (50% Corriedale/25% Southdown/25% nylon)

For this month’s inspiration, I chose a woman about whom very little is known. Alessandra Giliani is believed to have been born in San Giovanni, Italy, in 1307, and died at the tender age of 19, possibly due to sepsis. Although the details of her life are mostly lost, she is celebrated as the first female anatomist in the Western World. Giliani worked as a surgical assistant to Mondino de’Liuzzi, the father of modern anatomy, and a professor at the University of Bologna. She was reported as a brilliant dissectionist (prosecutor) and developed a method for visualising the circulatory system by filling the blood vessels with a hardened coloured dye.

When I read that last bit of information, I had an immediate flashback to the start of my postdoctoral fellowship, when I began working in a lab that studied the blood-brain barrier. One of the images that struck me while I was doing some background reading was one like this:

This is a cast of the brain’s blood vessel network, showing the vast complexity of the structure, and giving an idea of what types of casts Giliani may have produced in her studies of the circulatory system.

Circulating blood is typically represented as either red (oxygenated) or blue (deoxygenated), so I chose to take different shades of each of those colours and dye this month’s fibre using a technique that allows them to blend and merge randomly. Sometimes they blend a lot, sometime less so, giving a colourway that is always a bit of a surprise when it comes out of the dyepots!

This month’s fibre is my new Sock Blend, a blend of 50% Corriedale/25% Southdown/25% nylon. Corriedale is one of my favourite fibres for newer spinners, as it is very straightforward to spin. I’ve added some Southdown, one of the Down breeds, to give a bit more bounce and elasticity, as well as perhaps a tiny bit of resistance to felting. Last, but not least, is a healthy dose of nylon to make a strong, wear-resistant yarn. If you do spin this for socks, I recommend lots of twist for the singles and plying – it doesn’t have to feel super soft and drapey in the skein, but it will need to be durable and wear well. You can find more of the sock blend in the Shop if you'd like to try it out!

Cabling without a Cable Needle

The Nordlándda KAL is in full swing over on The Fibre Company Ravelry group, and everyone is doing a fantastic job of working their way through all the cables! But it also seemed like a good time to publish a tutorial on cabling without a cable needle, as that's how I knit all the samples. While is sounds intimidating, the technique isn't all that difficult - it just takes a bit of patience and practice!

My handspun BFL wound up and ready to cast on for the KAL!

Cables are a wonderfully satisfying thing to knit – all those twists and turns! – but sometimes they’re just more fiddly than seems worth it. There’s that cable needle that you need to find before you start, and that thing is hard to keep track of, particularly when your cables aren’t worked very often. The good news is that for many cables you don’t need to use a cable needle; most 2-, 4- and even 5- or 6-stitch cables can be done without a cable needle.

Cables are the result of working your stitches out of order. Instead of working Stitches 1, 2, 3 and 4 as they appear, you work them in a different order to cross the stitches over each other in a designated fashion. Let’s look at the 2/2 LC (left cross, also known as 2/2 Front Cross or C2F) cable as an example:

This cable is worked over four stitches, with the first two stitches crossed over (in front of) the second two stitches, resulting in a  band that leans to the left. If working with a cable needle, the instructions for this cable read: slide next 2 stitches to cable needle and hold to front of work, k2, k2 from cable needle. In other words, you’re moving the first two stitches of the cable to the front of your fabric and knitting the next two stitches before going back to the original first two stitches of the cable, creating a left-leaning cross.

To work a 2/2 RC (right cross) cable, the instructions would read: slide next 2 stitches to cable needle and hold to back of work, k2, k2 from cable needle. This results in crossing the first two stitches behind the second two stitches, creating right-leaning cross.

Both of these are pretty straightforward manoeuvres, but what about when you’re on the bus and have dropped your cable needle? What about if you’re settled in to watch the new season of Sherlock and your cable needle has gotten eaten by the couch cushions? This cable, and all of the others used in the Nordlándda collection, can be easily worked without a cable needle. All it takes a little practice, a deep breath and a cup of tea (or wine, whichever you prefer!)

Let’s use an easier cable for our first attempt: the 1/1 RC, a two stitch cable in which the first stitch is crossed behind the second stitch.

Step 1: Work to where the cable is situated. Slide the tip of the right (or working) needle through the second stitch on the left (non-working) needle from the front of the work.

Please excuse the plaster - I had a run in with a cheese grater.

Step 2: Take a deep breath and slide both of the stitches in the cable off the left needle, being careful to gently trap the free stitch against the working needle with your forefinger.

Step 3: move the tip of the left needle back behind the fabric and catch the free stitch, effectively crossing it behind the fabric, then slip the first stitch on the right needle back to the left needle.

Now work the stitches as required (for this example both stitches are knit). Voila! You’ve just worked a cable without a cable needle!

Now let’s try a 1/1 LC: this is worked just like the 1/1 RC, but from the opposite side of the work.

Step 1: Work to the cable and slide the tip of the right needle through the second stitch on the left needle from the back of the work.

Step 2: Carefully slip both stitches off the left needle, trapping the free stitch against the right needle with your thumb.

Step 3: Grab that free stitch with the left needle, crossing in front of the fabric,

before returning both stitches to the left needle and working as required. That’s it.

Now let’s try something a bit more complicated: a 2/2 RC.

Step 1: Work to the site of the cable and slide the tip of the right needle through the third and fourth stitches on the left needle from the front of the fabric.

Step 2: Carefully slide all 4 cable stitches off the needle, trapping the free stitches against the needle with your right forefinger.

Step 3: Swing the tip of the left needle behind the work and rescue those free stitches, crossing them behind the work.

Step 4: Return the first two stitches on the right needle (originally the third and fourth stitches of the cable) to the left hand needle and worked as indicated.

To work a 2/2 LC, the procedure is just the same, but you pick up the third and fourth stitches on the left needle from the back instead of the front, and cross the stitches the opposite way.

I hope you can see that simple cables can be worked without a cable needle fairly easily. But what about more complicated cables, like those dreaded 2/1/2 versions where you slide 2 stitches to one cable needle on one side of the work, the next stitch to another cable needle on the other side of the work, and then k2, p1 from second cable needle, k2 from first cable needle? You can still work these without the cable needle(s), but they are a bit trickier.

Here’s how to work a 2/1/2 RPC (right purl cross):

Step 1: Work to cable – there should be five stitches for this cable in total, presenting as two knit stitches, one purl stitch, and two knit stitches. Slide the tip of the left needle through stiches 3, 4 and 5 (purl stitch and last two knit stitches) from the front of the work.

Step 2: Slide all five stitches of the cable off the left needle, trapping the two free stitches against the right needle with your forefinger.

Step 3: Insert the tip of the left needle through the two free stitches and cross them behind the three remaining cable stitches.

Step 4: Now insert the tip of the left needle into the purl stitch from the back of the work and slide the purl stitch and two knit stitches off the right needle, trapping those free knit stitches against the left needle.

Step 5: Insert the tip of the right needle through those two free stitches, crossing them over the rest of the cable, and return them to the left hand needle.

You’ll now work k2, p1, k2, but because the order of the stitches on the needle has been rearranged, you’ll end up with a lovely cable cross, performed entirely without cable needles!

The key things to remember when doing cables without a cable needle for the first few times are to take it slow and relax – those free stitches won’t go anywhere unless a sudden movement or sharp tug makes them get scared and run away. Don’t rush and don’t panic, and before you know it you’ll be whizzing through your cable projects at enviable speed, with many fewer lost cable needles!

Lab Goddess Fibre Club January 2017

The first fibre club of the year should have landed in its new homes by now, so it's time for some glamour shots of the January colourway!

Diving into the Deep on Romney

This month's colourway was inspired by a woman who mapped the unseeable. Marie Tharp was an American geologist and ocean cartographer and, together with her research partner, Bruce Heezen, made the first systematic effort to map the entire ocean floor. When their map of the entire floor of the Atlantic Ocean was published in 1977, it revealed the existence of the Mid-Atlantic Ridge, an enormous crack in the planet's skin running from north to south along the entire length of the Atlantic. This rift is the site of new crust formation, as molten rock from the earth's core swells upwards, creating a globe-long series of volcanos. The eruptions of these volcanos create new ocean floor, forcing the tectonic plates apart. Their maps helped provide proof for the theory of plate tectonics, which revolutionised geology.

My mind’s image of the colours around the Mid-Atlantic Ridge inspired this month’s dye combination; white hot molten lava hitting the icy cold ocean depths and rapid cooling through orange to red to purple and ultimately cold black. With a lot of blue thrown in for the deep water, this colourway will spin up mostly dark blue and purple tones, with pops of bright red and yellow throughout.

I think I'm going to spin mine up for a pair of socks - Romney is one of the longwools, and I'm going to spin this as a two ply with lots of twist to make a hard wearing yarn. Looking forward to getting started on this over the weekend!