Shop Update and #todayshandknit

First off: there will be a shop update tomorrow (Saturday) morning at 10:00 am - preview photos will be up by this evening for your perusal.

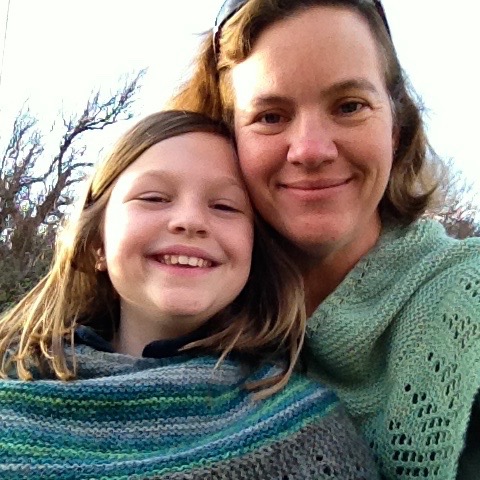
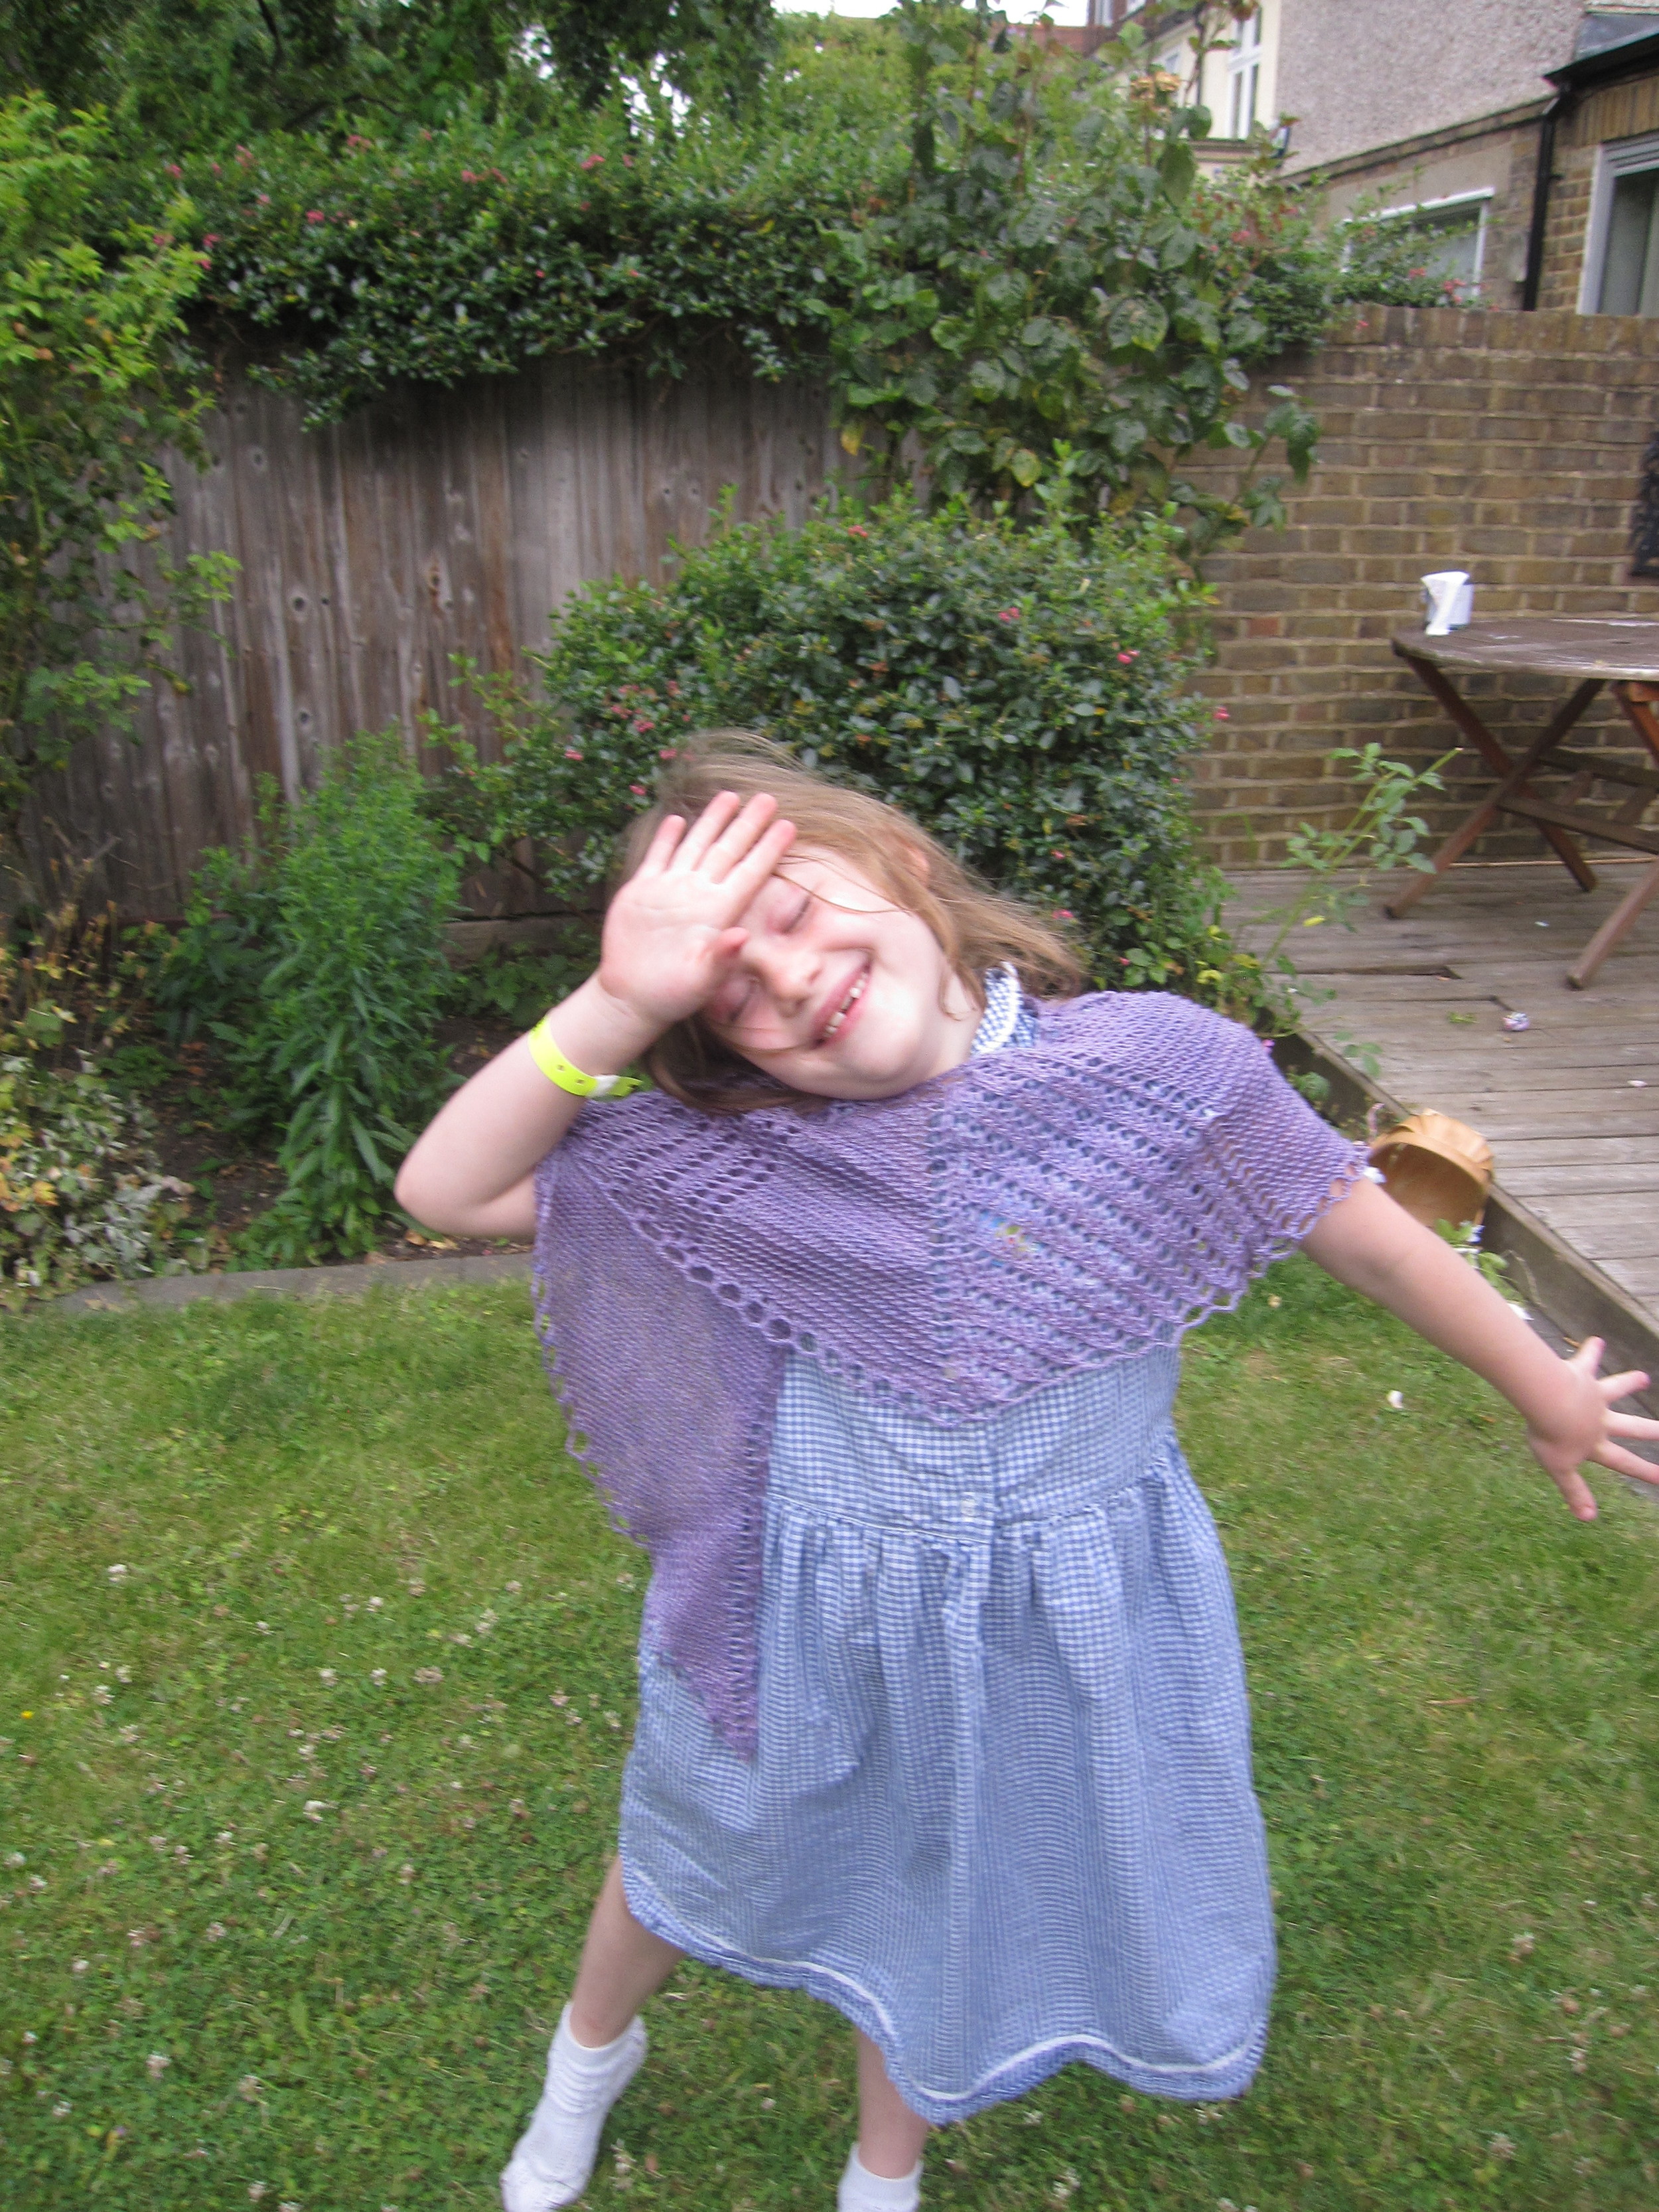
Second: Now that the weather has gotten a bit more seasonal (hooray!), I've been wearing a lot more of my handknits. I've been posting some Instagram pictures of what I'm wearing over the past few weeks, and have noticed a couple of things:

  1. I'm posting to Instagram more regularly, and
  2. I'm wearing a lot more of my handknits.

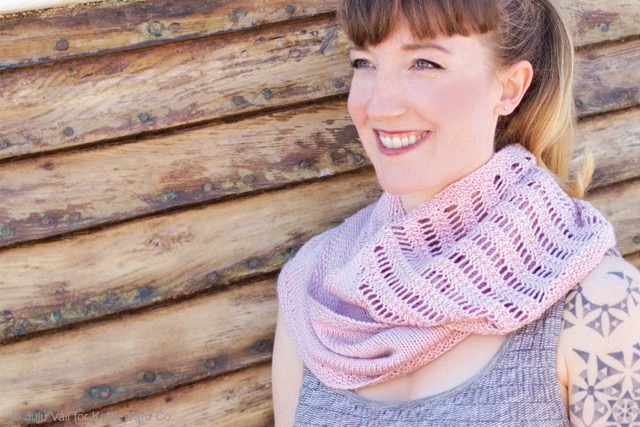
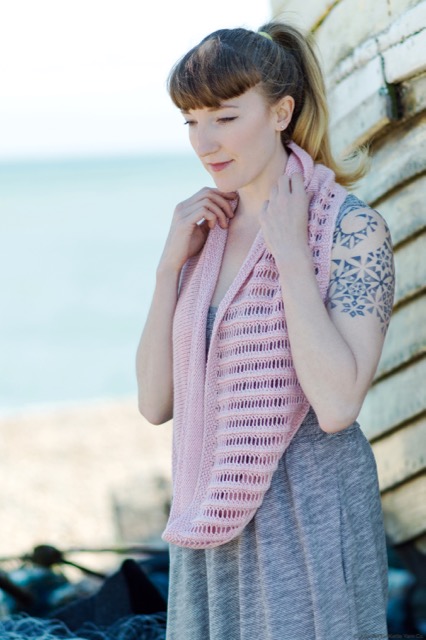
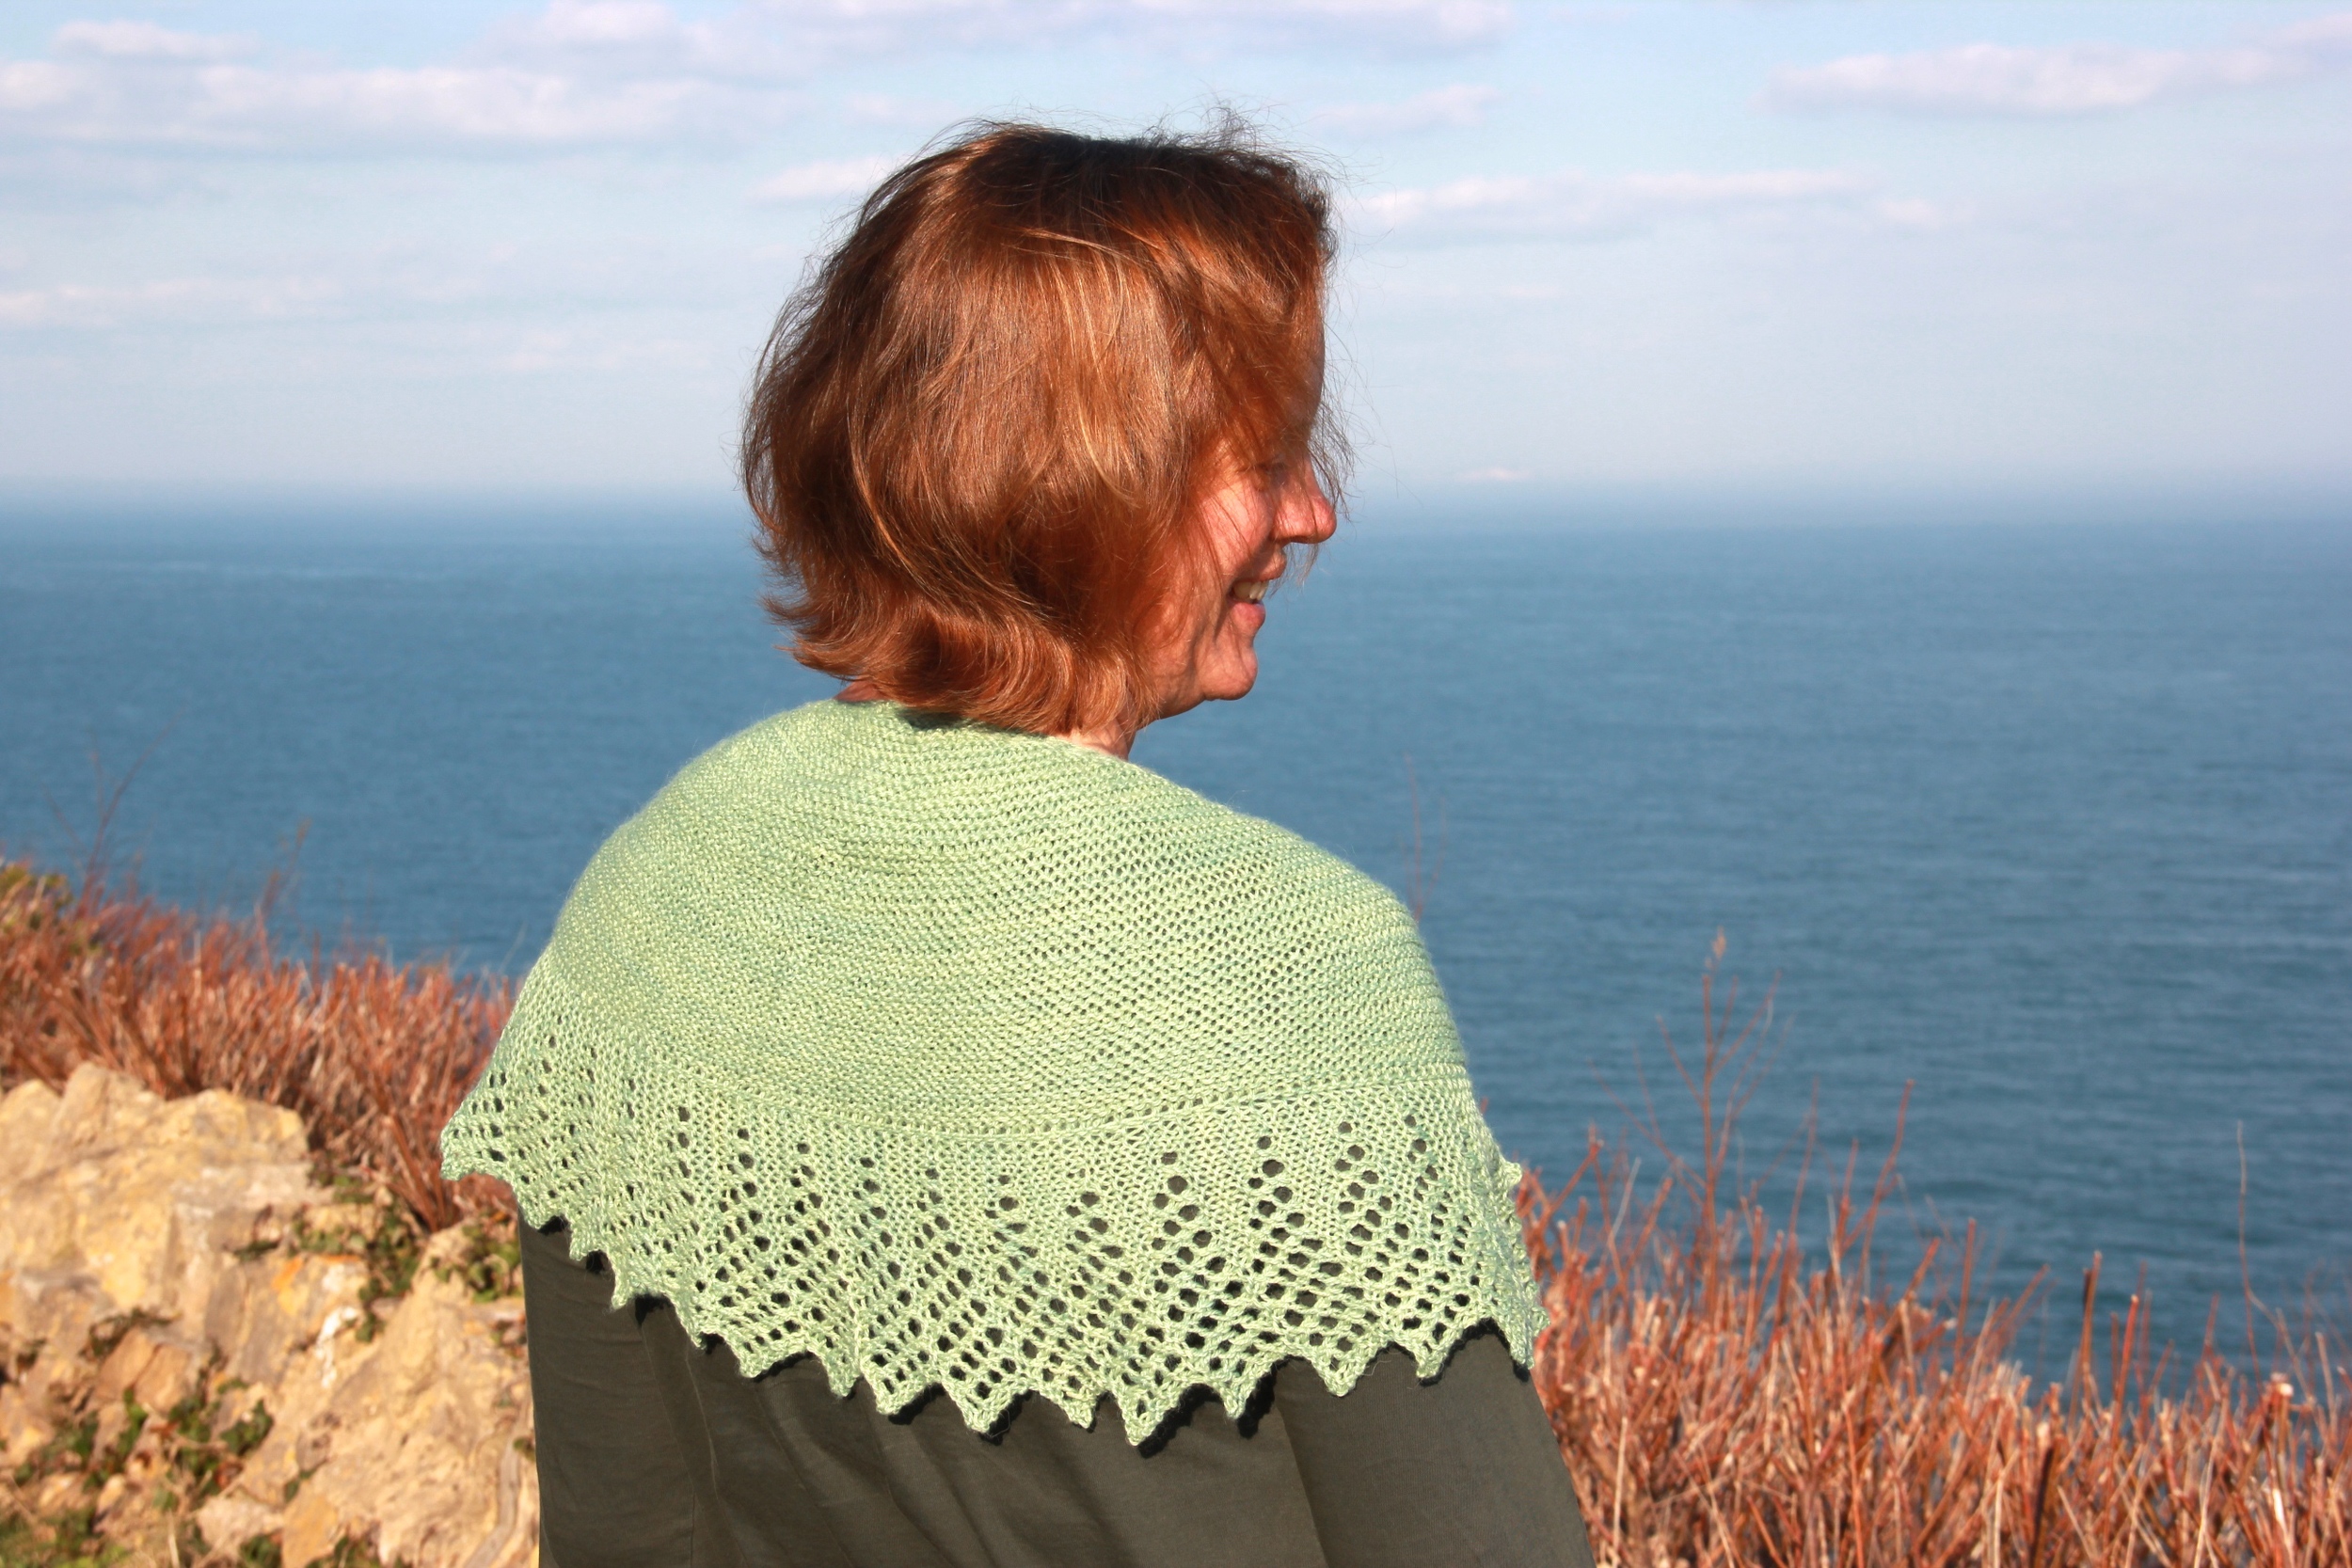
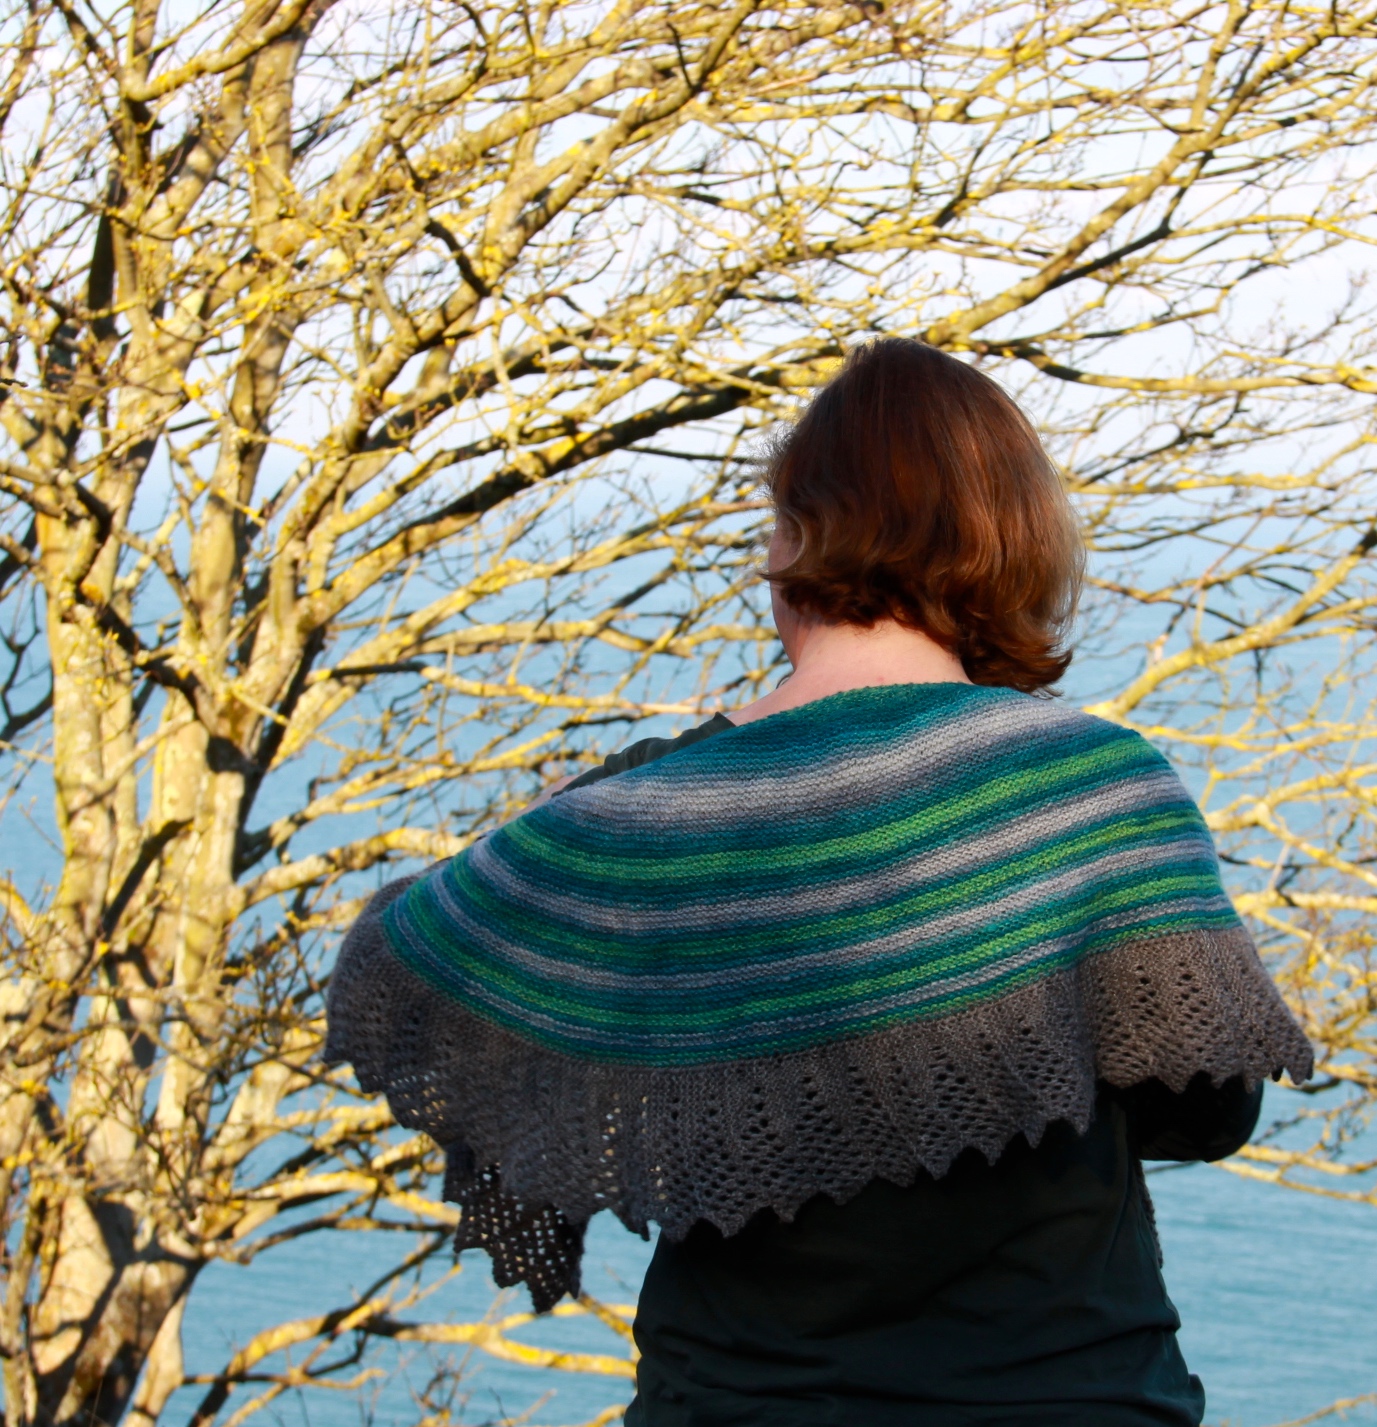
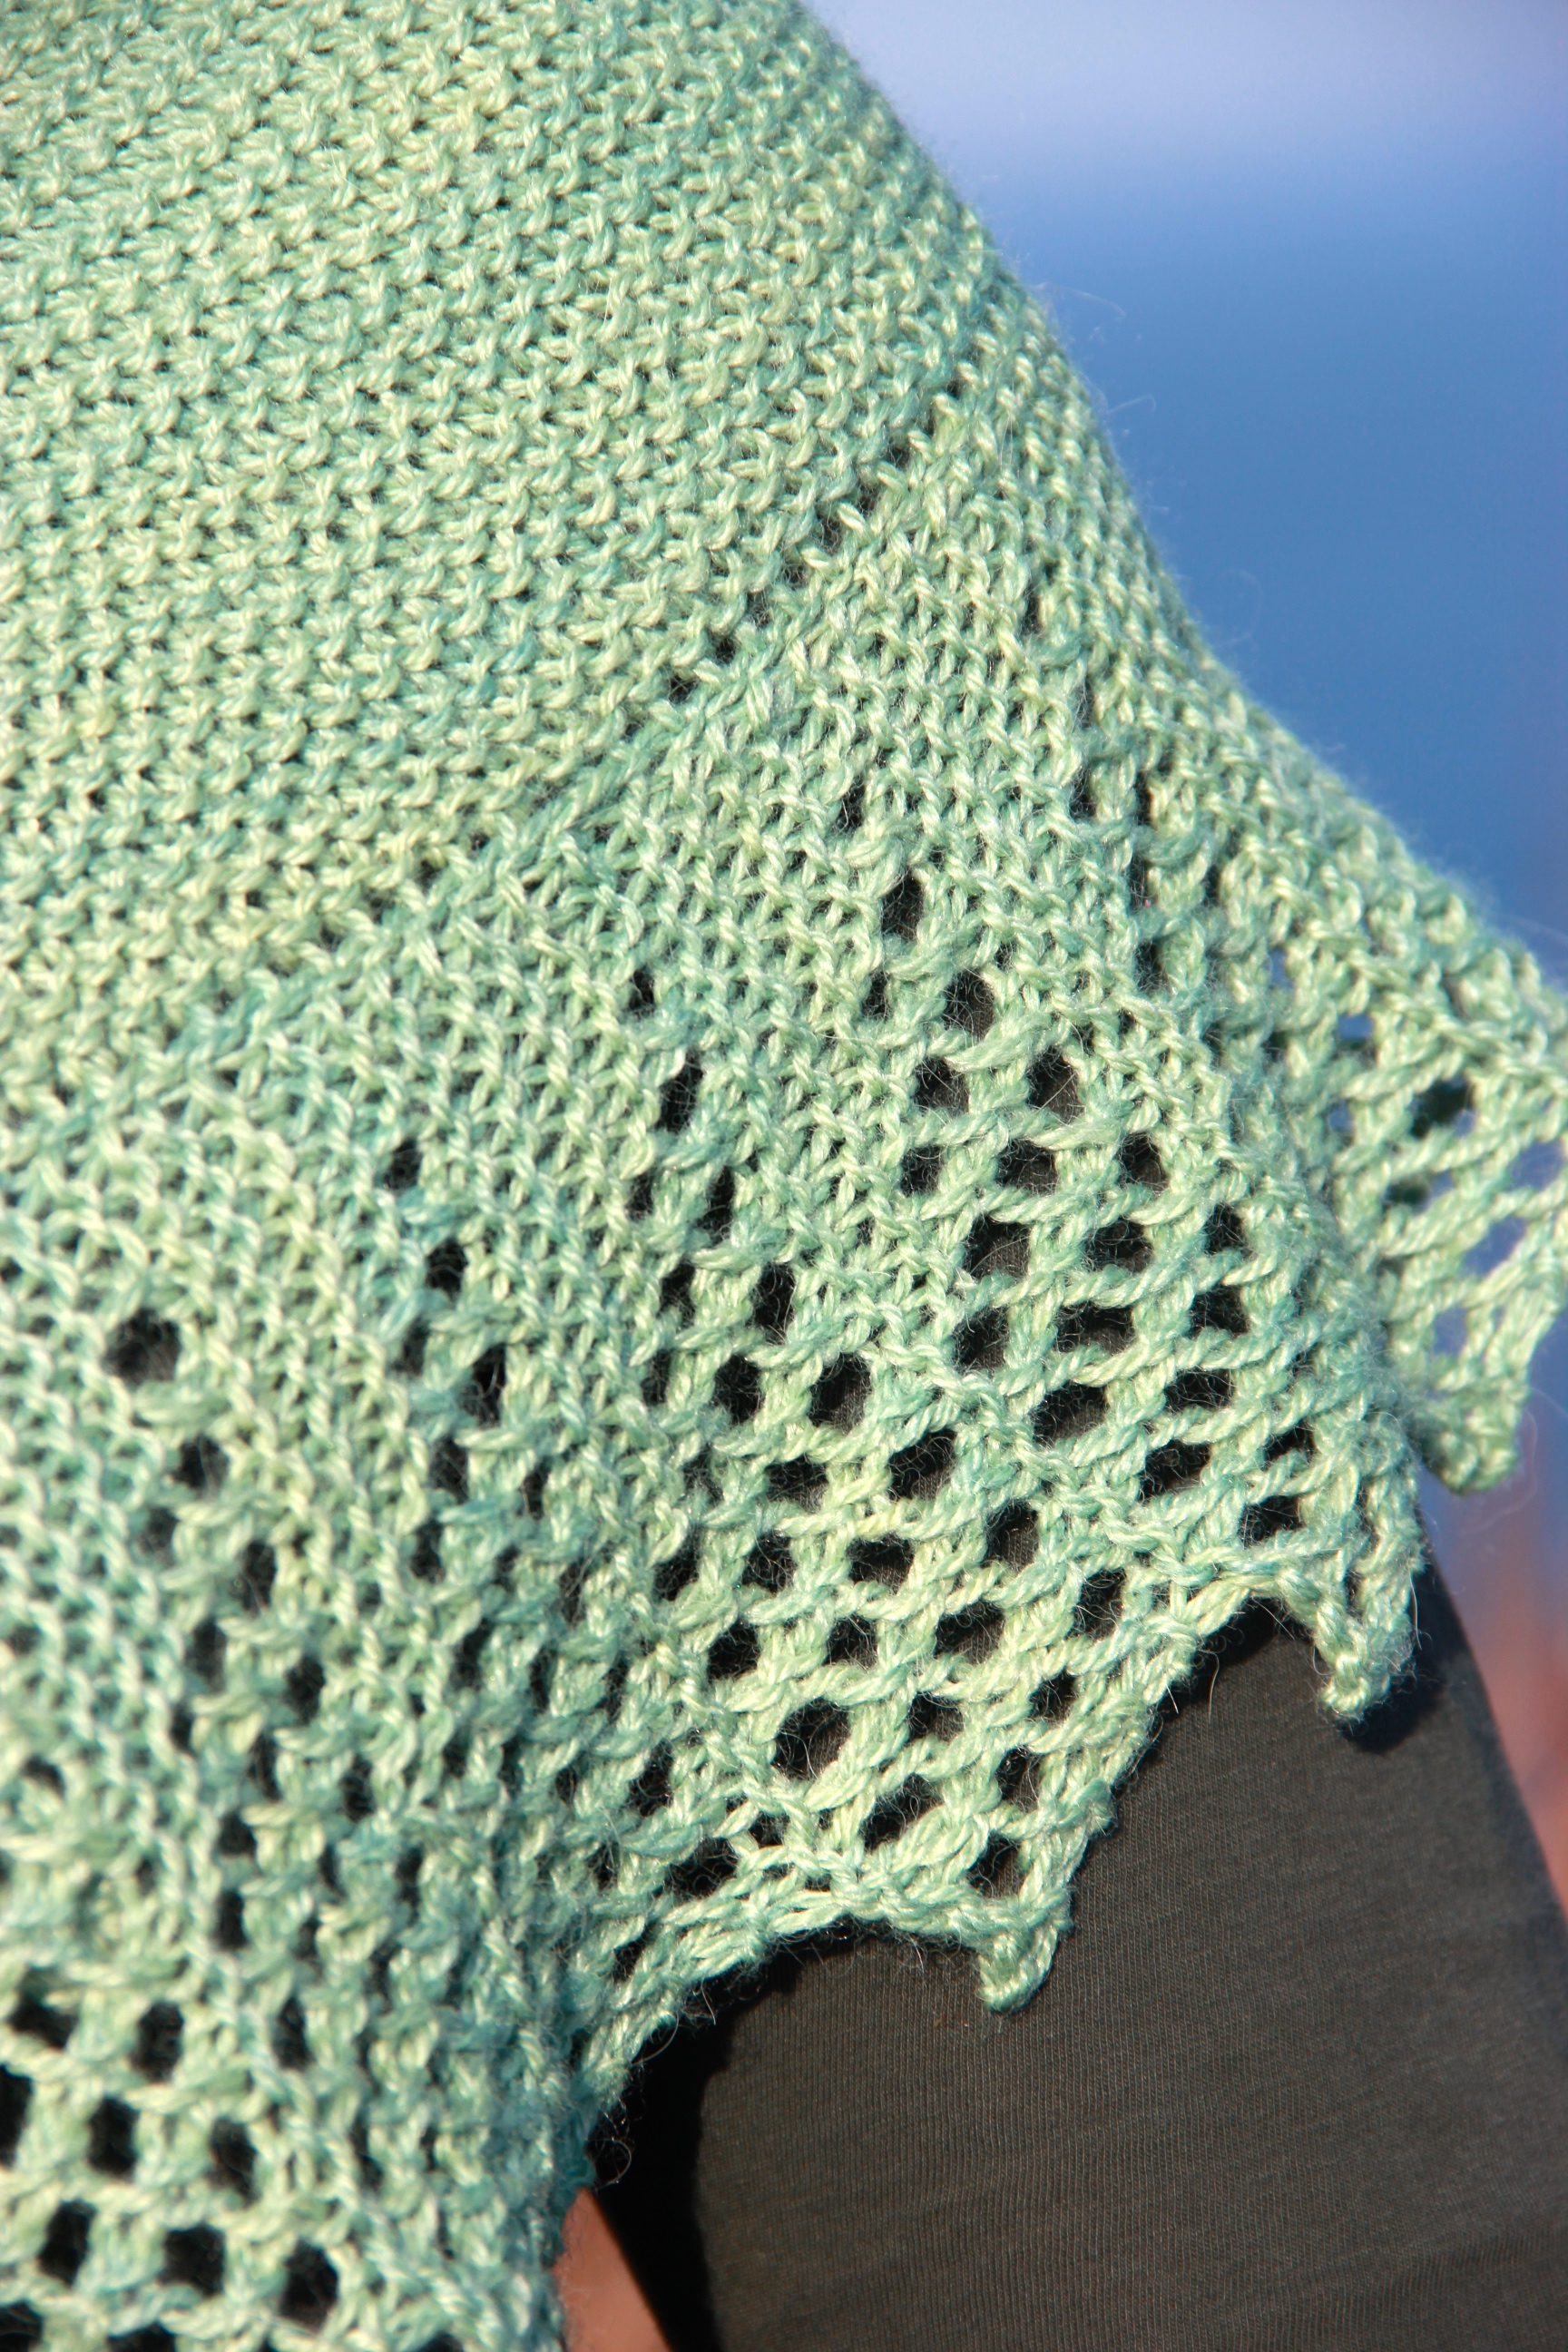
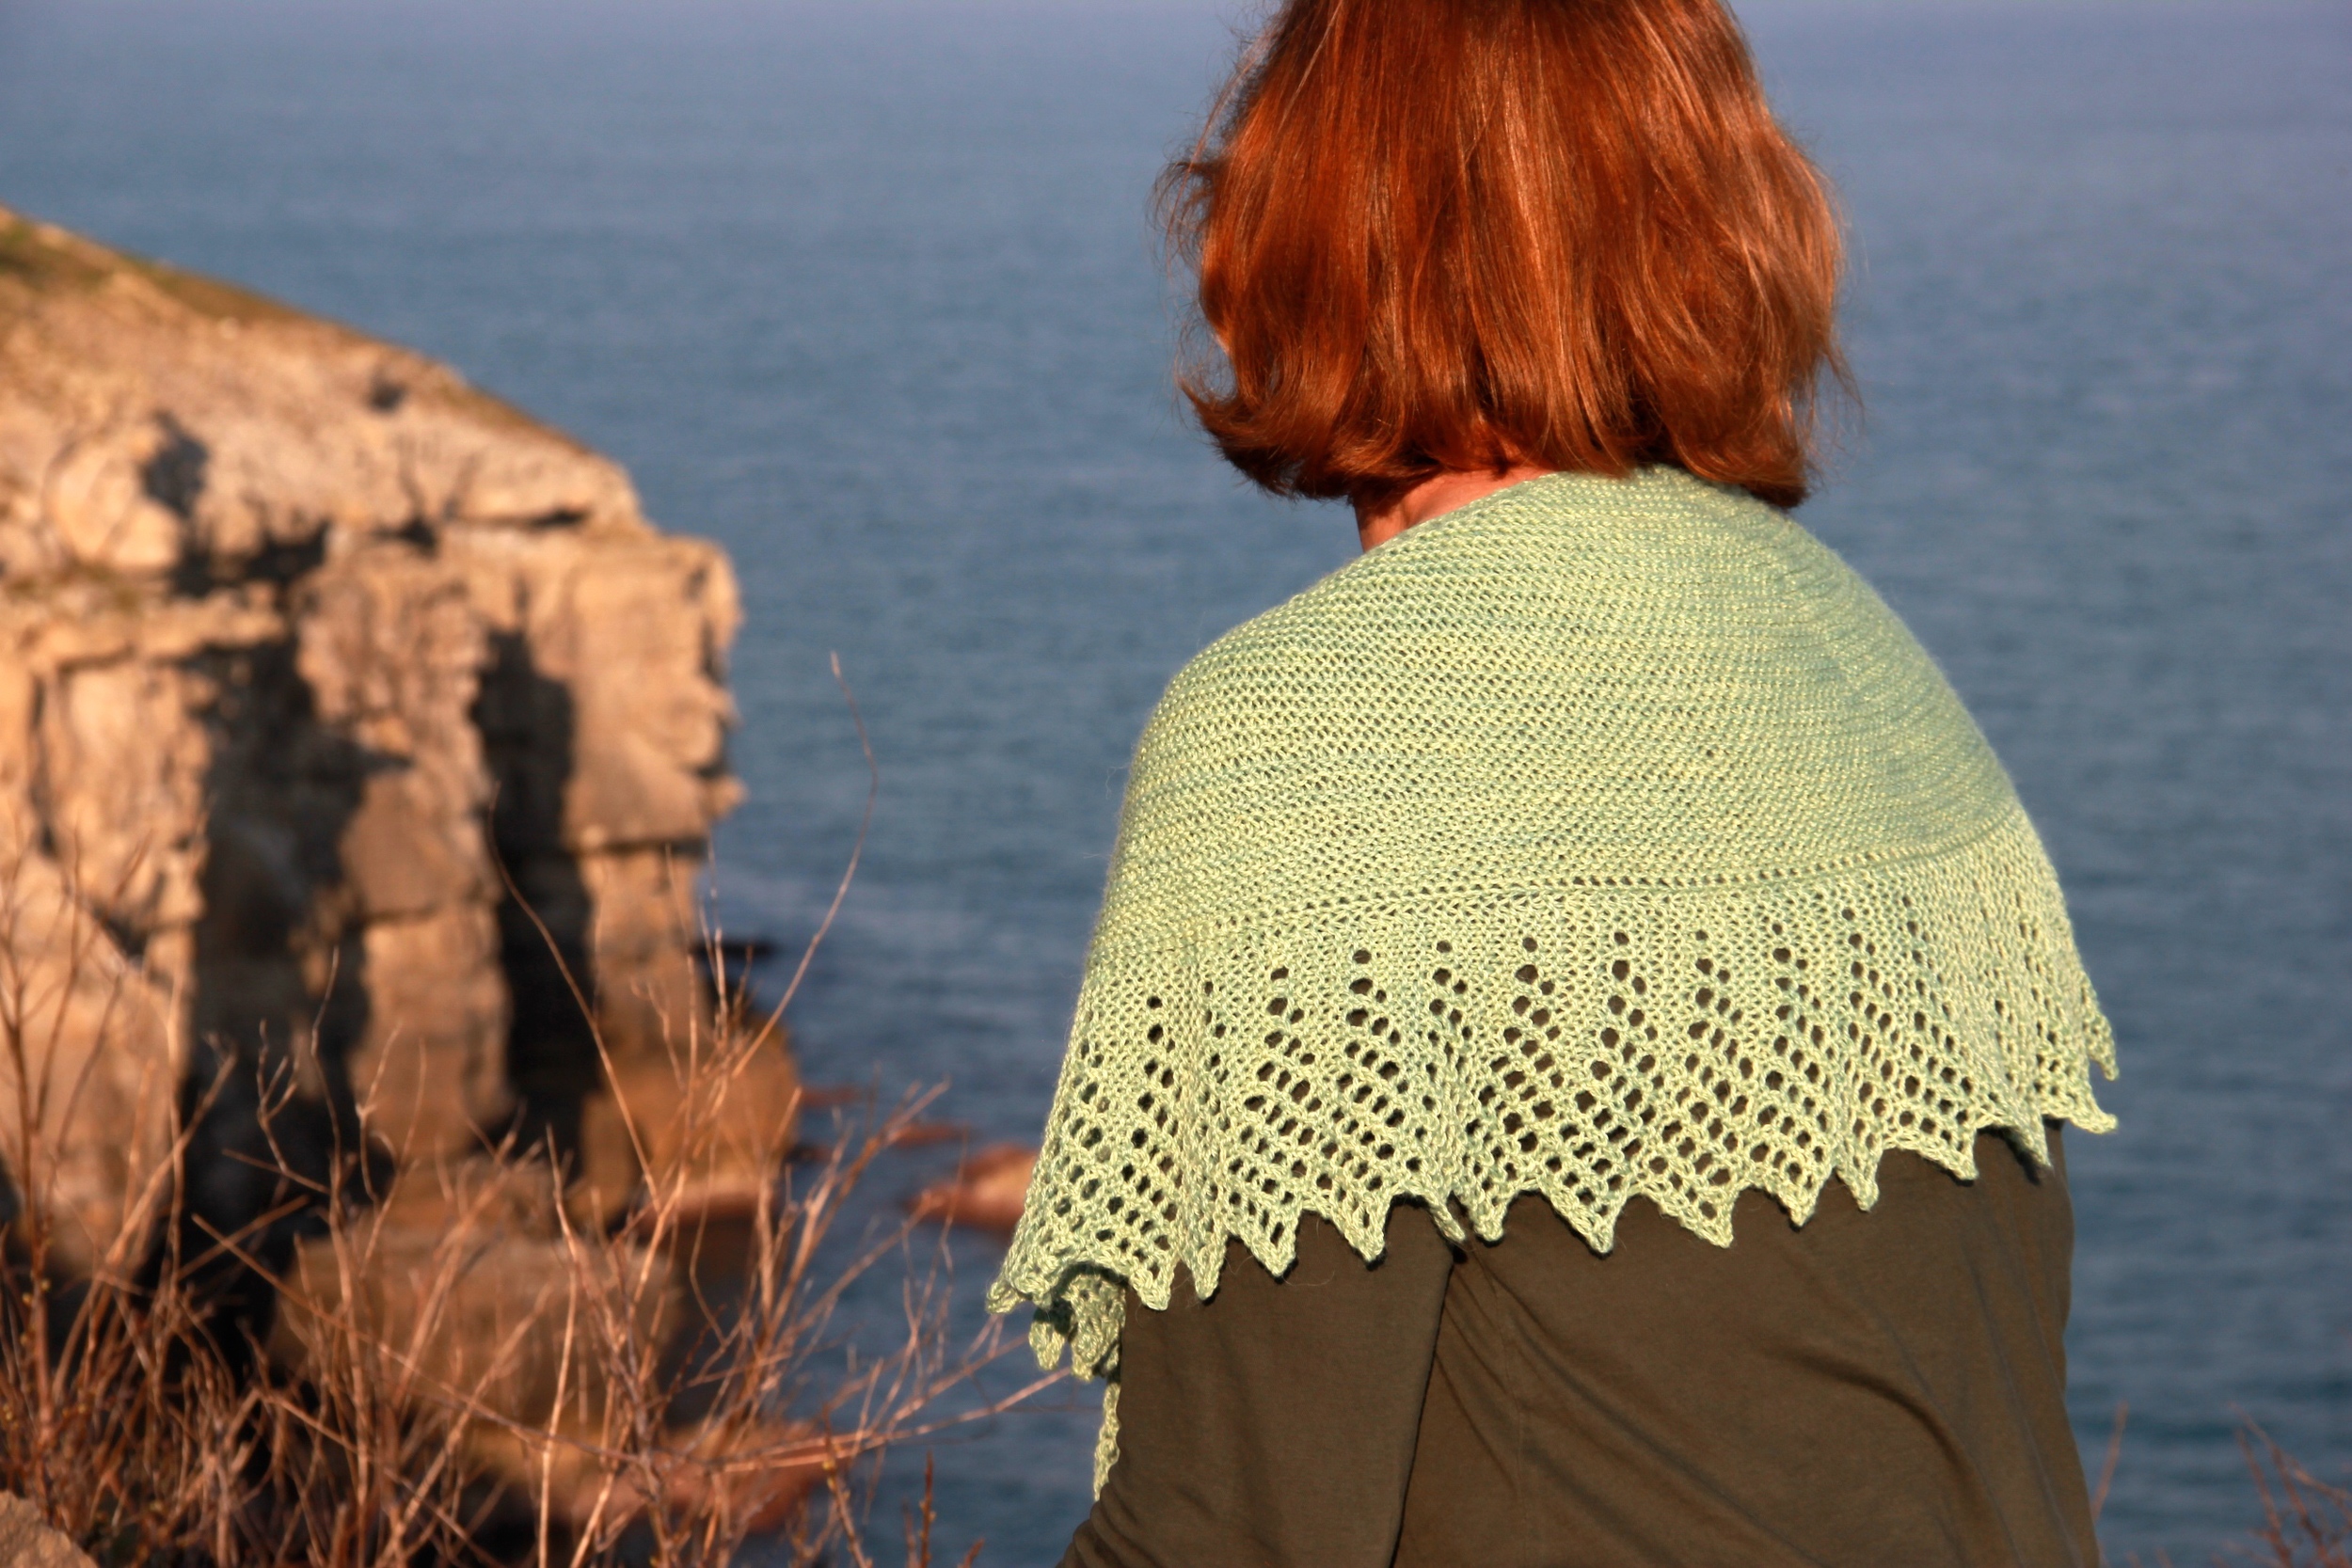
I think a lot of us probably have vast piles of handknitted objects to hand but don't actually wear all that many of them. Or we end up wearing just a small subset of our collection. Or maybe, it's just me! In any event, the #todayshandknit hashtag has inspired me to break out more of my woolly bits and wear them. The result is that I'm warmer and things that have been neglected are getting worn. Result!

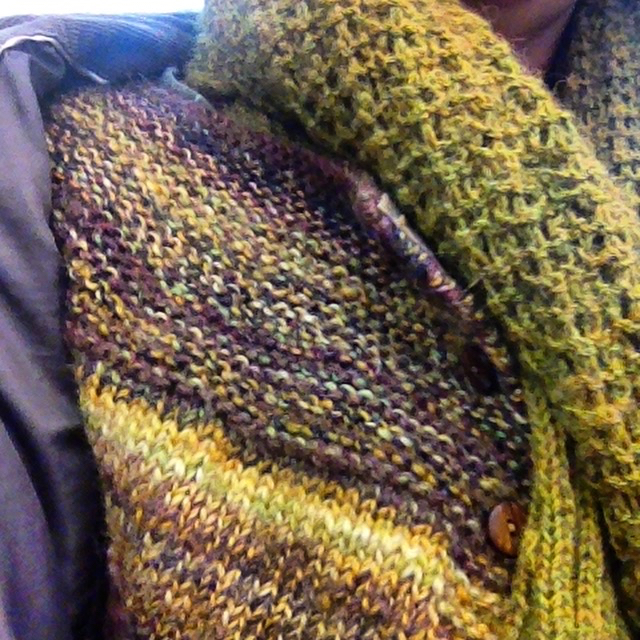
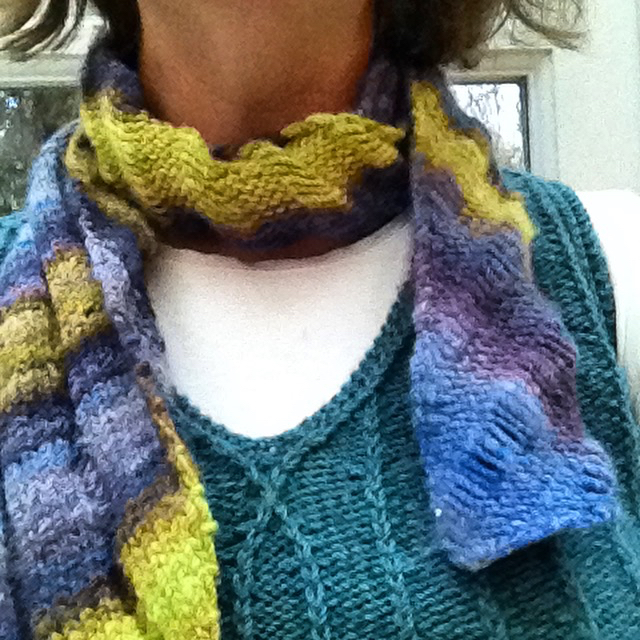
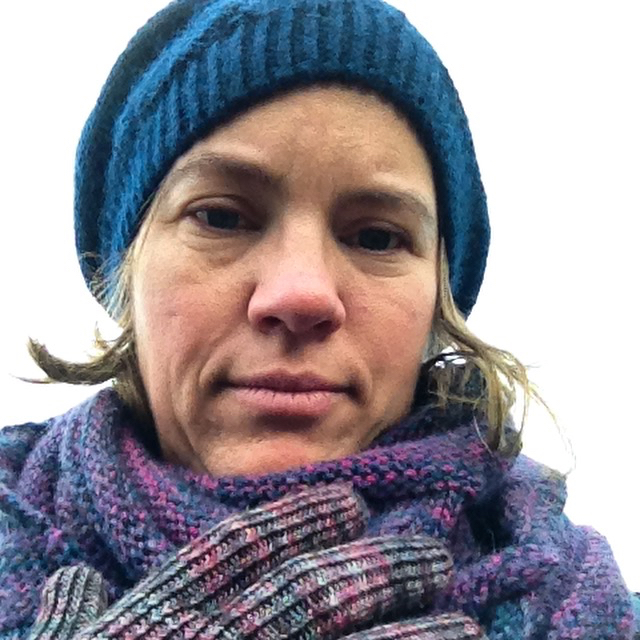
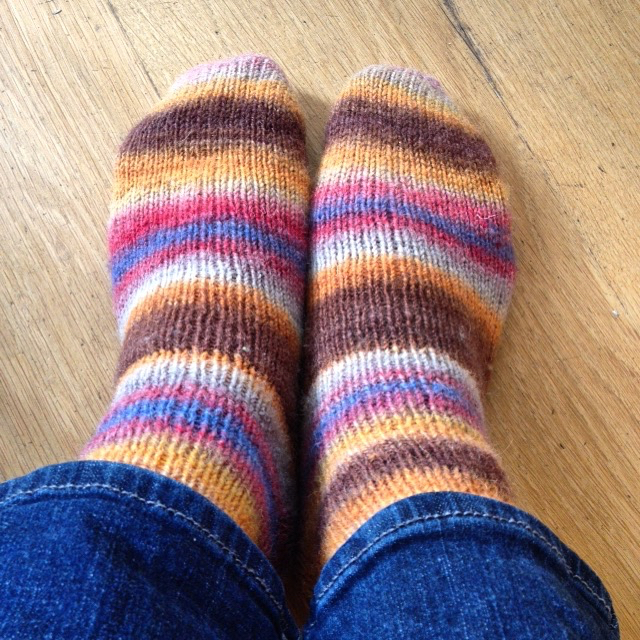
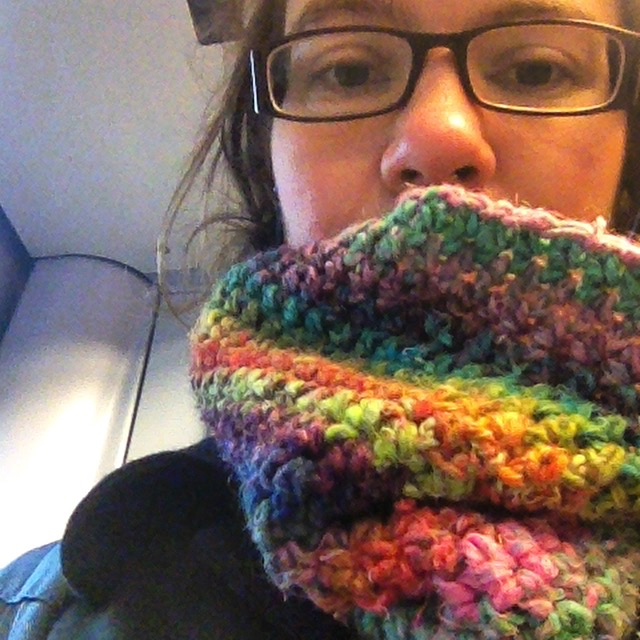
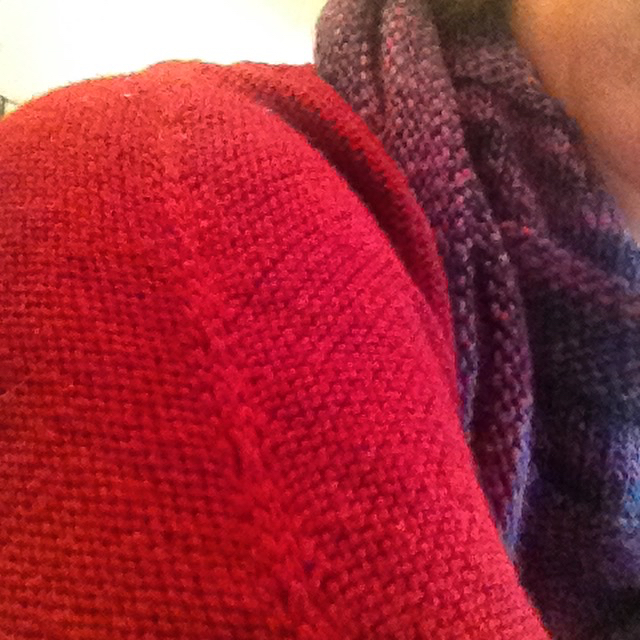
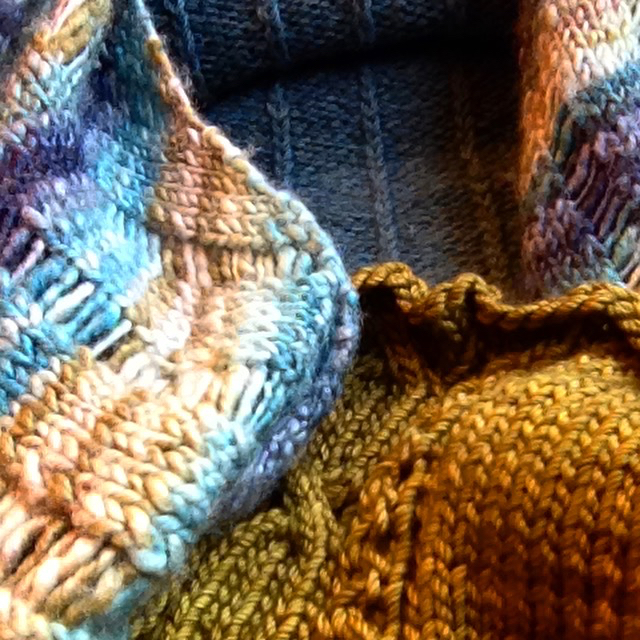
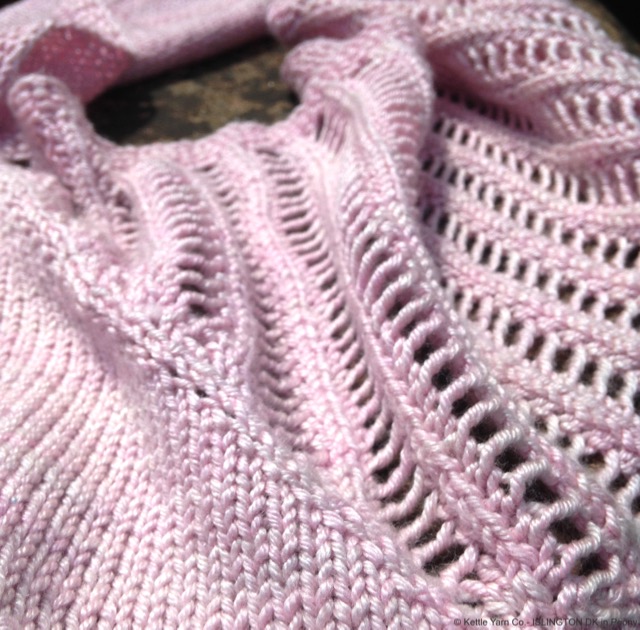
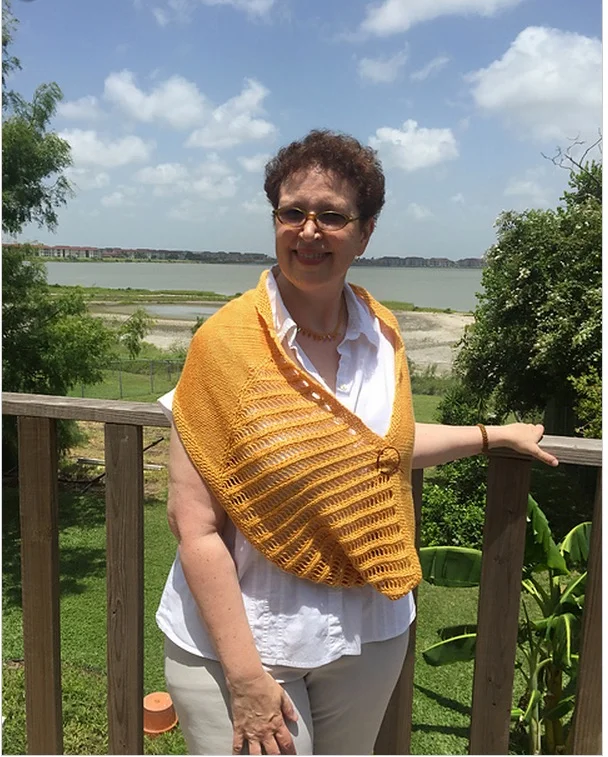
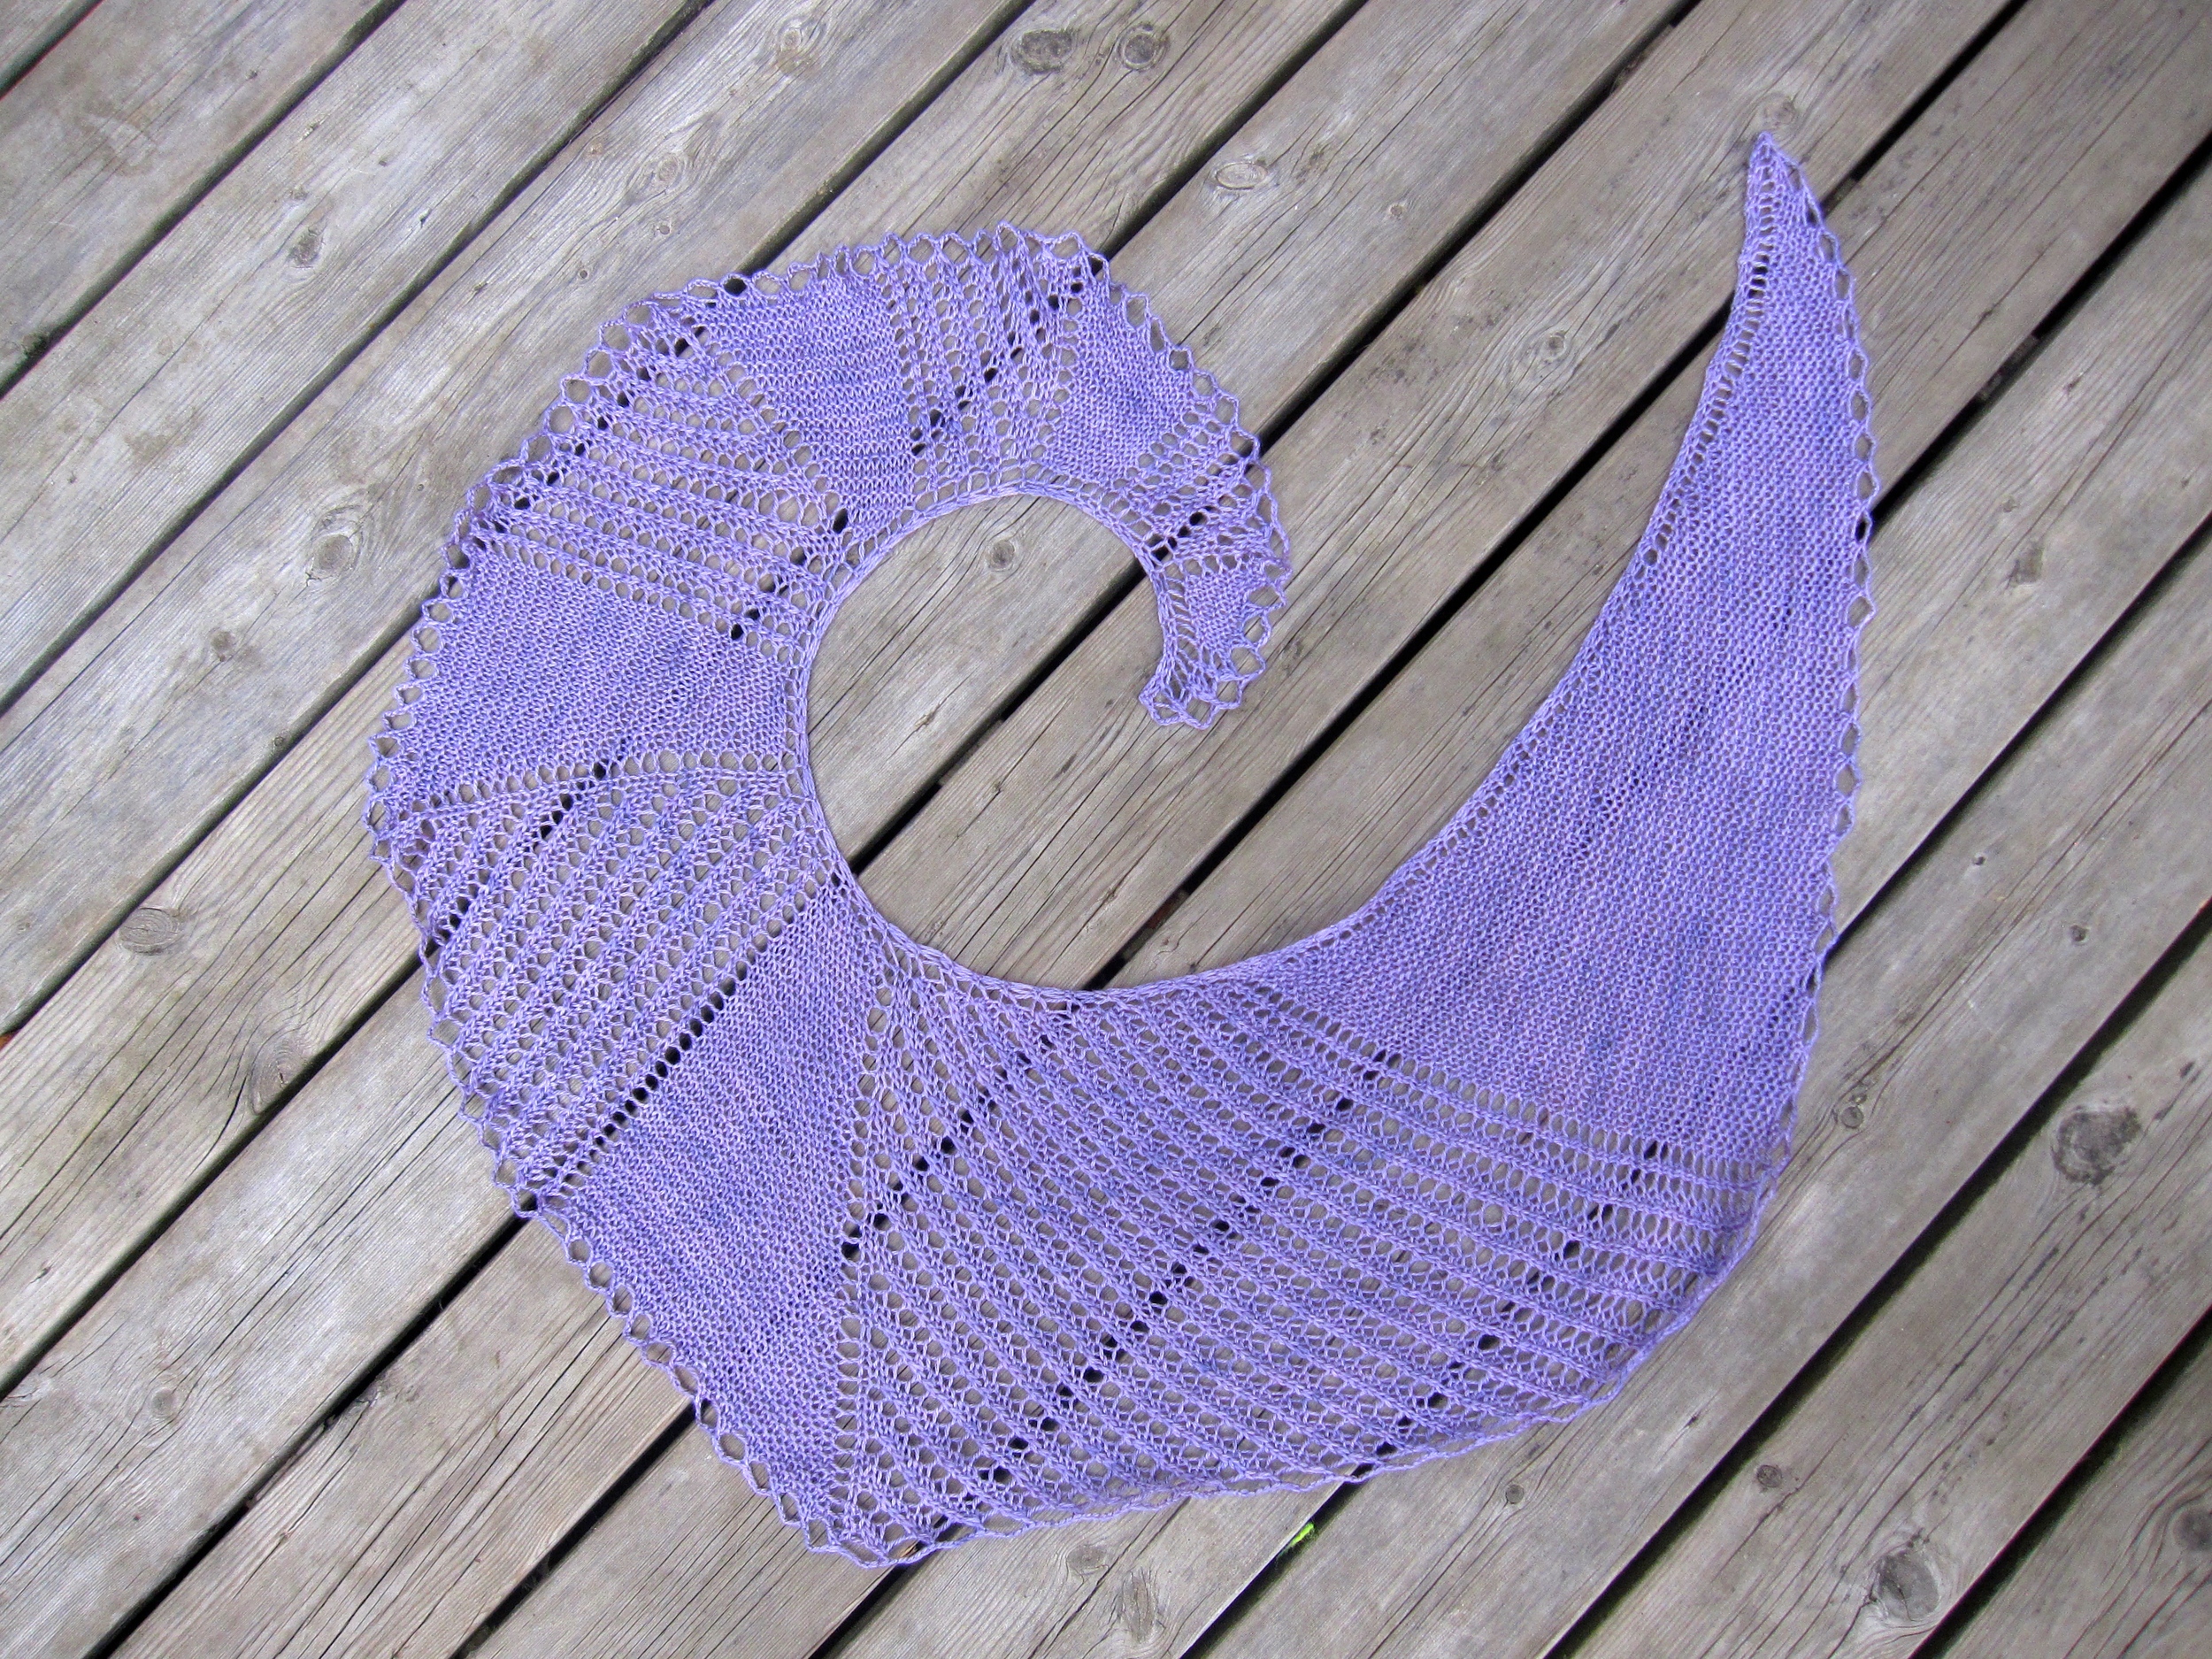
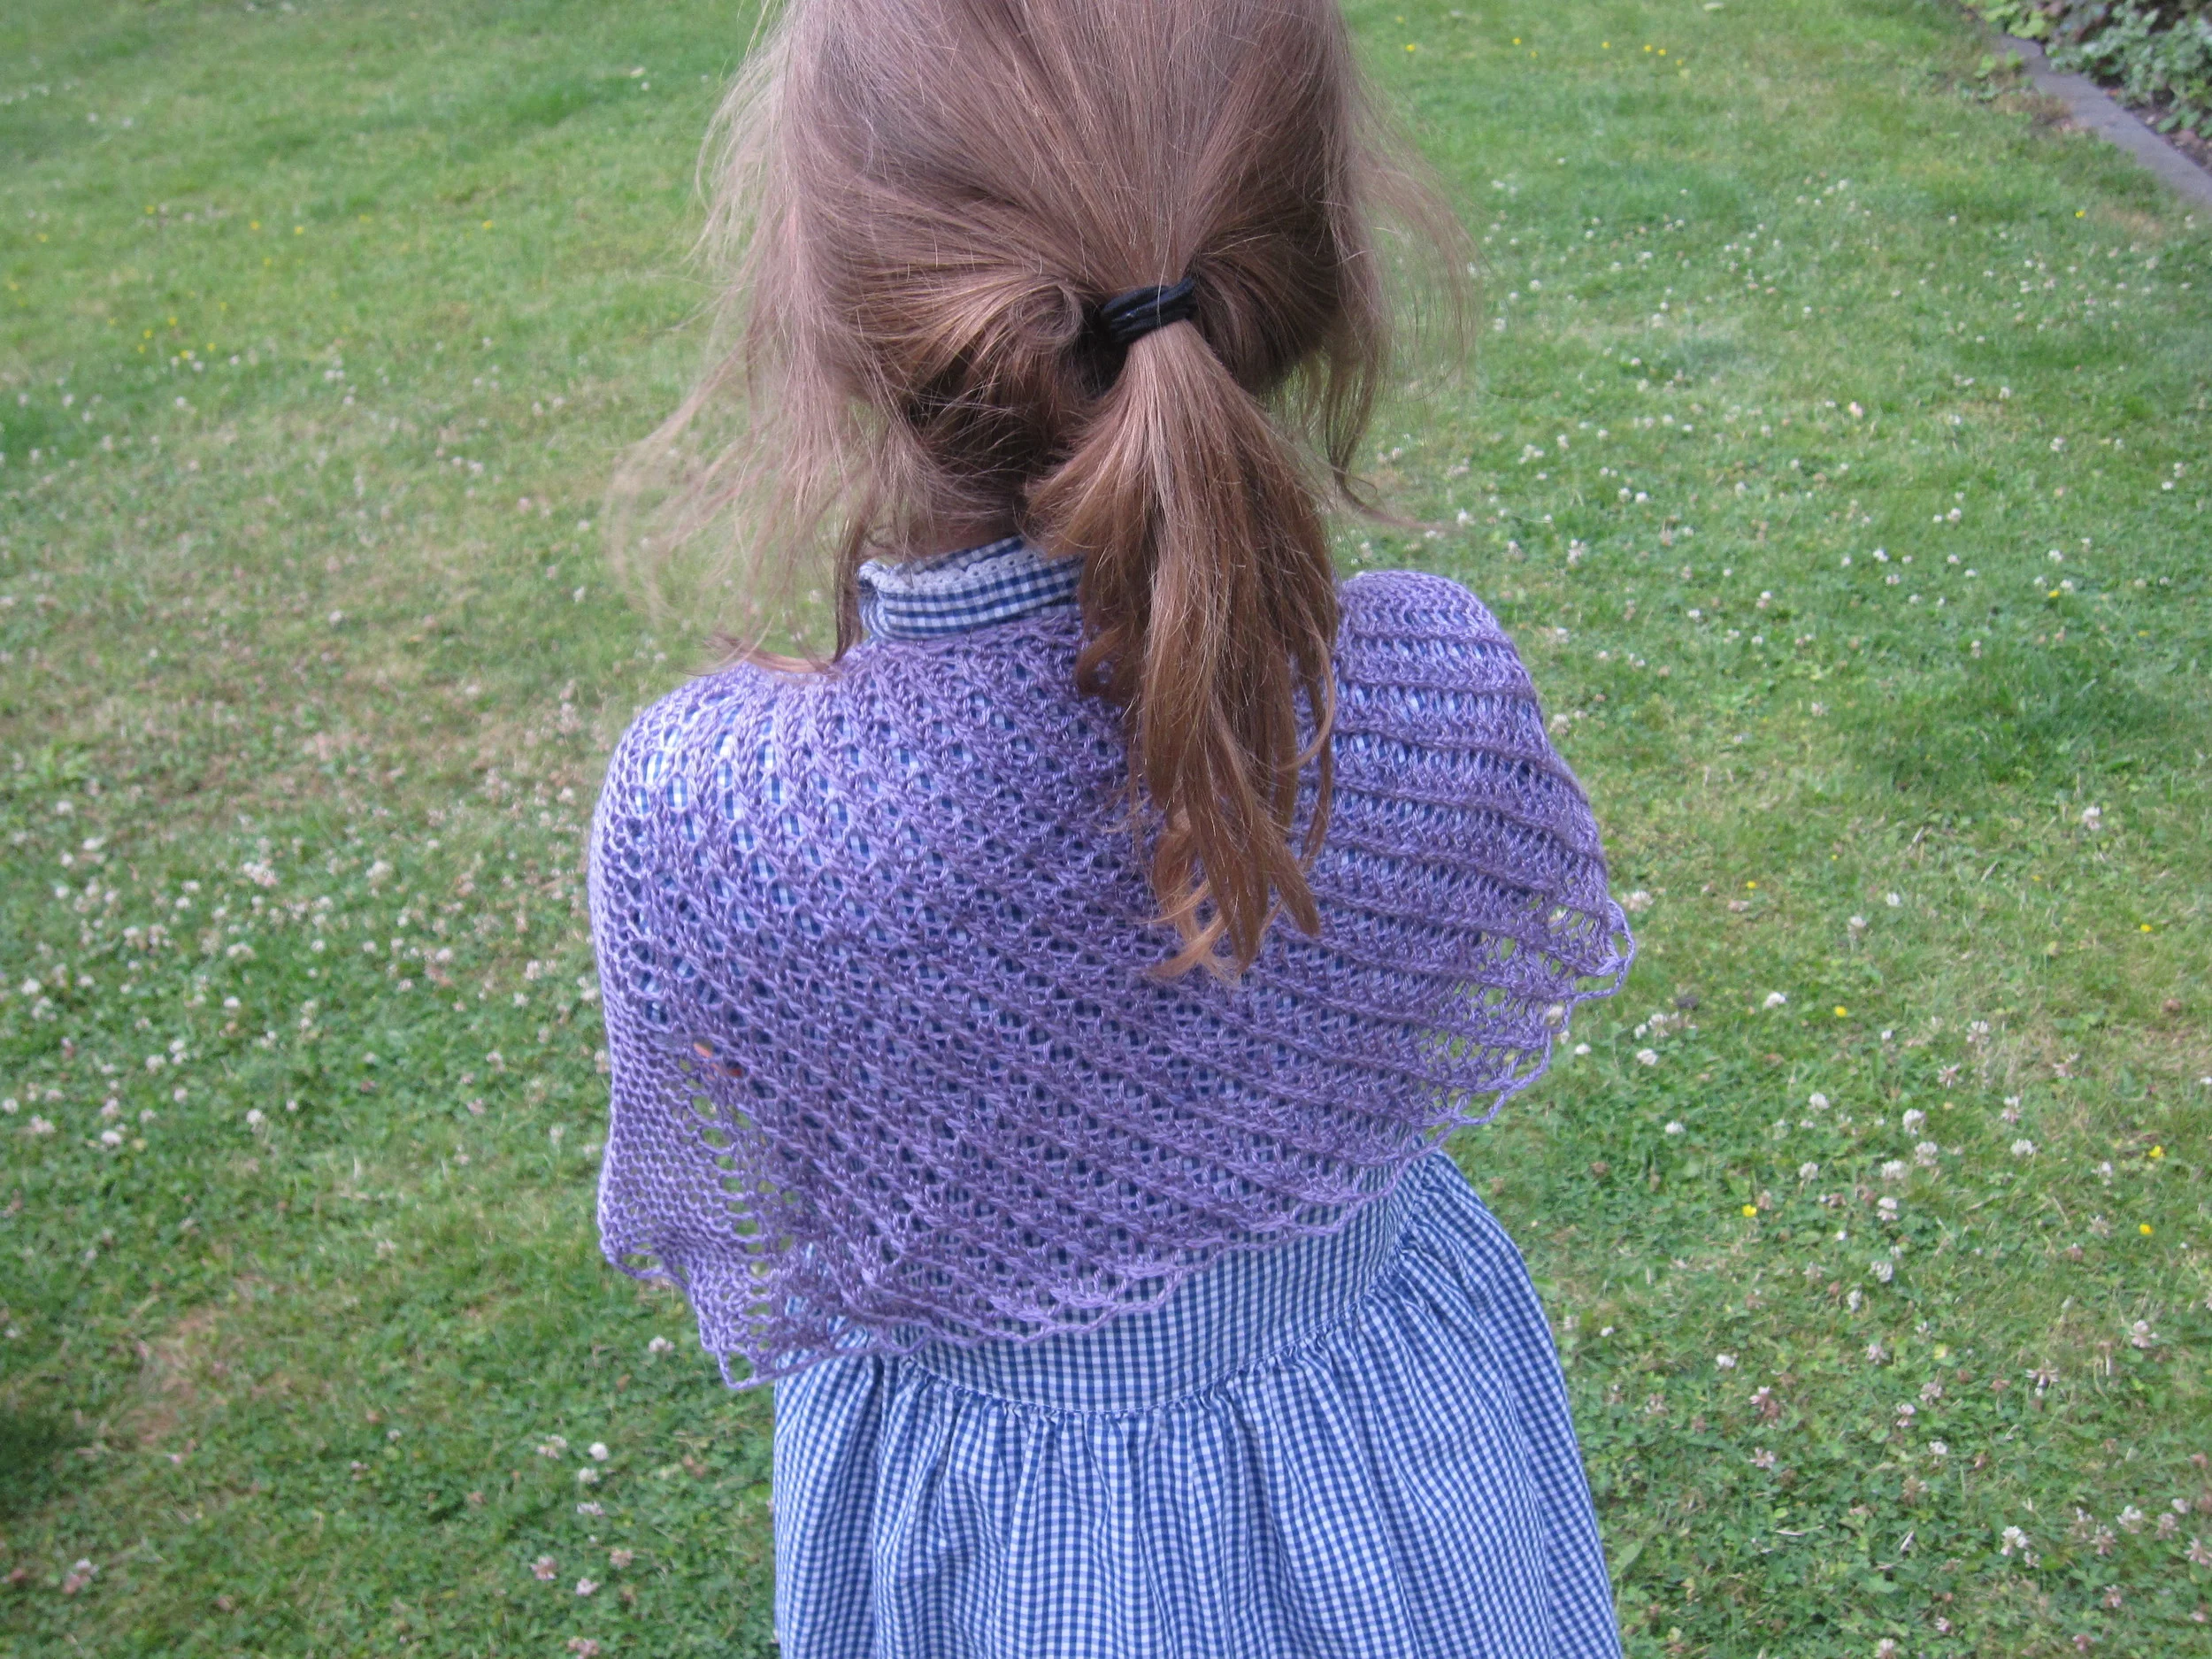
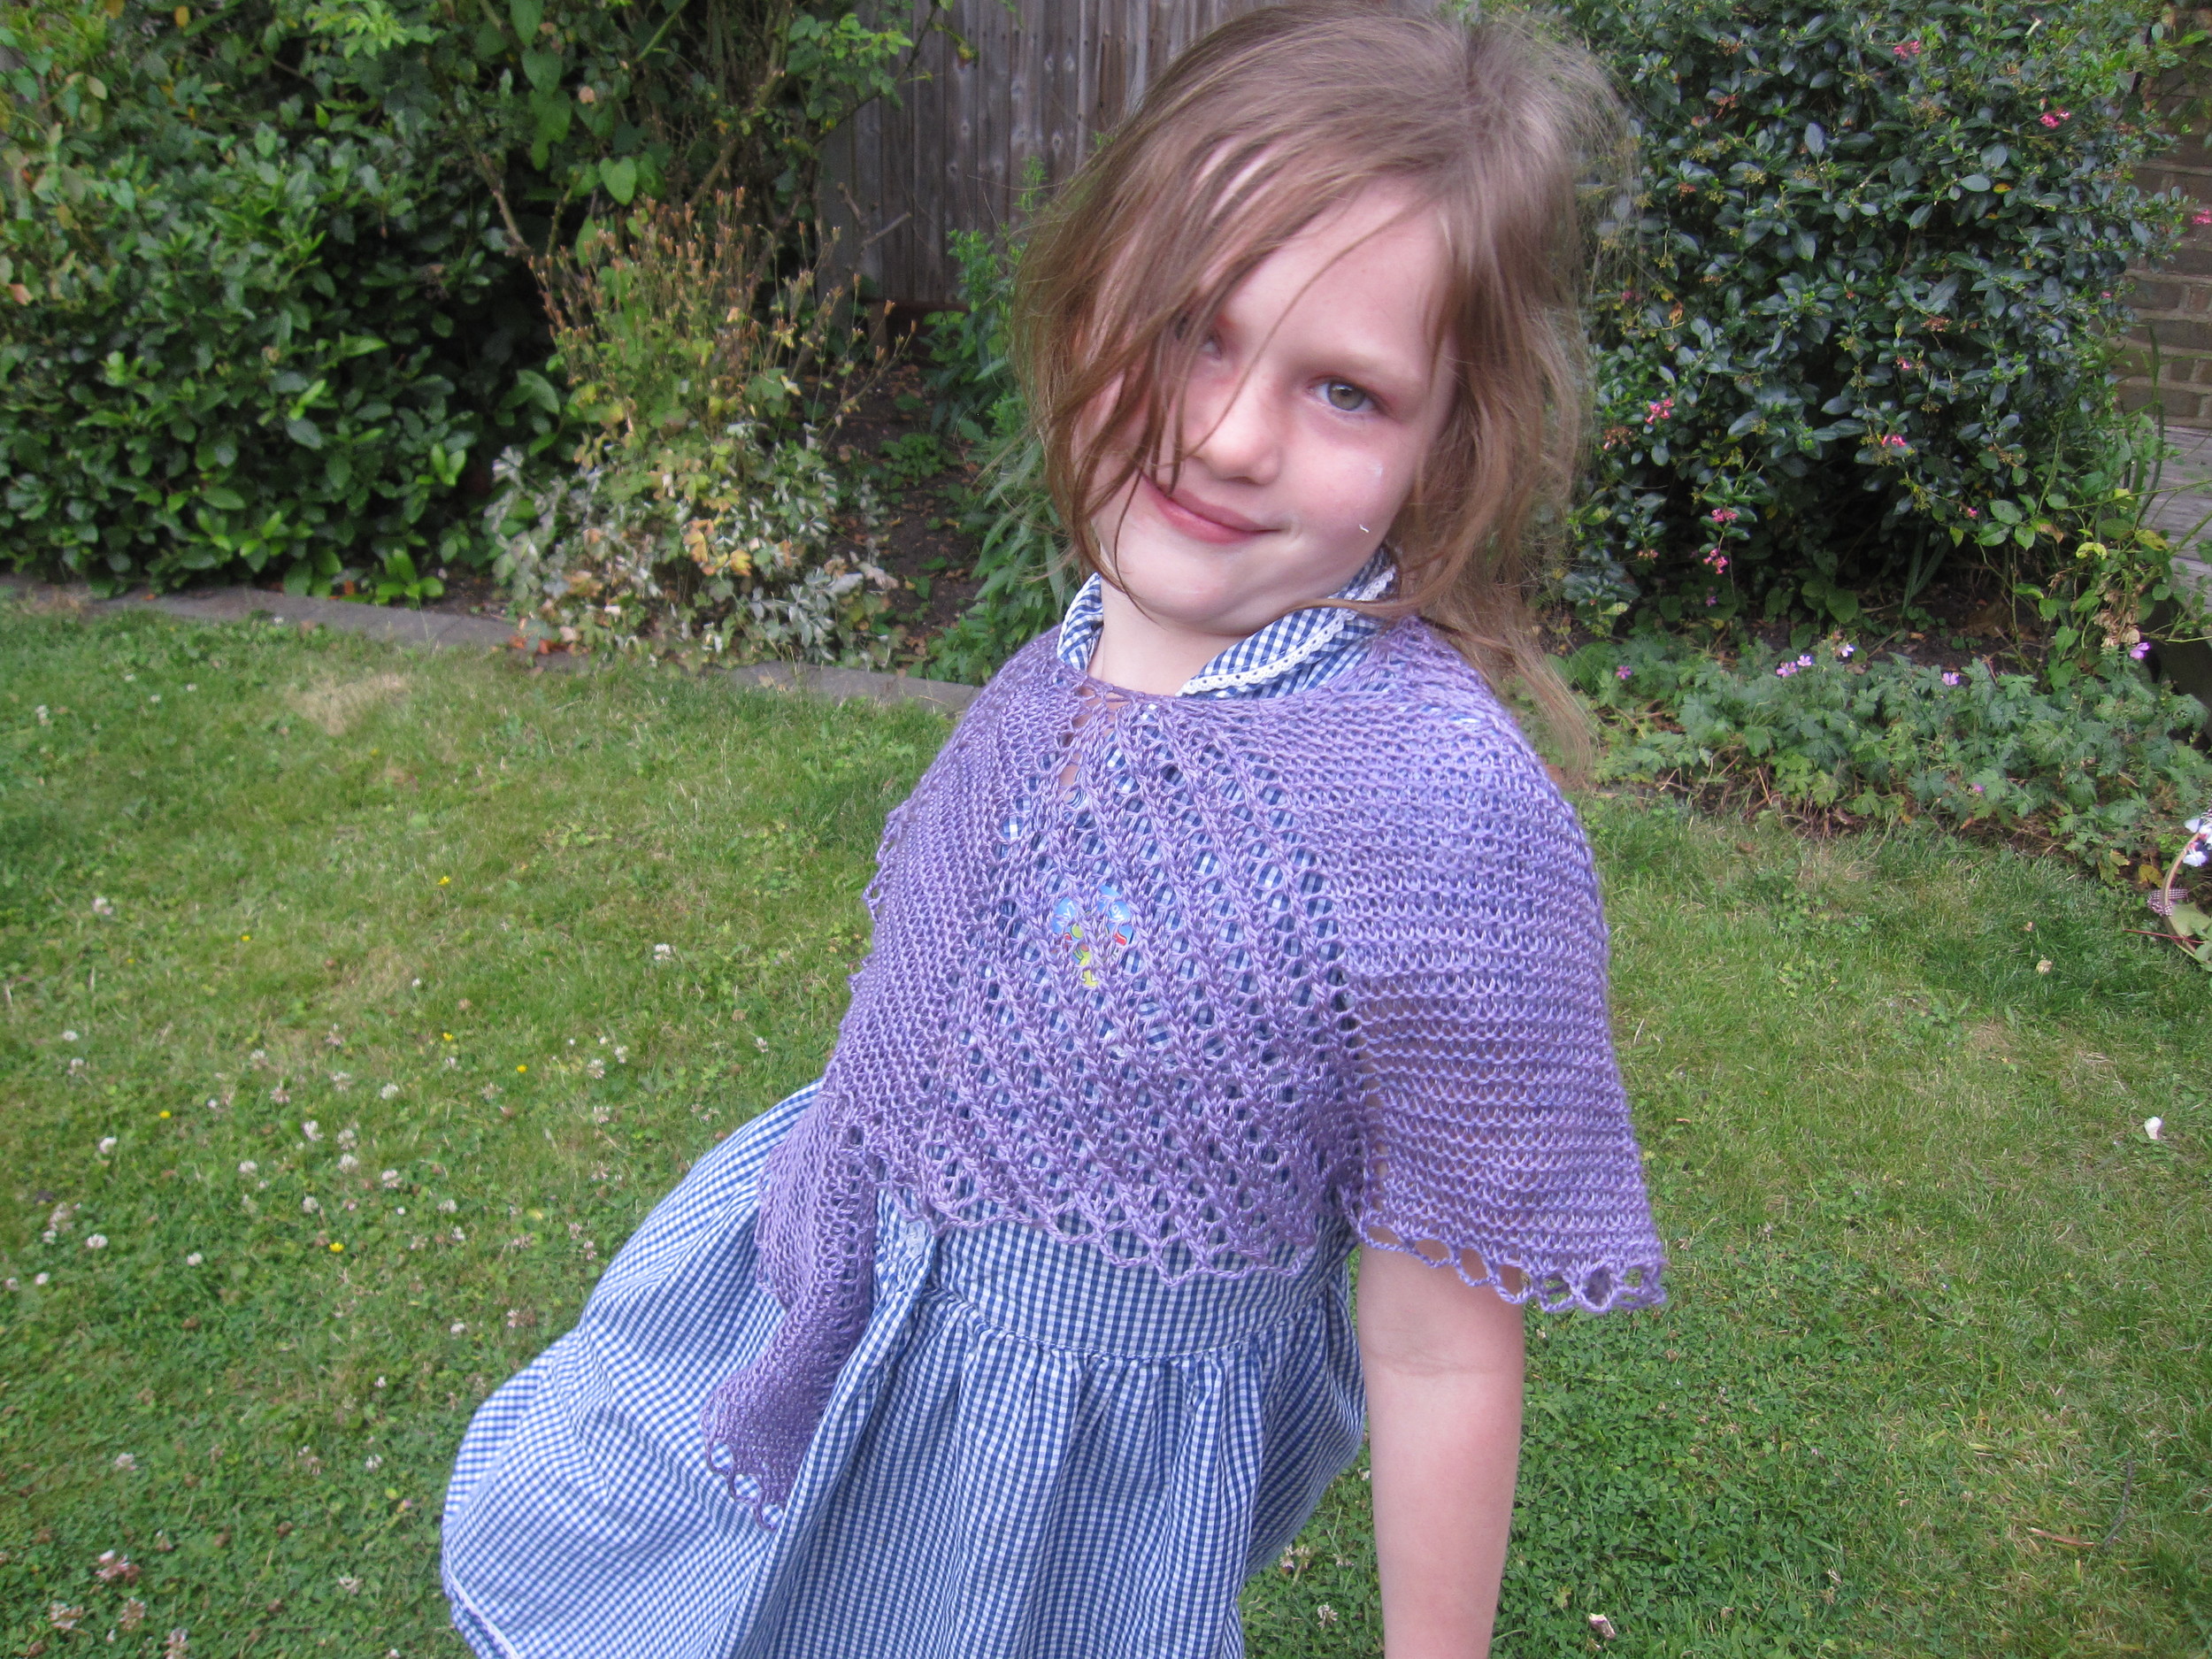
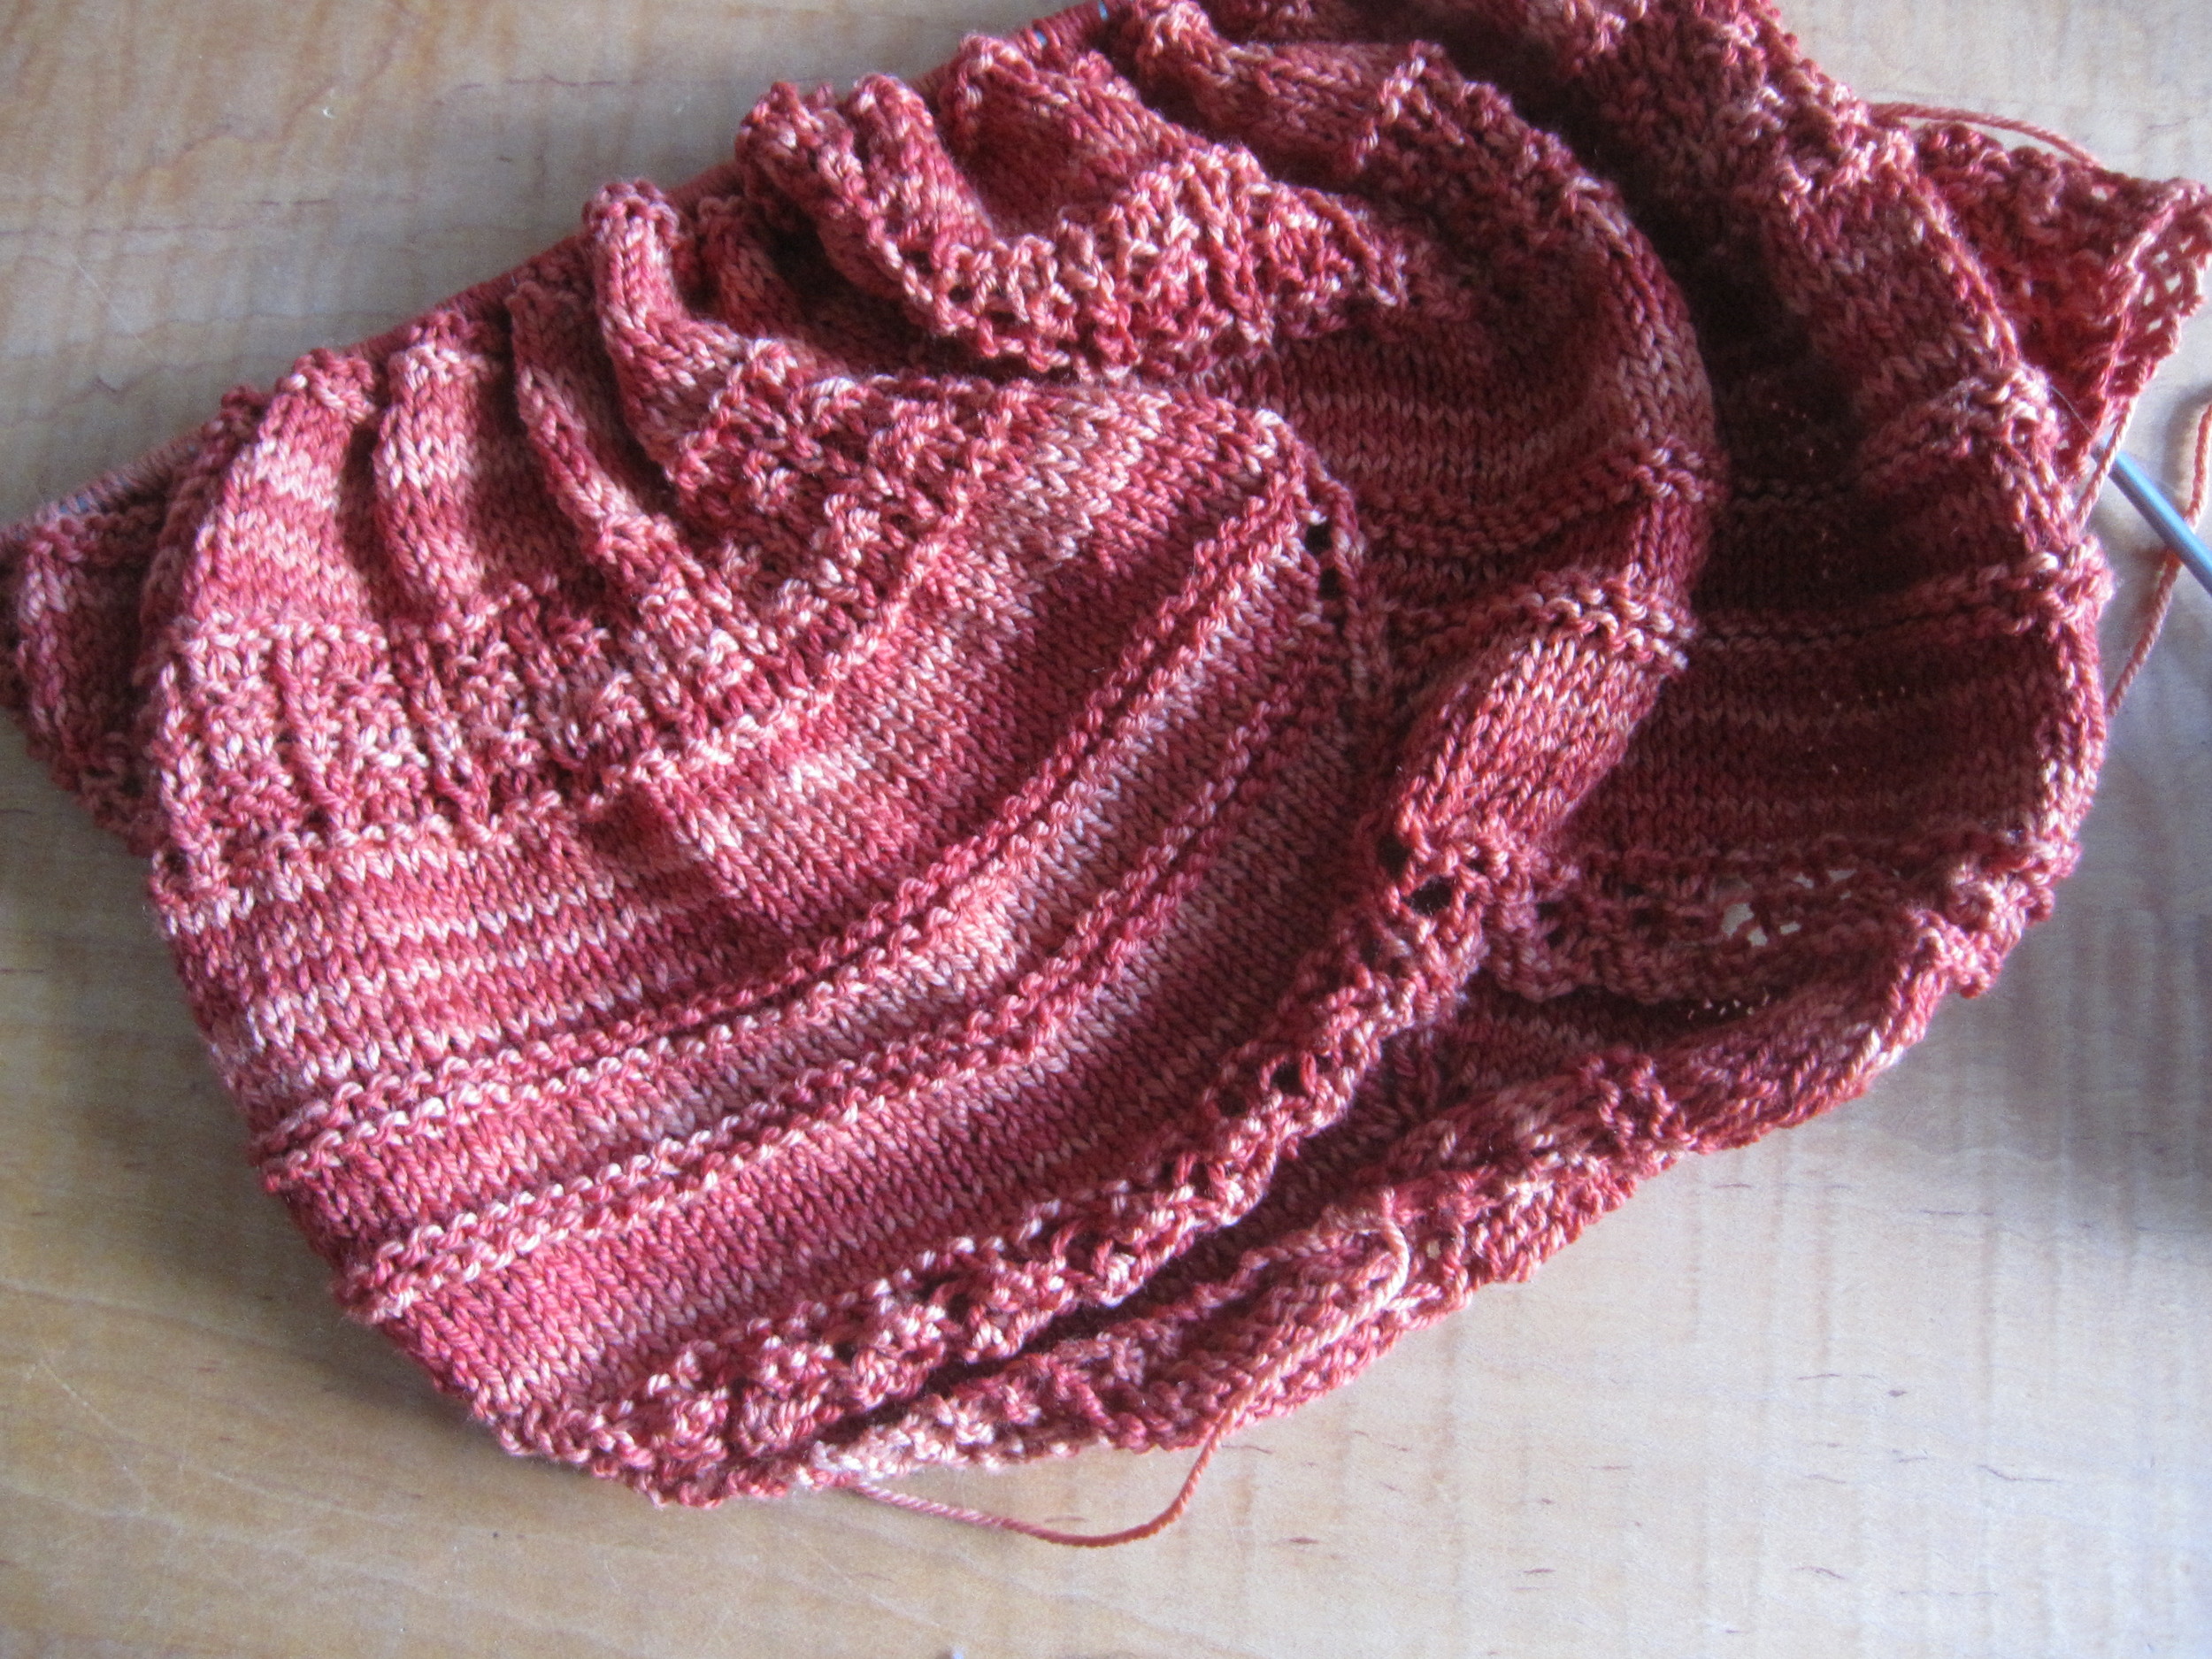
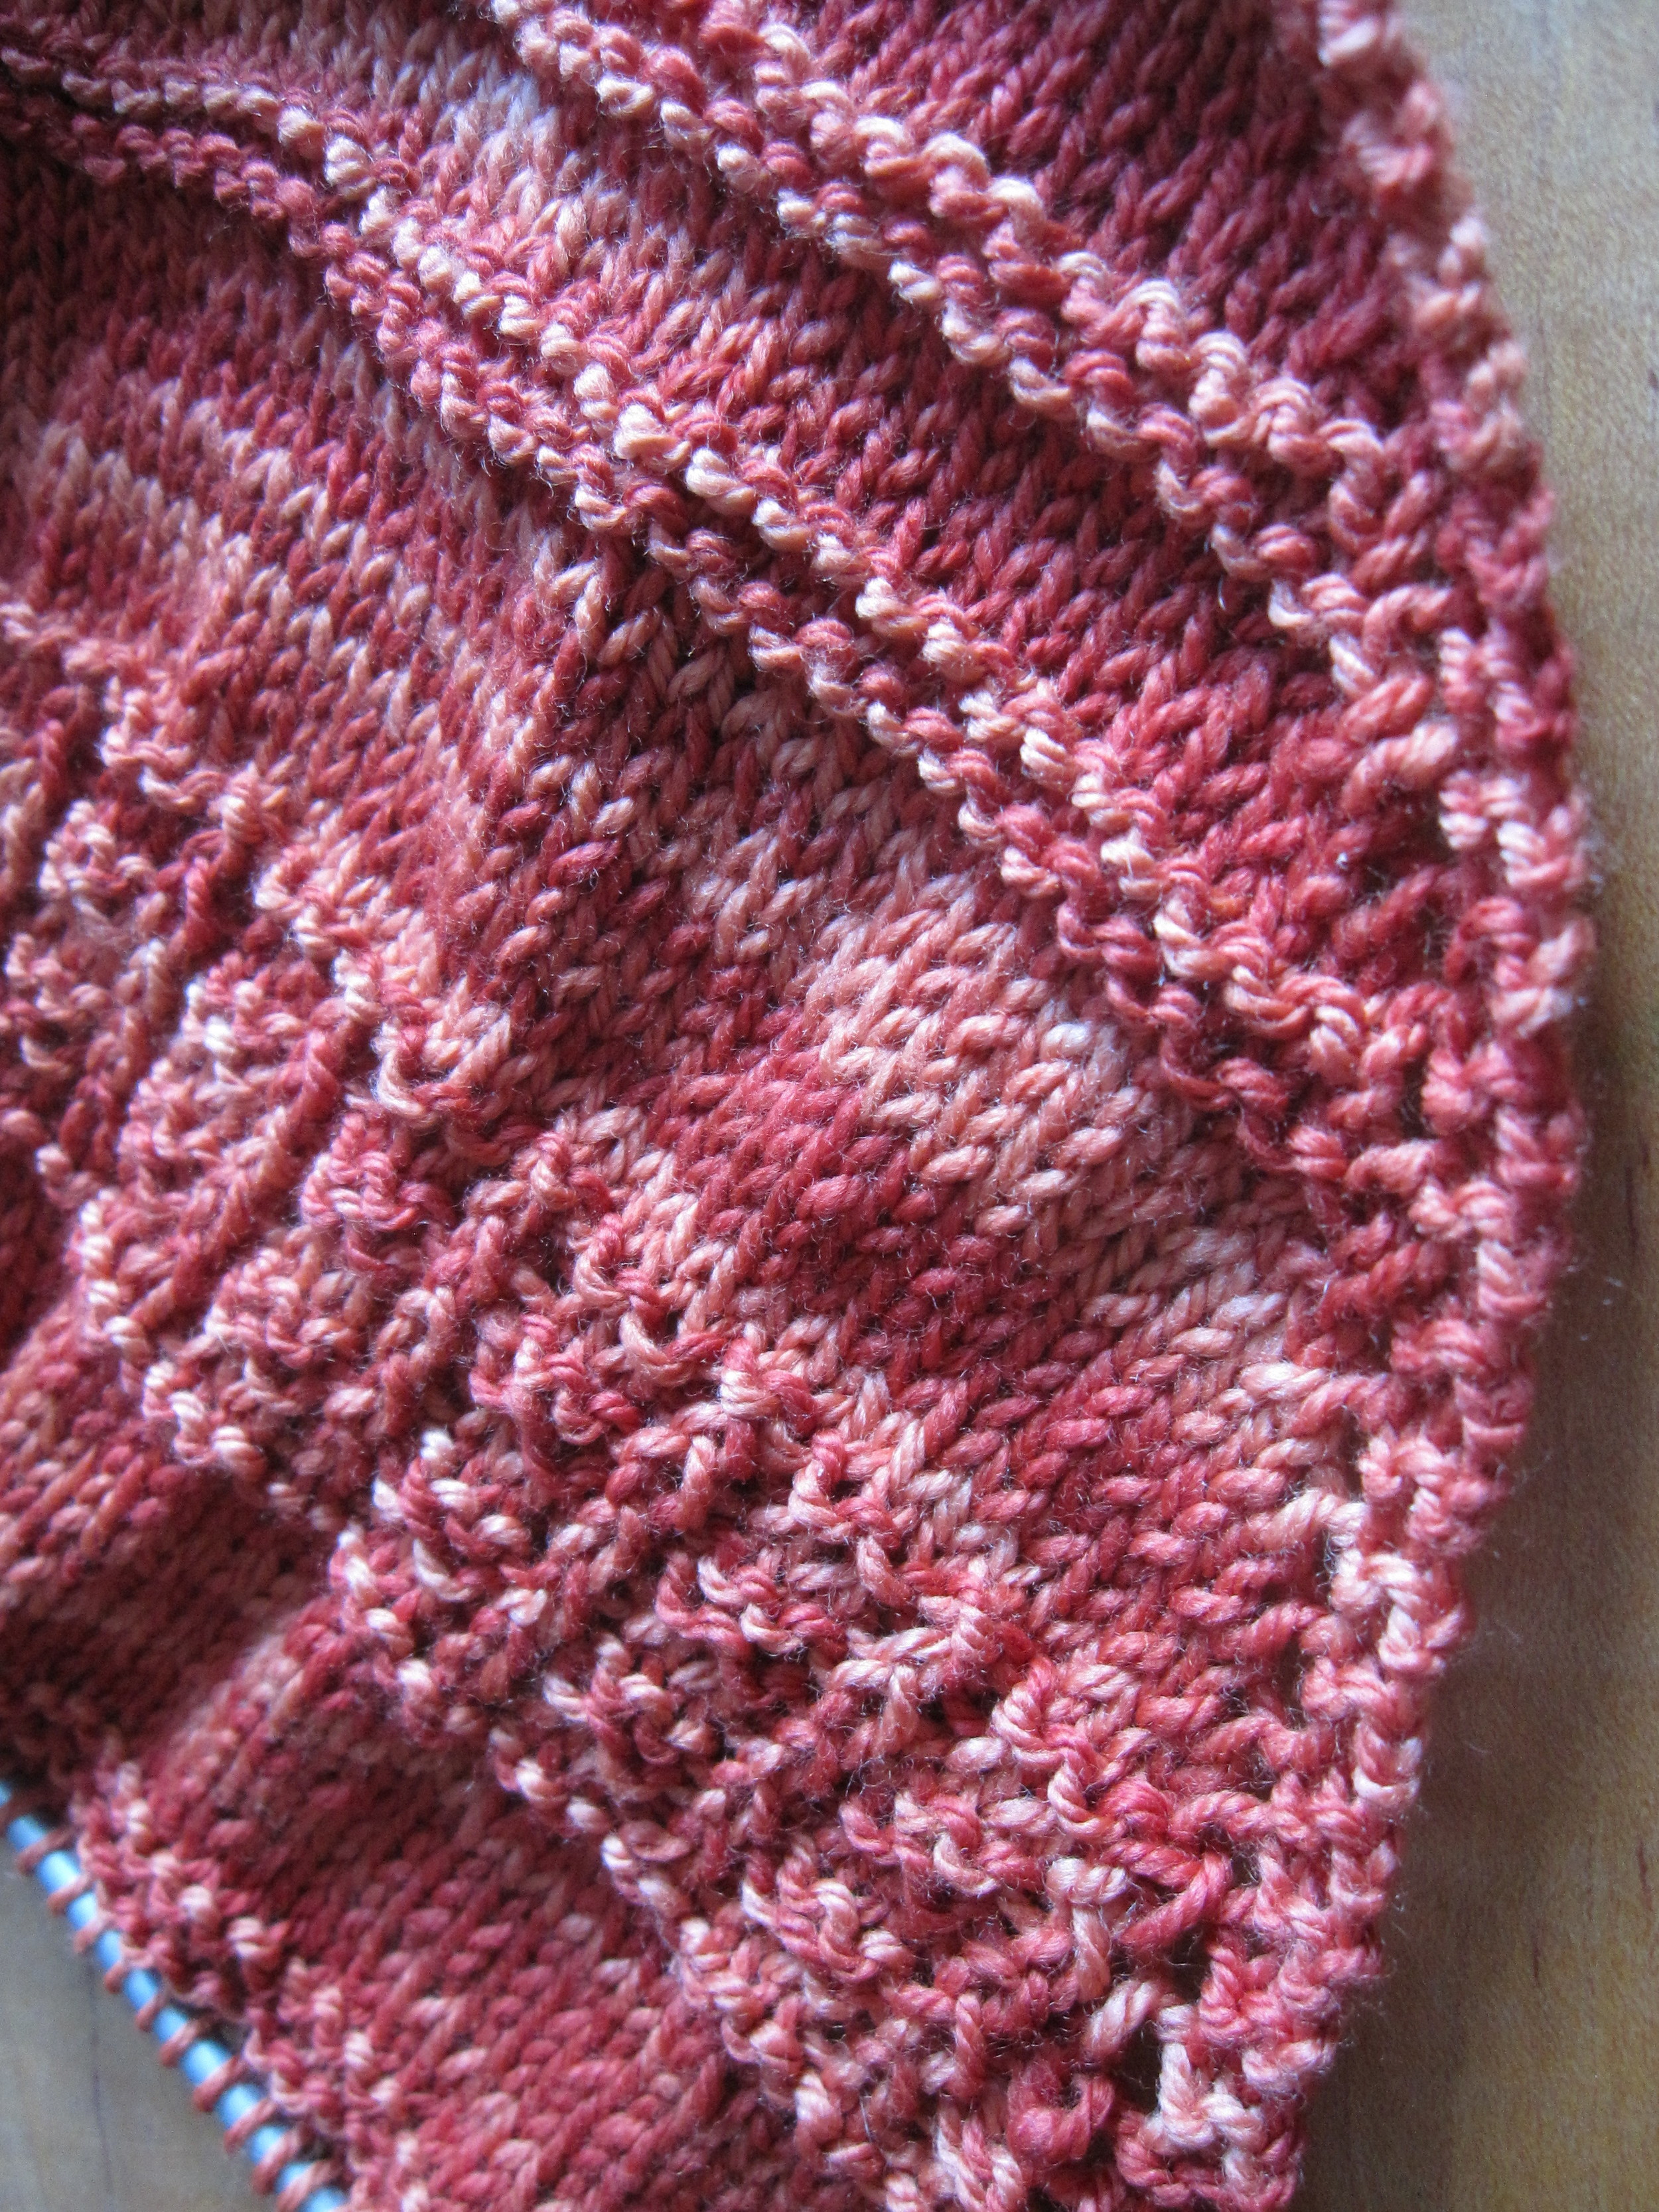
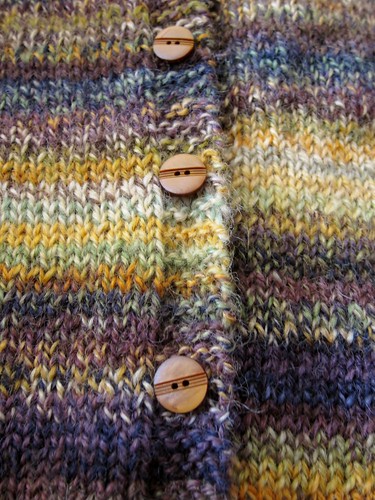
Items from top left to bottom middle: Handspun Garter Yoke Cardi and Windmill Bay Stole in Drops Alpaca; handspun Clapotis and Angostura vest in Cornish Tin; handspun Aestlight Shawl and Paris Beret in Classic Elite Lush; handspun Groovy, Oxford hat in baa ram ewe Titus, Butterfingers in Botany Lace; handspun vaniilla socks; Ravensprings Cowl in Noro Obi; Juniper in Campolmi Roberto Filati Baby (and Groovey); another handspun Clapotis with the Angostura vest and my current WIP, Dark & Stormy in SweetGeorgia superwash worsted.

These are things worn in the last couple weeks of November, and I'm looking forward to a December collection soon. Want to join in? Use #todayshandknit and tag me (@porpoise_fur) on Instagram to play along.

The Boardwalk Collection Blog Tour - Bagatelle Cowl

Welcome to Stop 8 on The Boardwalk Collection blog tour! When Kettle Yarn Co. first contacted me about being a part of this endeavour to highlight the new DK version of her extremely popular Islington fingering weight yarn, I was thrilled with the inspiration and design spec - Linda asked for pieces with lots of negative space, highlighted with geometric lace designs. I was hooked!

Bagatelle Cowl in Islington DK in "Peony", image copyright 2015 Juju Vail for Kettle Yarn Co.

Bagatelle Cowl in Islington DK in "Peony", image copyright 2015 Juju Vail for Kettle Yarn Co.

I've always loved the seaside, and spent vast amounts of time growing up on the beaches of New England, particularly Maine. Those rocky, somewhat barren shores have very little resemblance to the more cosmopolitan beaches of places like Brighton and Lyme Regis, but the salty breeze and calls of the seagulls are constant. With the Bagatelle Cowl, I wanted to capture the lines of piers emerging from the water's surface, ebbing and flowing as the tides go in and out.

Bagatelle Cowl in Islington DK in "Peony", image copyright 2015 Juju Vail for Kettle Yarn Co.

Bagatelle Cowl in Islington DK in "Peony", image copyright 2015 Juju Vail for Kettle Yarn Co.

Bagatelle is knit in the round, and the focal point is a strongly vertical lace pattern that biases across the face of the cowl. The edges are finished in simple seed stitch, evoking pebbly beaches. The pattern includes both written and charted instructions, but if you're new to knitting from charts, this pattern would be a good starting point, as the lace stitch itself is very simple. The pattern uses 2 skeins of Islington DK, and is plenty long enough to double up around the neck.

Bagatelle Cowl in Islington DK in "Peony", image copyright 2015 Juju Vail for Kettle Yarn Co.

Bagatelle Cowl in Islington DK in "Peony", image copyright 2015 Juju Vail for Kettle Yarn Co.

The Islington DK base is perfect for this type of accessory - hefty enough to give real warmth to the finished item (perfect for our somewhat inconsistent British summer weather or for the transition into autumn), but with beautiful drape and swing. The combination of 55% Bluefaced Leicester and 45% silk results in a yarn with plenty of elasticity and luxurious shiny softness. And the colours are perfection...

The Boardwalk Collection includes patterns from a phenomenal group of designers: Arcade by Isabell Kraemer, Pavilion by Renée Callahan, Promenade by Maria Magnusson, Seaward by Rachel Coopey and Jetty by Linda Lencovic. You can see all the designs on Issuu or (hopefully) in the preview below.

Latticewing

Latticewing in The Fibre Company Canopy Fingering

Latticewing in The Fibre Company Canopy Fingering

For someone who designs knitwear, it's been quite a while since I've released a pattern. There are a number of reasons why I'm really pleased to be letting this design out into the world: first off, this pattern grew out of my desire to use up some really lovely yarn that I'd spun for my Ennea Collective Design, the Fjord Mitts. I cast on for the handspun prototype just after Christmas, when the business of the season meant that garter stitch was really all I could handle.

Latticewing in handspun

Latticewing in handspun

I knit and knit and knit and knit, watching the stripes come up and wondering how far I'd be able to get before I ran out of yarn. Thankfully the yarn held out until the shawl was about as big as I wanted it to be, and I then happily used up all the natural colored Shetland (and then some! Which necessitated some frantic last minute spinning of more edging yarn) in the knitted on edging.

And then the handspun shawl sat for a bit while I pondered a) a smaller version and b) a commercial yarn. A trip to Unravel and a conversation with The Fibre Company resulted in generous yarn support in the form of a couple of hanks of Canopy Fingering in a lovely soft green. A little while later, there was a second, smaller shawl. Then there was a pattern, and a photoshoot on the Dorset Coast path, and now it's ready to be let out of the nest for all the rest of you!

Sizes: small (large), approximately 15 (19) in/38 (48.5) cm deep and 87 (112) in/221 (284.5) cm wide along longest edge after blocking.

Yarn: The Fibre Company Canopy Fingering (50% alpace/30% merino/20% bamboo), 2 (3) skeins, or approximately 400 (600) yds/366 (549) m of fingering weight yarn. 

The pattern is very customizable, and includes instructions for adapting the shawl to your available amount of yarn. Please feel free to contact me if you have any questions, and happy shawl knitting!

One benefit of tech editing

I started tech editing for real in May of this year, after an online class and a bunch of practice in an apprenticeship. And I love it - it appeals to the analytical side of my brain, and to the "this isn't perfect here's what you should do" voice inside my head that I try very hard to keep internal instead of external most of the time.

While I was pretty sure that I was going to enjoy tech editing by the time I started, there has been an unforeseen benefit: namely that I get to see a whole bunch of really, really cool patterns before they're generally available. Sometimes I can't help myself, and I have to ask the designer if I can cast on right away because I just can't help myself.

Two recent patterns I haven't been able to resist: Tabetha Hedrick's Fée Shawlette

Nautilus shawl...

Nautilus shawl...

I edited this pattern just about the time I started thinking about a present for Boo's Year 2 teacher. This was knit out of less then a skein of Kettle Yarn Co's discontinued Falkland/Tencel blend, so it's got fantastic drape and a lovely sheen from the Tencel.

Boo was a most enthusiastic model (my little hambone)...

My latest tech editing project is the Santa Maria Scarf from NorthbrooKnits

The pattern isn't up on Ravelry yet (although I know it's been released), so I won't give too many details. I'm using my precious one and only skein of A Verb for Keeping Warm yarn. It's their Annapurna base in "Root" (dyed with madder) and was part of the Knit Love Club in 2010. I figured that any yarn with cashmere belonged on my neck, not my feet, but hadn't found the right project until now. 

Pattern is addictive, yarn is luscious, Porpoise is happy. The end.

A ribbon-backed buttonband

When I finally finished knitting my handspun Garter Yoke Cardi, it took me a little while to find the right buttons. Which meant I had a lot of time to think about how the buttons were going to go on, and how I wanted the final sweater to look.

I'd read that putting a ribbon backing on a handknit button band was a good idea for a few reasons: 1) it stabilizes the band and keeps it from stretching with the weight of the buttons, and 2) it gives you a solid surface to sew the buttons to. Somehow, I'd never managed to actually do a ribbon backing, but this time around I was in a finicky kind of mood, I guess, so I picked up some ribbon along with my perfect buttons.

I hunted around online for a good photo tutorial, but didn't come across one. I did find a good (if long)

video

from Jasmine and Gigi of the

Knitmore Girls podcast

, so I watched some of that and then winged the rest of it.

Step 1: cut the ribbon to length and pin. I laid out the sweater and cut the ribbon so that it was about an inch longer then the buttonband on either end.

Extra ribbon

Step 2: the Pinning.

Then I pinned it using waaaay more pins then most people would consider necessary.

Ready to sew

Step 3: Sew. Pretty self evident. I'm sure my stitches are way too big for Gigi, but so be it...;-)

Sewing on ribbon for buttonband
Stitches

Step 4: Deal with extra ribbon at ends of buttonband. I have to admit, I stopped watching the video after Gigi started sewing, so I don't know how they dealt with the extra ribbon. My quick and dirty method was to trim the ribbon end into a point,

End of band

fold it under,

End of band

and continue sewing as established around the end of the band and back down the other edge. Repeat at far end, finish off, tie knot, trim thread and voila!

Finished band

Finished buttonband ready for buttons.

Winning buttons

I have no data yet to report on whether or not this is a more effective button band treatment in terms of stretching, given that it is not yet Romney sweater weather here in the UK. It certainly feels more stable then a non-backed button band. Give me a month and I should be able to discuss whether or not the extra couple hours* worth of finishing was worth it. It was definitely easier to sew the buttons on since I didn't have to worry about the end of the thread pulling through or the stitches getting all distorted.

So there you have it. I hope this is helpful, and that everyone gets inspired to back their button bands! You know, if you've got the extra time to spare...

* To be fair, that time includes going out and getting the buttons. I'm not that slow a sewer!