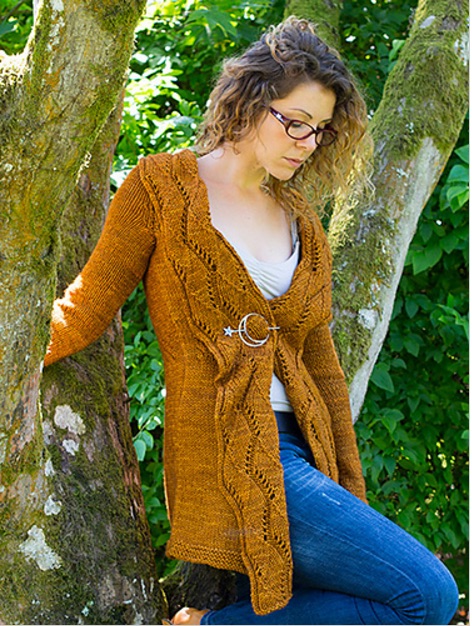
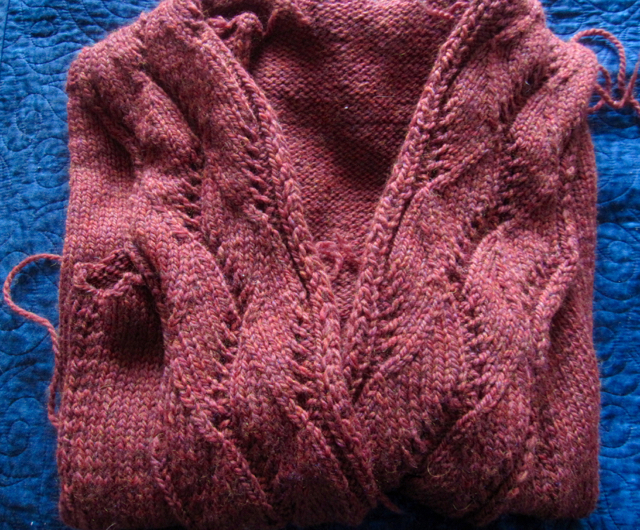
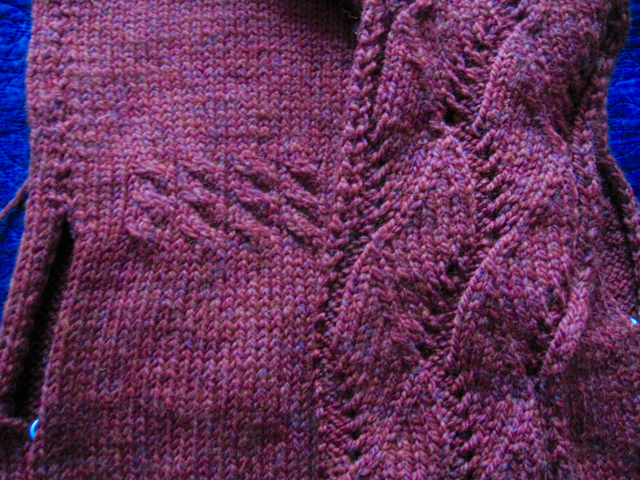
Inishmeane

All photos (c) 2016 The Fibre Co. & Tommy Martin

Early this past summer I got a ping from Carmen at A Yarn Story saying "Have you seen this new Fibre Company yarn Arranmore? It's luscious and glorious and I want a men's sweater design for it!" Before I knew what had hit me we were looking at a Pinterest board and discussing constructions and yarn colours and motifs. We debated henley style versus gansey, raglan versus set in sleeve...the possibilities were endless!

Most importantly, we wanted to come up with a men's sweater that would appeal both to men and the knitters who knit for them. The stereotype is that men want plain, boring, miles-of-stockinette navy or black or brown or dark green pullovers. That's it. But honestly, who among us wants to knit that? I can envision a scenario in which my brain was so fried that I would be good for nothing but plain stockinette in the round, but the prospect is just a bit too blah to be appealing for very long.

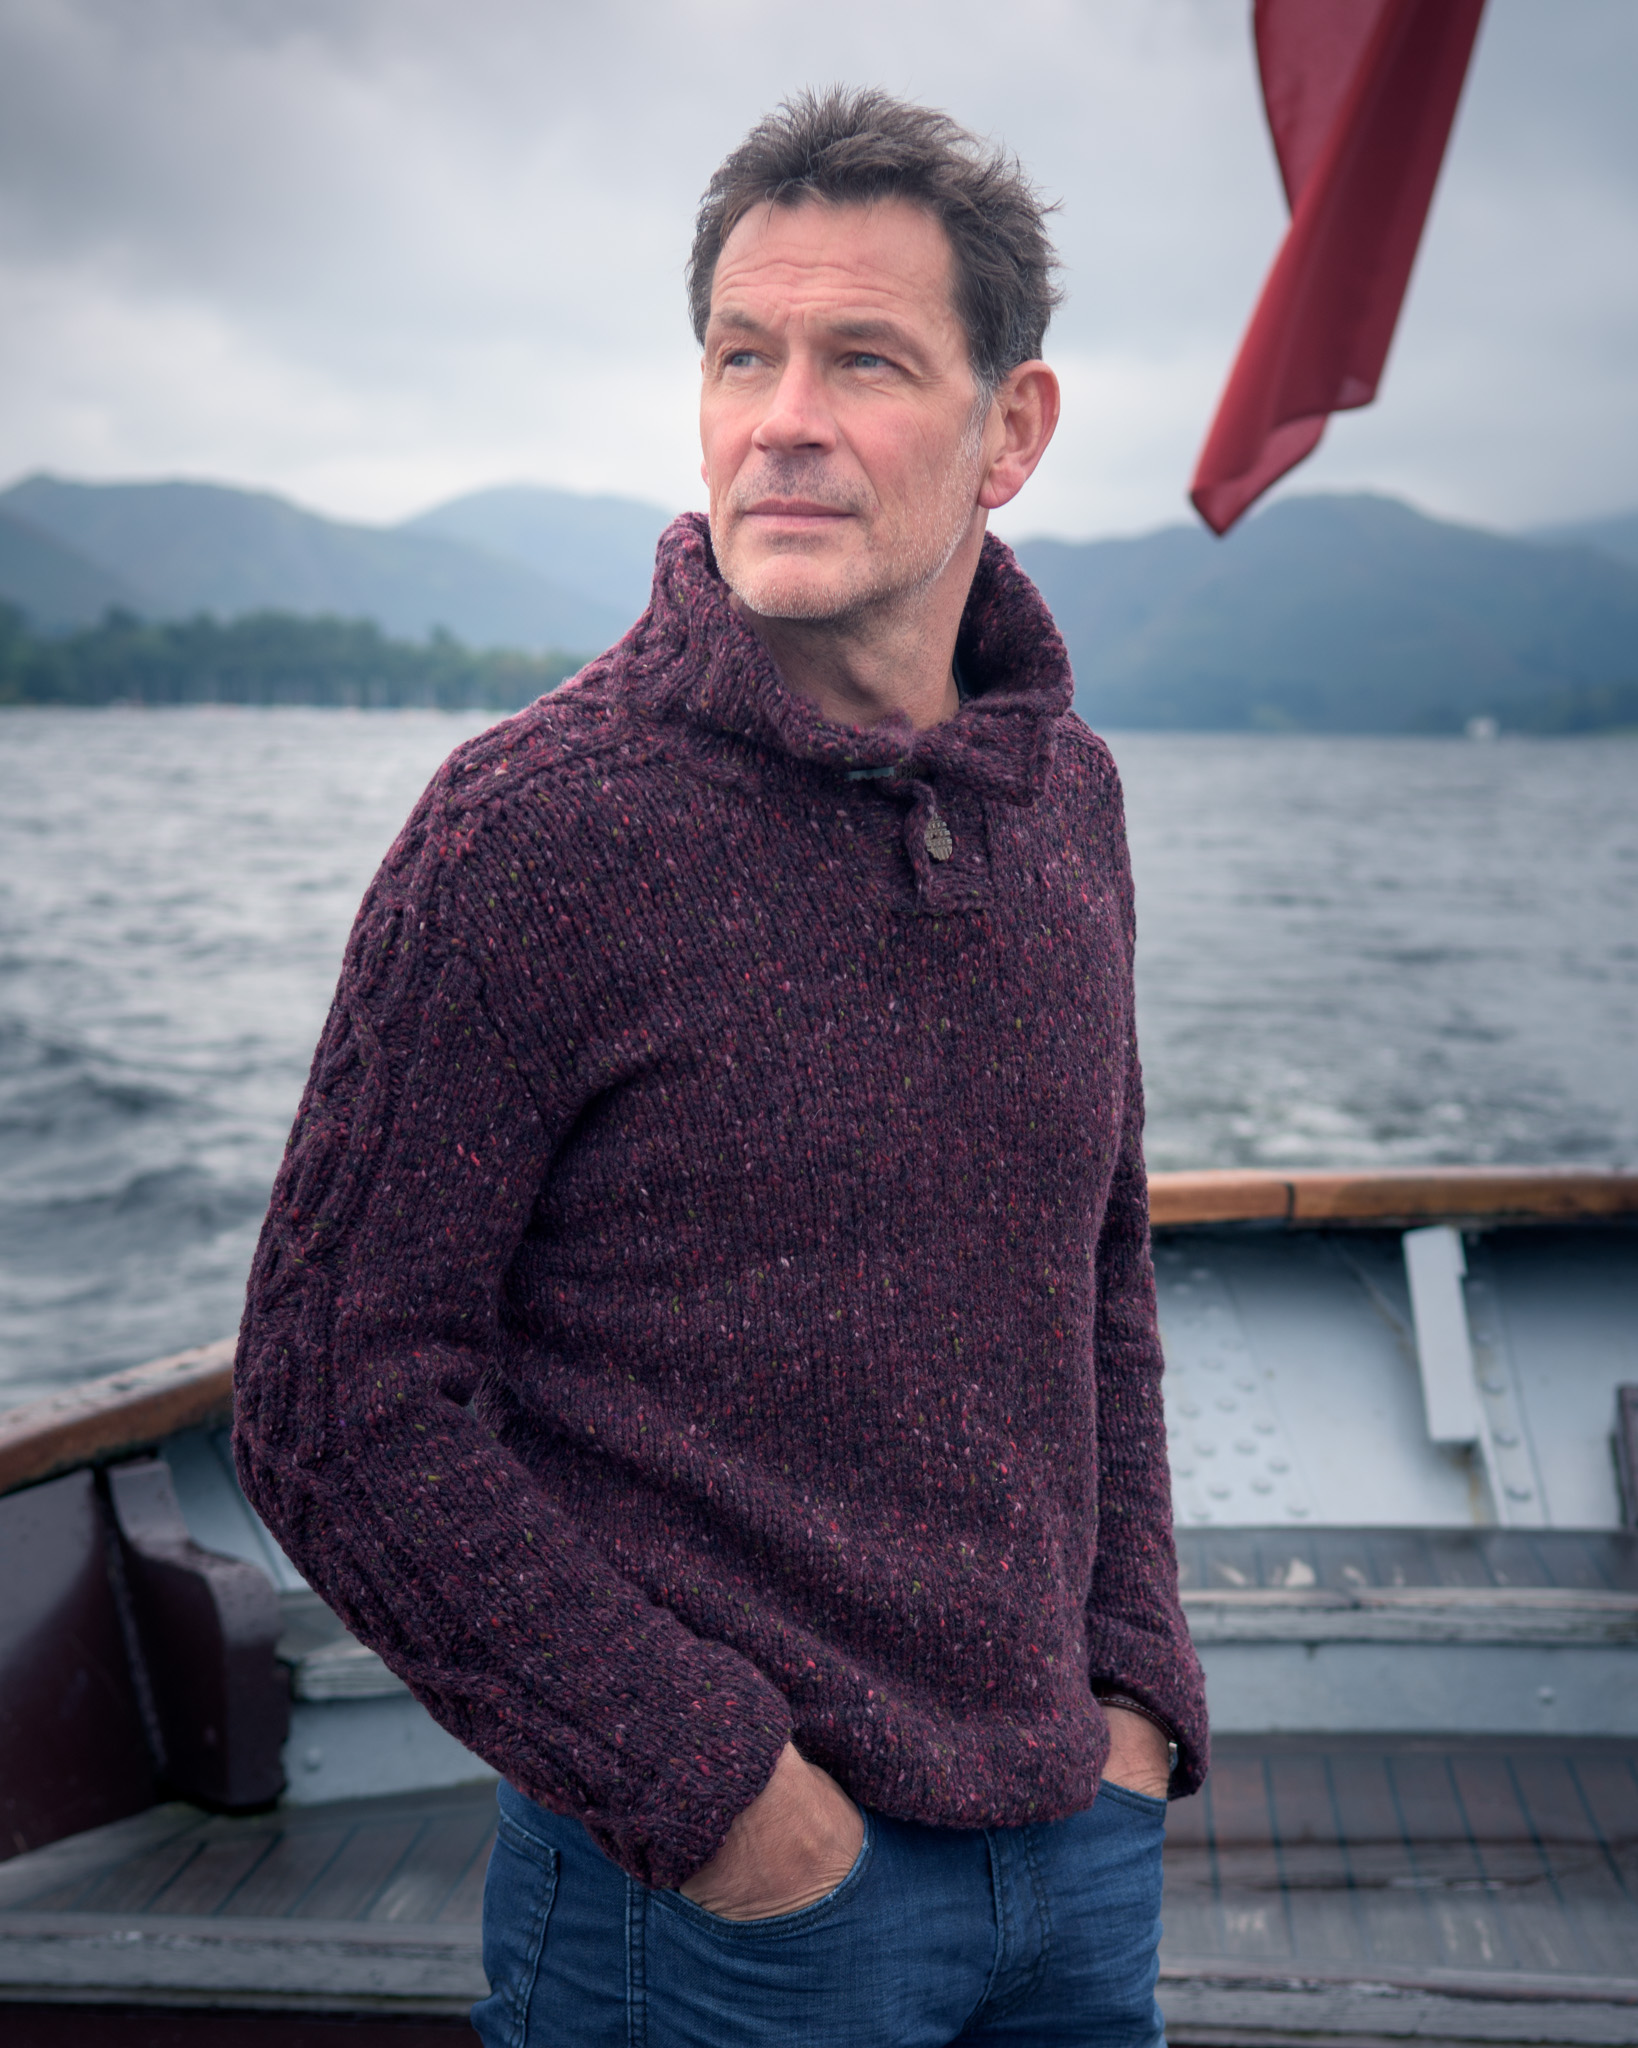
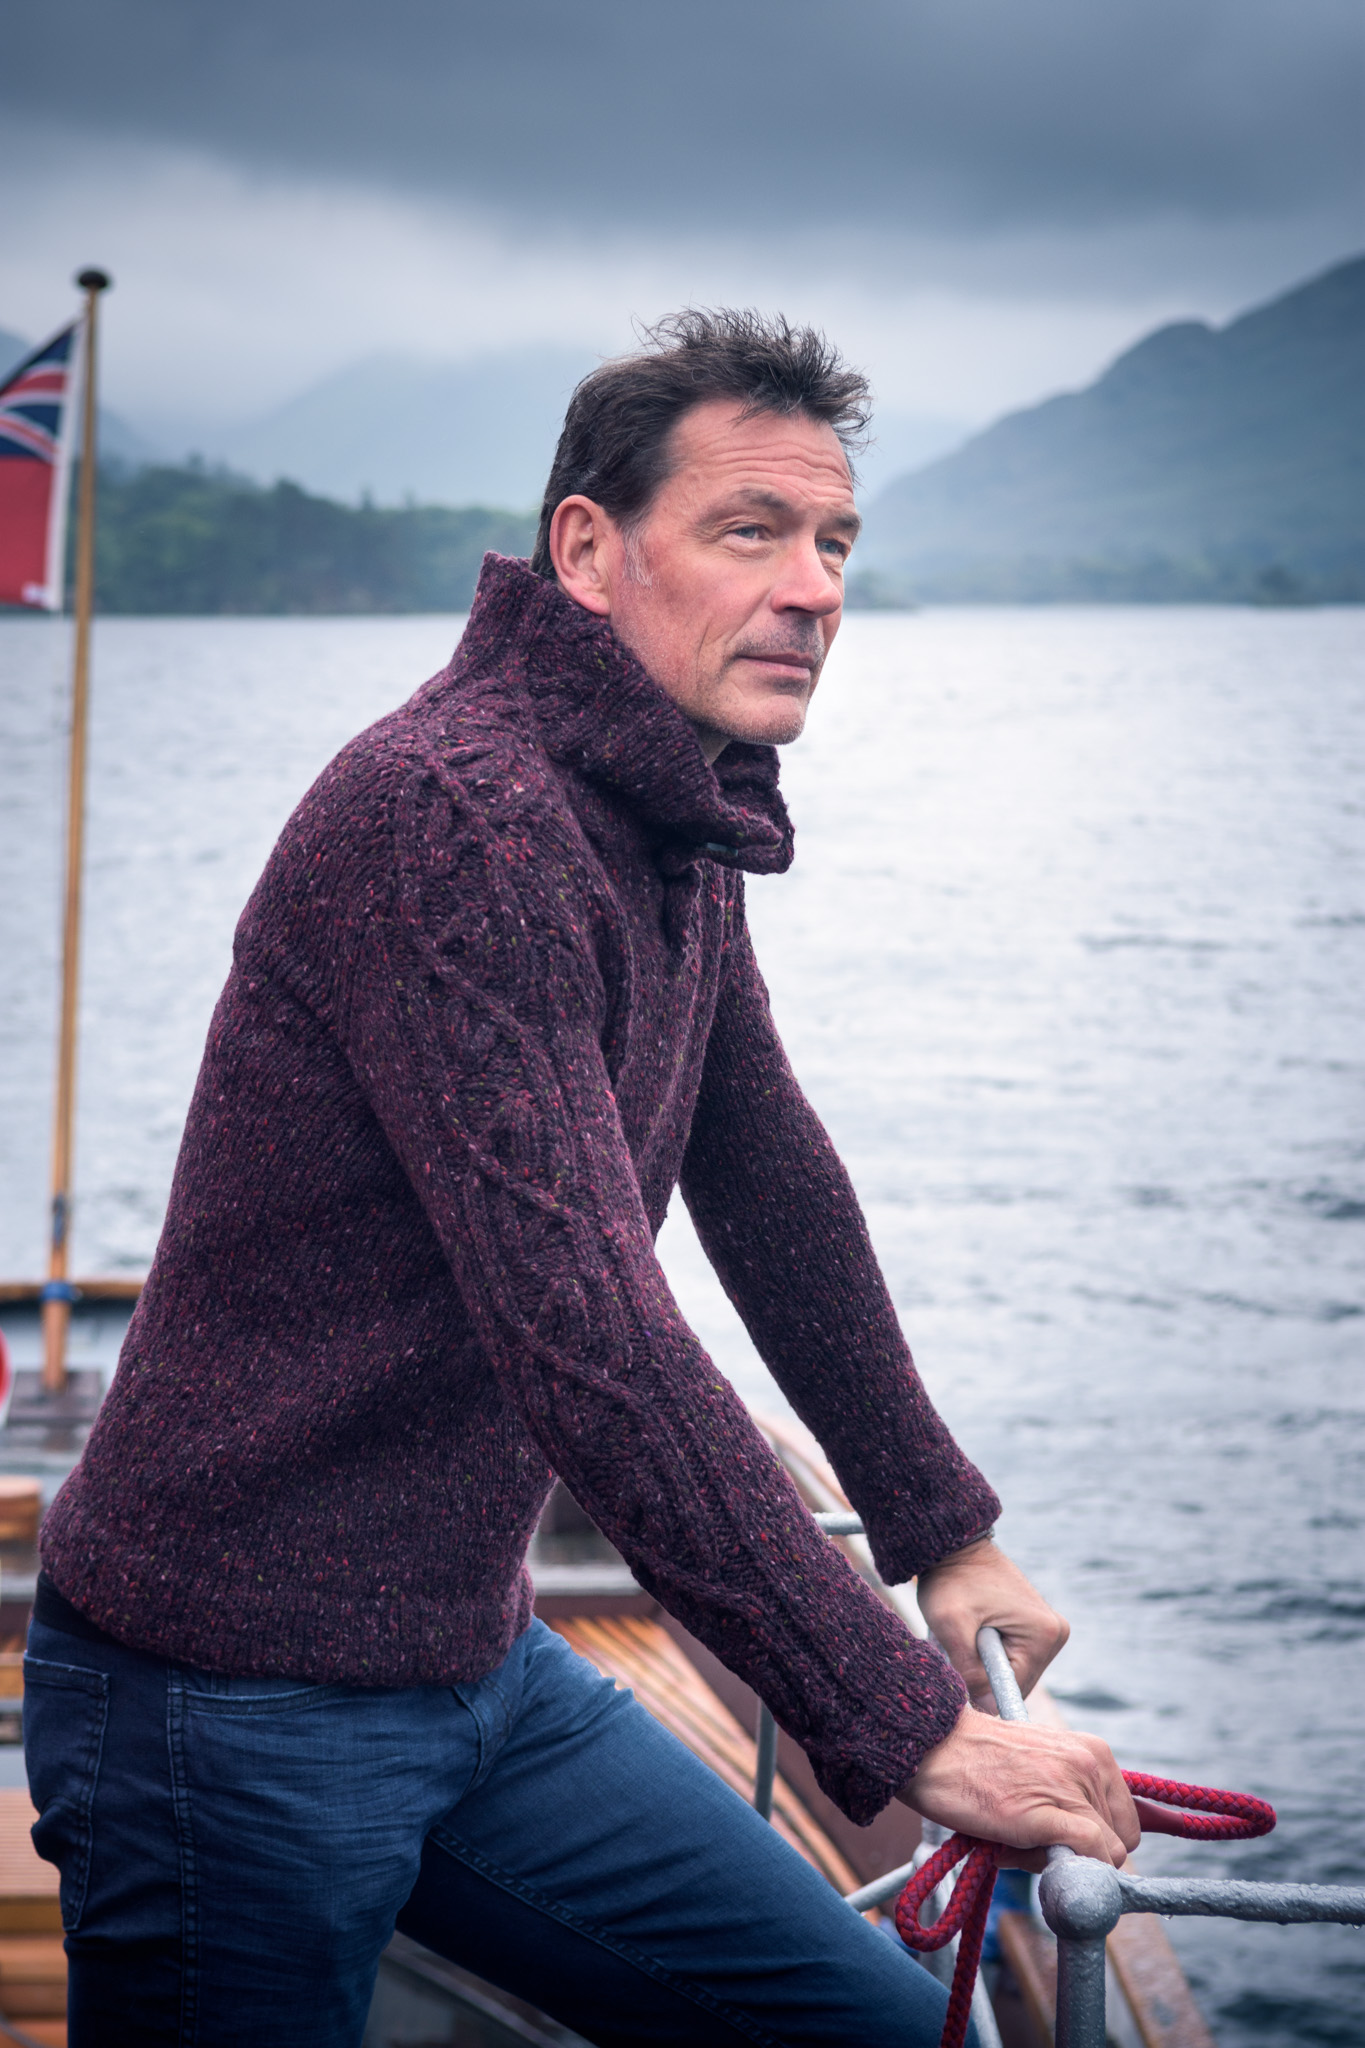
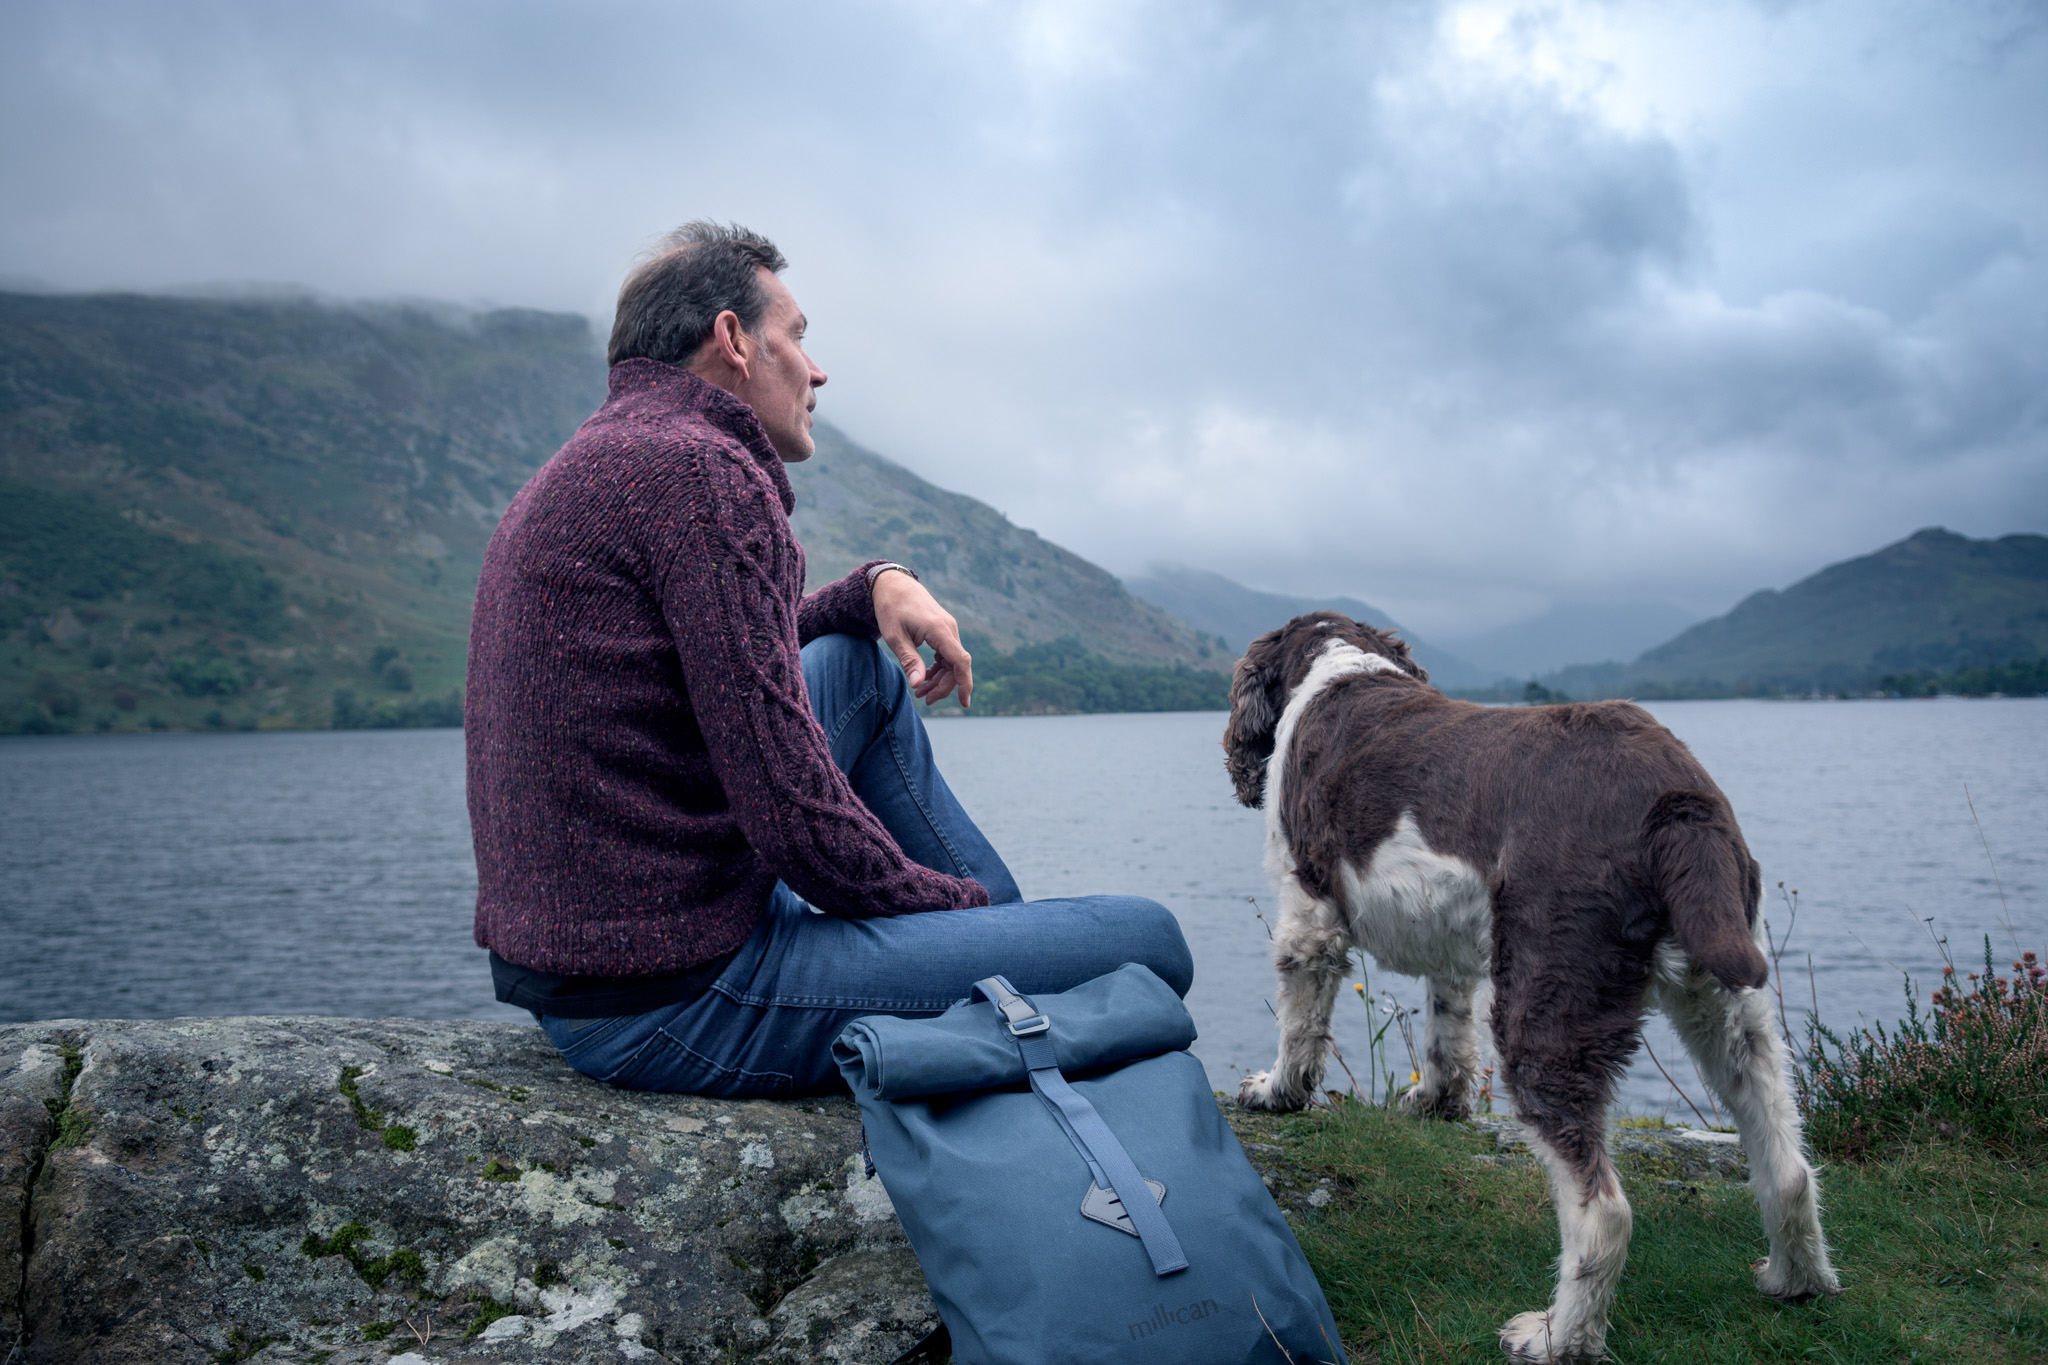
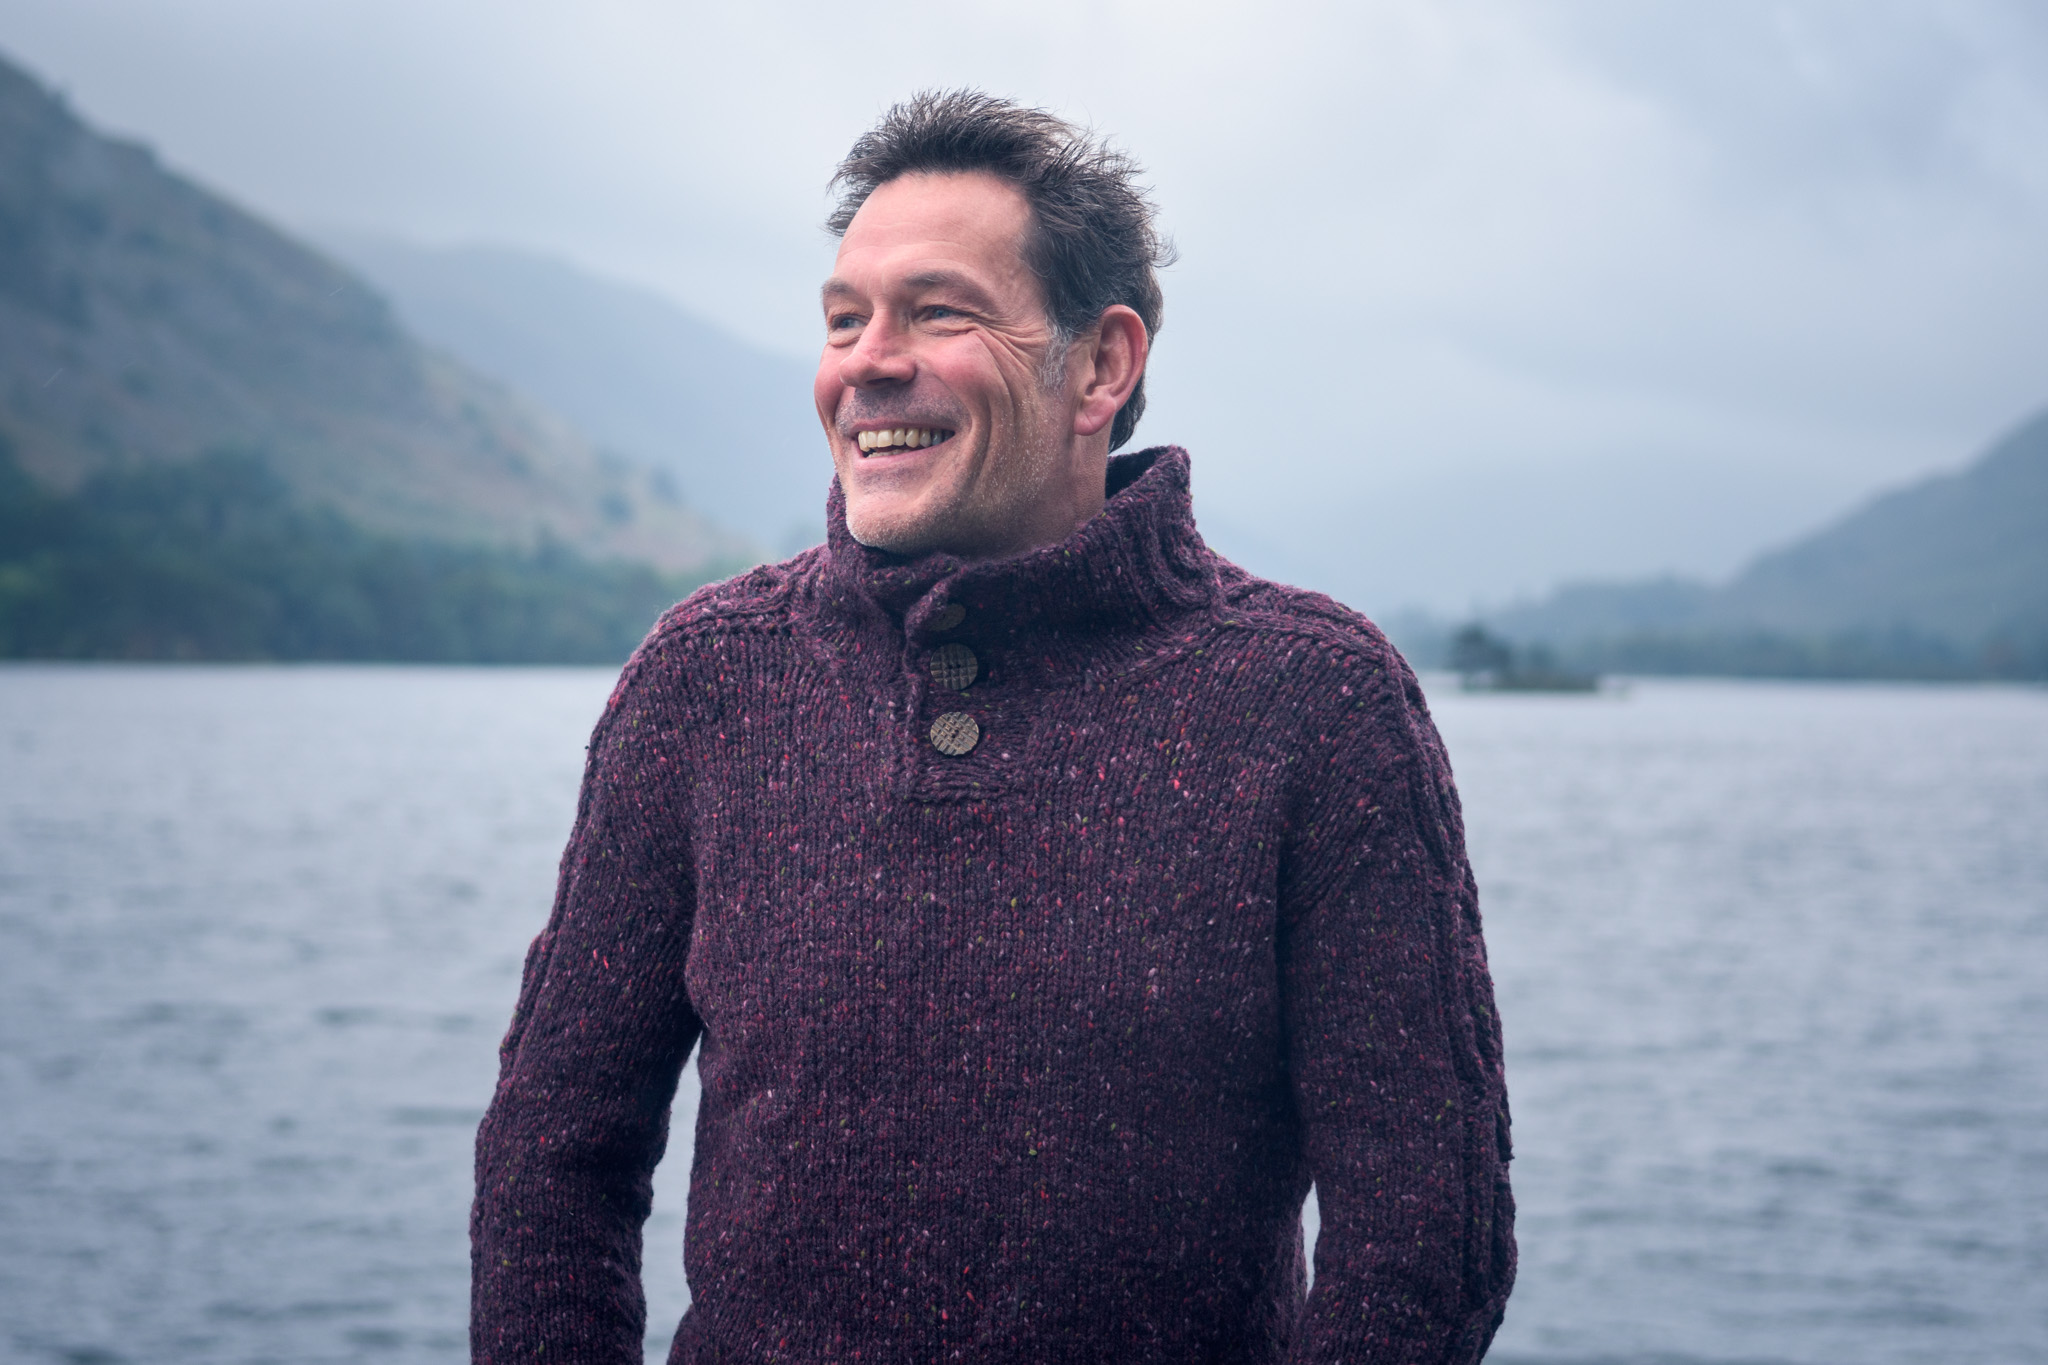
So we decide on a mostly stockinette sweater (to cover the standard insistence on "plain") which would highlight the tweedy rustic nature of the yarn, but with some interesting details to keep the knitter of said sweater from going nuts in a sea of blank canvas. A couple of serious cables for example, and a saddle shoulder construction. A tall collar and a henley neckline. A cozy sweater in a glorious Aran yarn that wraps around you like a big hug.

Then there was swatching and knitting (in the ludicrous heat that was Washington DC this past summer when we were there) and a frantic round of button choosing, and some pattern writing. And now, Carmen and I are thrilled to present Inishmeane, named for a small island off the coast of County Donegal.

A dog almost as cute as The Wee Ridiculous Dog that lives in my house

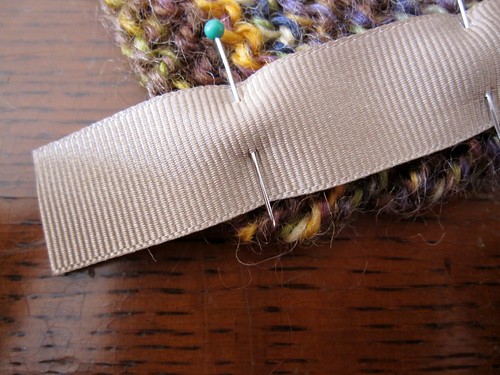
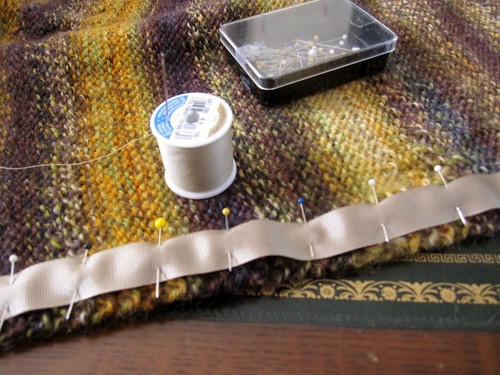
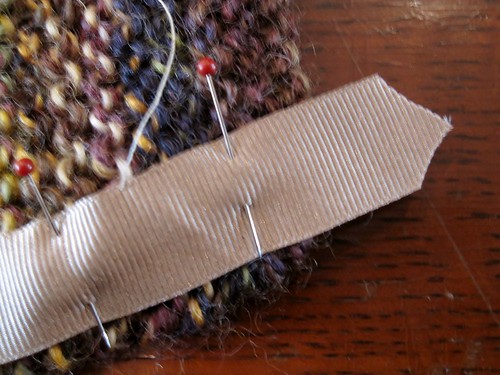
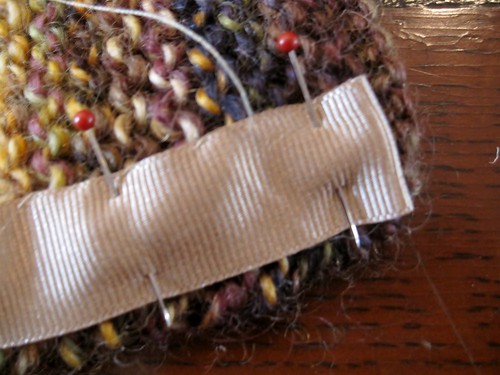
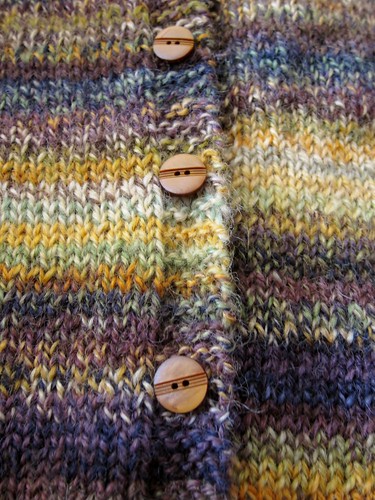
Worked in seven sizes (finished chest measurement from 96.5-157.5 cm/38-62"), Inishmeane is worked in the round from the bottom up, starting with a turned hem. The body is worked in the round to the underarms, and then the front and back are worked flat. Sleeves are worked (also with a turned hem) with a mirrored cable panel on each, and then the cable continues across the shoulder, getting attached to the front and back as you work. Then the collar is worked flat, with the cables continuing on either side, and the front button bands are picked up and worked flat. 

I am super thrilled with how this sweater has come out, but it wouldn't have happened without the support of a lot of people: first off, Carmen, who asked me to come up with something for her, and was an absolute pleasure to work with from start to finish (let me know when the next one needs to come through, ok?), my lovely tech editor Deb for her eagle eyes (!), Daphne and Ian at The Fibre Company for yarn support and being generally all around some of the most lovely people it's been my pleasure to meet in this industry, and Tommy Martin who takes unbelievably phenomenal pictures of knitwear in the Lake District (as evidenced by these photos and the gorgeous shoot he did for Nordlándda last year).

The pattern is available now from Ravelry and from A Yarn Story directly, along with oodles and oodles of gorgeous Arranmore. I'm already contemplating what colour to pick for my, I mean Alex's Inishmeane! And you can read more about the process from Carmen's side of the story on her blog.

In which I channel Elsa

Over the past few weeks I've spent some time cleaning up my office/studio/general dumping ground for all things woolly. It's been a very good thing - I've found yarn I thought had gone missing, uncovered a couple of design swatches I'd forgotten about, and exposed a number of WIPs in dire need of five minutes before they are FOs.

I've also found some things that I've sadly decided need to take a trip to the big frog pond in the sky. First up on the hit list is a sweater that I was really, really super excited about when I started it - Automne by Ruth Garcia-Alcantud, the cover sweater for Knit Edge Issue 4 way back in 2013.

Photo (c) 2013 Alisha Irish

Photo (c) 2013 Alisha Irish

This sweater is gorgeous. Knit in a chunky weight yarn, it's nice and long, has a cool cabled waist detail, and a gorgeous wide lace collar. It's even got pockets! I immediately ordered yarn, discovered it wasn't going to work, ordered more yarn, and cast on in February of 2014. I knit most of the body over the half-term holiday that month, and then the sleeves and even managed to get everything blocked and the body sewn up and the collar knit and blocked.

Mostly finished sweater

Mostly finished sweater

Collar and waist detail

Collar and waist detail

And then I tried it on. And realised three things: 1) my well-intentioned modifications to make sure the armholes were deep enough had resulted in sleeve caps that weren't going to fit in the armscyes; 2) that lovely cable waist detail was about four inches lower then my actual waist; and 3) most critically, a long bulky-weight sweater that ends at the midpoint of my thighs is REALLY NOT a good look for me. In reality, it probably looks ok, but I've spent far too much of my life unhappy with my shape to be happy wearing something that doesn't make me feel fabulous.

So, yesterday I heeded the advice of my extremely talented college classmate and Let It Go. I got out the ball winder and reduced my 90% finished gorgeous sweater into a whopping pile of potential.

That is about 600 grams (or just over 900 yds) of lovely red tweedy Elann Highland Chunky (sadly discontinued), which has now been reskeined, given a bath, and is drying over the kitchen radiator as we speak. I've already got plans for this yarn - another sweater, but more or less the polar opposite of Automne in a design sense. And I'm looking forward to casting on. Maybe it will be done in time for next week's predicted ridiculous winter weather? Here's hoping!

A ribbon-backed buttonband

When I finally finished knitting my handspun Garter Yoke Cardi, it took me a little while to find the right buttons. Which meant I had a lot of time to think about how the buttons were going to go on, and how I wanted the final sweater to look.

I'd read that putting a ribbon backing on a handknit button band was a good idea for a few reasons: 1) it stabilizes the band and keeps it from stretching with the weight of the buttons, and 2) it gives you a solid surface to sew the buttons to. Somehow, I'd never managed to actually do a ribbon backing, but this time around I was in a finicky kind of mood, I guess, so I picked up some ribbon along with my perfect buttons.

I hunted around online for a good photo tutorial, but didn't come across one. I did find a good (if long)

video

from Jasmine and Gigi of the

Knitmore Girls podcast

, so I watched some of that and then winged the rest of it.

Step 1: cut the ribbon to length and pin. I laid out the sweater and cut the ribbon so that it was about an inch longer then the buttonband on either end.

Extra ribbon

Step 2: the Pinning.

Then I pinned it using waaaay more pins then most people would consider necessary.

Ready to sew

Step 3: Sew. Pretty self evident. I'm sure my stitches are way too big for Gigi, but so be it...;-)

Sewing on ribbon for buttonband
Stitches

Step 4: Deal with extra ribbon at ends of buttonband. I have to admit, I stopped watching the video after Gigi started sewing, so I don't know how they dealt with the extra ribbon. My quick and dirty method was to trim the ribbon end into a point,

End of band

fold it under,

End of band

and continue sewing as established around the end of the band and back down the other edge. Repeat at far end, finish off, tie knot, trim thread and voila!

Finished band

Finished buttonband ready for buttons.

Winning buttons

I have no data yet to report on whether or not this is a more effective button band treatment in terms of stretching, given that it is not yet Romney sweater weather here in the UK. It certainly feels more stable then a non-backed button band. Give me a month and I should be able to discuss whether or not the extra couple hours* worth of finishing was worth it. It was definitely easier to sew the buttons on since I didn't have to worry about the end of the thread pulling through or the stitches getting all distorted.

So there you have it. I hope this is helpful, and that everyone gets inspired to back their button bands! You know, if you've got the extra time to spare...

* To be fair, that time includes going out and getting the buttons. I'm not that slow a sewer!

Recycling

The yarn I'm using for the Endpaper Mitts is reclaimed from two sweaters I picked up for cheap at Goodwill. I've now found another source for recycled yarn: previously knit sweaters.

Mountain Mohair cardi

This is my Mountain Mohair sweater - Moriah's Wildflower Cardigan. It's a beautiful sweater, and I wear it whenever it's cold enough (which is not as often as I would like). The yarn is beautiful soft and slightly fuzzy, and it's held up pretty well over the last 5 years or so. But on my way home yesterday, I looked down and noticed this:

Mountain Mohair cardi

Since the yarn is basically a softly spun single, not a plied yarn, it's not terribly strong. I must have caught the edging on something and it broke the yarn. Now, in and of itself, this is not enough of a reason to frog the sweater. But I've been thinking about knitting something else from this for a while. First of all, there's no shaping to the sweater. It's straight up and down and basically just hangs there when I'm wearing it. And it doesn't do a lot for my body honestly - I'm not exactly svelte, and I think that it would look better on me with a bit more shaping.

I also am not a fan of the seed stitch bands - they are a bit loose and floppy, and don't feel substantial enough. I've decided to frog the sweater and use the yarn for something else. Initially, I was thinking about a top down V neck with set in slightly belled sleeves. But after last night's Mr. Redjeans fiasco (finished ribbing, bound off, tried on and realized that A) clearly the designer did not have my figure in mind when she had us switch to size 7 needles for the ribbing*, but I really don't need to display that much of my tummy, B) it was going to be too short in any event, and C) clearly in my mind I am still in my pre-pregnancy, half-Ironman body, not my post-two kids-still-lactating body - I'm going to have to go up a size), I'm thinking that I may soon be working on Mr. Bluejeans, while Mr. Redjeans gets to wear a set of concrete galoshes.

* this is nicer then saying she was smoking crack because really, the ribbing was going to pull in anyway with the cables. Why have it pull in more with smaller needles?

Mr. Redjeans

In my fevered rebound period after creating the Blue and Purple Monkey costumes, I cast on for two items for myself. One was the Bandwagon, which is now done. The other was Mr. Greenjeans, which I've been working on off and on for the last few weeks. I have rationalized this departure from The List at such a critical time by protesting that we're going to New England for Christmas, and since we've now been in Texas for five years (swoon), I am in sore need of a new sweater.

Sure.

Mr Greenjeans

But I'm greatly enjoying this project - mindless enough to be good for downtime, interesting enough not to be boring. The yarn I'm using is Durango from Colorado Yarns. It's mostly acrylic, but is really soft and knits up into an incredibly cuddly squishy fabric which I'm loving. The red tweed helps give it some interest.It's pretty simple - easy TV knitting - except for the cabled section at the bottom of the body and sleeves. I'm about halfway through the cable and rib section of the body, and I'm hoping I don't run out of yarn for the sleeves! I got ten balls of this from Webs at the end of last year (before TGYD07 started of course), so if I run out, I'm kind of out of luck on dyelot and all. Maybe the sleeves will end up being a bit shorter. Or narrower. Or something.

Mr Greenjeans

Anyhow, with this on the needles I'm having a hard time attending to the task at hand. Hopefully I'll finish soon so I can get back to The List.