Baby present #2

Some good friends of ours had their first baby six weeks ago, and it's been so much fun to whip up teensey tiny sweaters in a few days. This particular project took a bit longer, but not much...
Ben's blanket
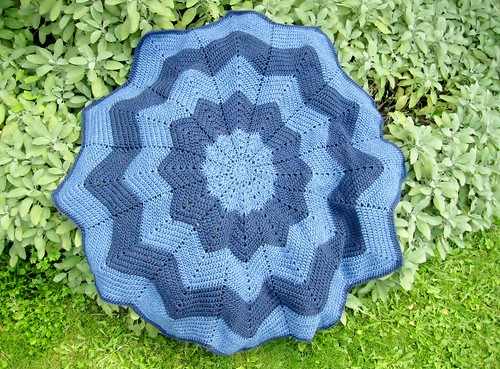
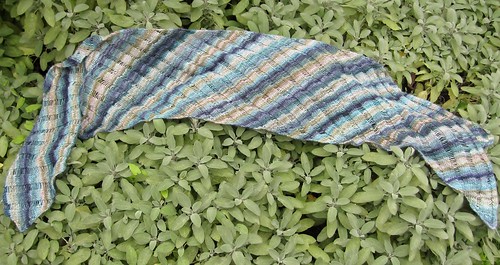
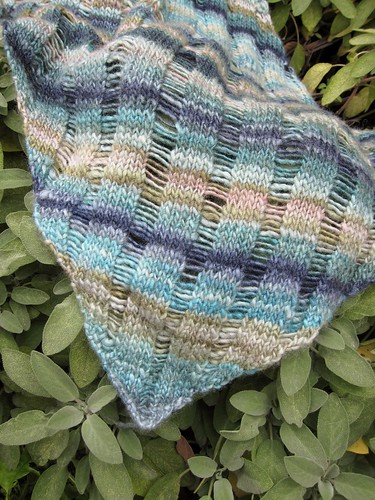
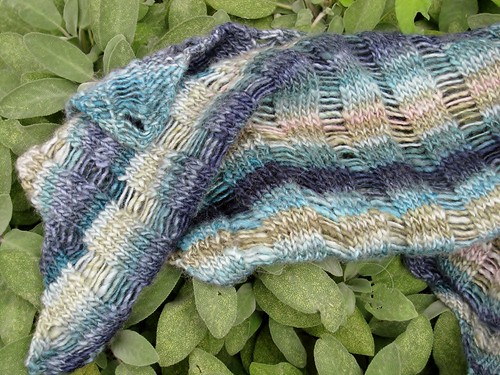
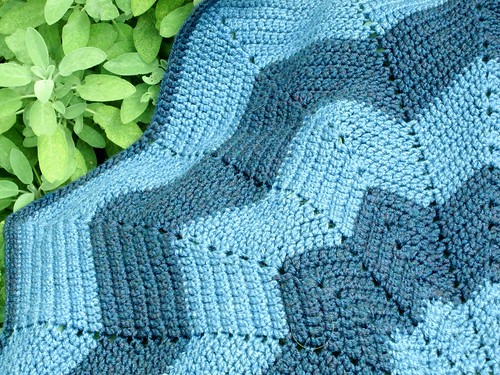
Pattern: Rainbow Ripple Baby Blanket by Celeste Young
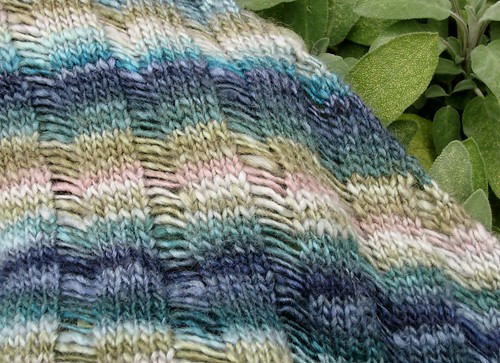
Yarn: Stylecraft Life Aran (light blue, 75% acrylic/25% wool), approximately 530 yds, and Stylecraft Special Aran with wool (dark blue, 80% acrylic/20% wool), approximately 420 yds.
Hook: US H/5.0 mm
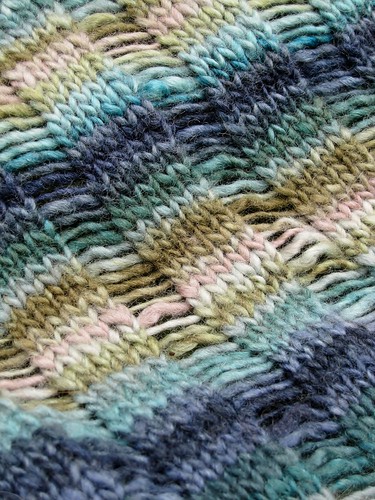
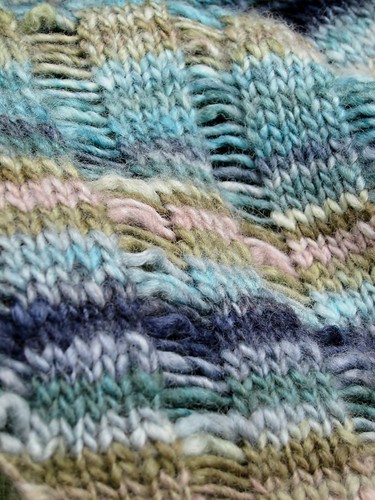
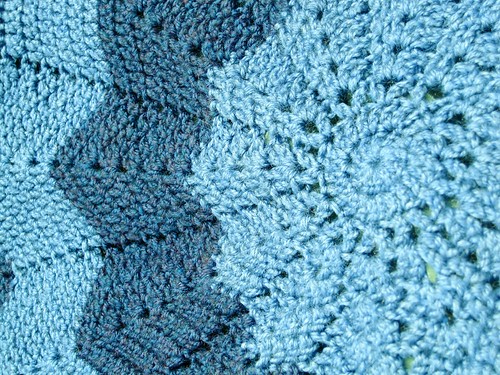
Gauge: after sending through the washer and dryer, 5 dc/4 rows per 1.5 inches.
Start/finish: 24 August - 9 September 2012
Comments/mods: my second real crochet project completed - hooray! This was a good second project - similar construction to the potholders (crocheting around and around and around and around and...), similar techniques (changing colors), but on a much larger scale - the finished blanket was 41 inches across from point to point.
Ben's blanket
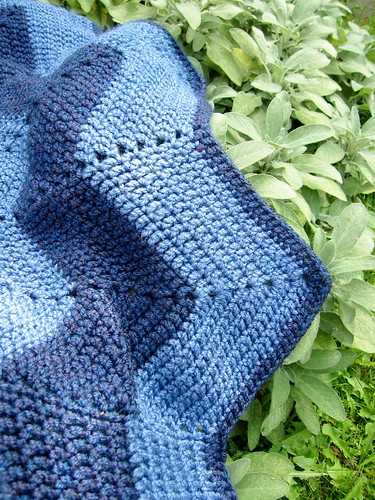
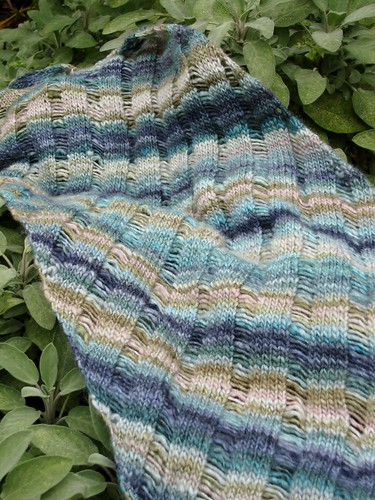
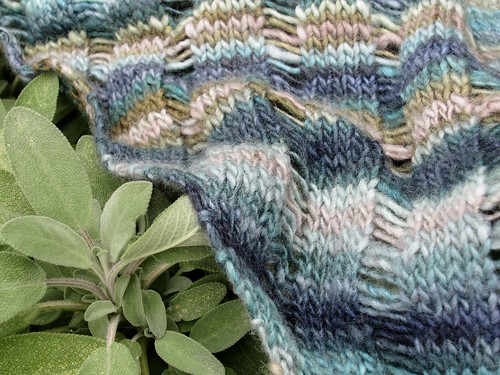
But...the whole thing is constructed entirely out of double crochet stitches with a few chains thrown in at the points. It was really useful to me to do something that didn't require worrying about different stitches so I could focus on how placement of the stitches altered the shape of the blanket.
Ben's blanket
The trickiest bit was the center, but after the pattern was established, it was clear sailing.
Ben's blanket
I don't usually use mostly-acrylic yarns, but having lived through two babies, the ability to throw anything associated with them straight in to the washing machine and the dryer is just too important. This yarn was fine to use - no discernable squeaking! - and softened up really nicely after going through the wash. I'd use it again for baby stuff for sure.

Neglected FOs

OK, school has started, some of the school run bugs have been worked out, and I suddenly have a bunch of hours in my day when I'm not being called upon to feed anyone or read books or mediate in the latest round of she-took-my-toy-she-touched-me-she's-looking-at-me! There are a number of things that I finished up over the summer but never blogged about, which does tend to make me feel like they're not actually really finished.

Up first, Lady Stark's Clapotis.
Lady Stark's Clapotis
So named because of the colorway of the fiber.

Yarn: handspun BFL/silk from the Hello Yarn Fiber Club (July 2011 offering), colorway "Night Gathers" (Thank you GRRM!), 460 yds of DK/sport/fingering weight singles (8 oz).
Pattern: Clapotis by Kate Gilbert
Needles: US 7/4.5 mm, I think. I forgot to put that little detail into my project page on Ravelry, and I finished the darn thing three months ago, so I have no idea.
Start/finish: 17 May - 3 June 2012.
Comments/mods: this is the second time I've knit this pattern. The first time (also in handspun) I did some mods as recommended by the intarwebs (i.e. knitting the first and last stitch of each stockinette band through the back loop to keep it tighter). I did a similar mod this time around, although only on the right side. I worked the increase section, weight the yarn, worked straight until I had enough (by weight) to work the decrease section, and ended up using every last inch. Mostly I spent my time hypnotized by watching the colors appear...
Lady Stark's Clapotis
Is that too many pictures?

Shades of things to come

I've been doing a bunch of dyeing of late, getting up to speed for a shop update in September after school starts, and I found one of the new colorways irresistable.
Leaf Peepers BFL
Leaf Peepers BFL
There was a chill in the air this morning that means autumn might be just around the corner (although given the weather over the past few months, it will be 35 degrees by the end of the next week). Sadly, here in the UK we don't get the same brilliant colors that cover the trees in New England, but this fiber is a pretty close match!

I couldn't help myself - BFL is totally one of my favorite fibers!
Leaf Peepers 3-ply
Most of the 4 oz became a three-ply, but the leftover singles from two bobbins went together pretty well too.
Leaf Peepers 2-ply
This was the first non-natural colored spinning I've done in quite a while, and I whizzed through it. The singles were all spun up in one evening (fractal spin: I split the length of top into three equal lengths, then spun one from the entire width, one split in half and one split into quarters). The plying was done the next day (gotta love summer holidays!). I've got about 100 yds of bulky 3-ply that I think is going to become a cowl of some sort. Gotta go crawl through the stitch dictionaries...

Shades of Autumn

So, in the last month....I've moved house, unpacked and reorganized, gone to the Olympics, sorted out my dyespace, played with some new colors, gone to the Paralympics, and gotten the kids ready to go back to school. Next Wednesday is D-Day, after which I will have much more time to devote to playing with fiber. But I wanted to give you a little teaser...

Leaf Peepers Bluefaced Leicester

Leaf Peepers Bluefaced Leicester

Since BFL is one of my favorite fibers, and autumn is my favorite season, it will come as no surprise that some of this stuff jumped right on to my wheel.

I split my 4 oz bump into three equal lengths to make a 3-ply. The first length I spun straight from the entire width of the top. For the second ply, I split the top in half, and for the third single I split the top into fourths. I ended up with a yarn that seems to be pretty well blended - I think any stripes that come out in the knitting will be pretty subtle.

I sometimes dream that I manage to split my fiber evenly enough and spin consistently enough that I run out of all three singles at the same time. Sadly, this was not that ever-elusive Spinning Nirvana. But that did give me an opportunity to use up the leftover singles in a 2 ply sample.

I love the way the colors blended together in the final yarns, and I can't wait to see what they look like knit up. I've only got about 25 yds of the 2-ply, but almost 100 yds of bulky weight 3-ply. It's calling cowl to me, but I've got to dive into the stitch dictionaries and find something suitably fallish and leafy for it. If I get my act together, I'll hopefully have a pattern for it to go with the fiber.

A bit more close-up fiber eye candy for you. I hope everyone has a great weekend!

A ribbon-backed buttonband

When I finally finished knitting my handspun Garter Yoke Cardi, it took me a little while to find the right buttons. Which meant I had a lot of time to think about how the buttons were going to go on, and how I wanted the final sweater to look.

I'd read that putting a ribbon backing on a handknit button band was a good idea for a few reasons: 1) it stabilizes the band and keeps it from stretching with the weight of the buttons, and 2) it gives you a solid surface to sew the buttons to. Somehow, I'd never managed to actually do a ribbon backing, but this time around I was in a finicky kind of mood, I guess, so I picked up some ribbon along with my perfect buttons.

I hunted around online for a good photo tutorial, but didn't come across one. I did find a good (if long)

video

from Jasmine and Gigi of the

Knitmore Girls podcast

, so I watched some of that and then winged the rest of it.

Step 1: cut the ribbon to length and pin. I laid out the sweater and cut the ribbon so that it was about an inch longer then the buttonband on either end.

Extra ribbon

Step 2: the Pinning.

Then I pinned it using waaaay more pins then most people would consider necessary.

Ready to sew

Step 3: Sew. Pretty self evident. I'm sure my stitches are way too big for Gigi, but so be it...;-)

Sewing on ribbon for buttonband
Stitches

Step 4: Deal with extra ribbon at ends of buttonband. I have to admit, I stopped watching the video after Gigi started sewing, so I don't know how they dealt with the extra ribbon. My quick and dirty method was to trim the ribbon end into a point,

End of band

fold it under,

End of band

and continue sewing as established around the end of the band and back down the other edge. Repeat at far end, finish off, tie knot, trim thread and voila!

Finished band

Finished buttonband ready for buttons.

Winning buttons

I have no data yet to report on whether or not this is a more effective button band treatment in terms of stretching, given that it is not yet Romney sweater weather here in the UK. It certainly feels more stable then a non-backed button band. Give me a month and I should be able to discuss whether or not the extra couple hours* worth of finishing was worth it. It was definitely easier to sew the buttons on since I didn't have to worry about the end of the thread pulling through or the stitches getting all distorted.

So there you have it. I hope this is helpful, and that everyone gets inspired to back their button bands! You know, if you've got the extra time to spare...

* To be fair, that time includes going out and getting the buttons. I'm not that slow a sewer!