It's not brain surgery
In the past few weeks, I've had to come to terms with the fact that a couple of the sweaters I've finished recently have been unsatisfactory. Most of the time, I'm able to get past any perceived errors and be happy with the finished product, but this time it just wasn't going to happen.
First up: the sweater I made for a friend's Dad:
While this sweater was a perfect fit around the chest, it was also sadly a bit short in the body. Since I didn't want to start over from the beginning (it was knit in the round from the bottom up), I decided a bit of cut and paste was the most efficient solution.
Step 1: gather the materials.
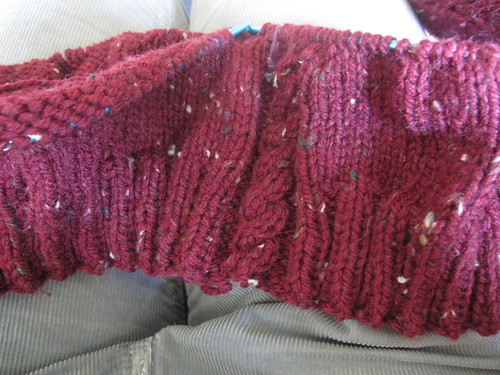
I took the remaining yarn, cast on a new sweater body, and knit the ribbing and approximately 3 extra inches of sweater body before moving on to Step 2.
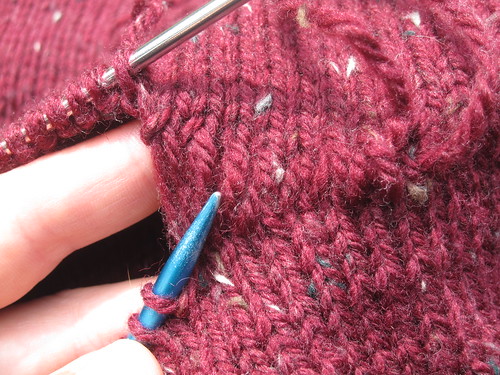
Step 2: prep the patient
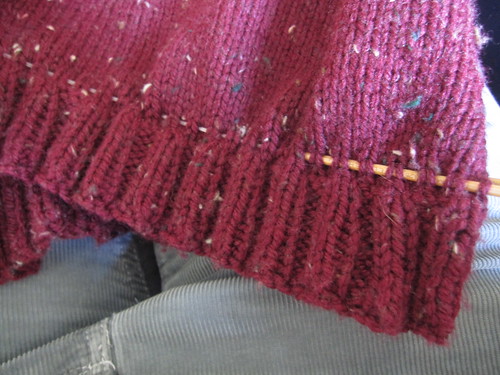
I took a small needle (something like a US 3 I think) and picked up all the stitches in one row.
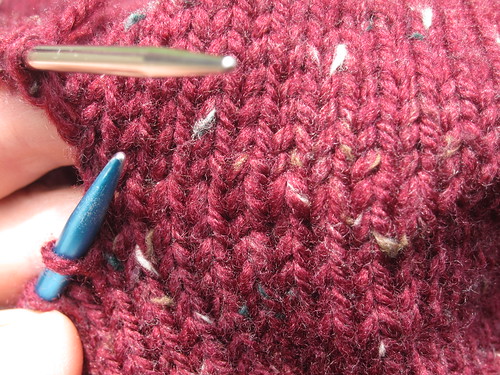
Step 3: the incision/excision
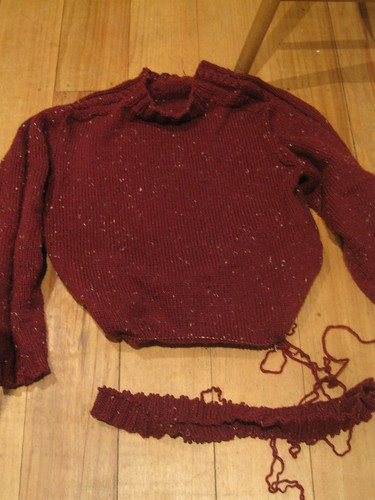
I then cut the yarn a few rows below the row where I'd picked up all the stitches on one needle, and picked out everything, leaving a body with live stitches and a cast-off, abandoned ribbing.
Step 4: suturing
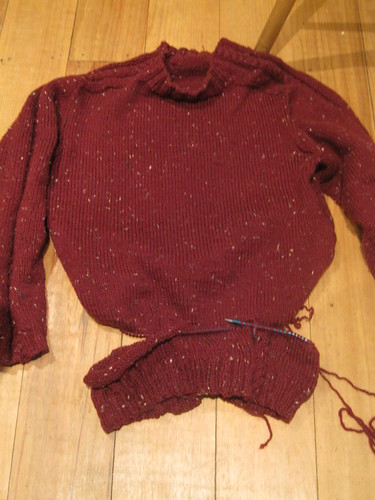
I then lined up the new ribbing section and the old sweater body, took a needle, collected several adult beverages and gathered my courage before grafting the 200 stitches together. This took approximately four days (many adult beverages!), and Kate Atherley's excellent post about grafting stockinette, reverse stockinette and cables.
Step 5: off to recovery
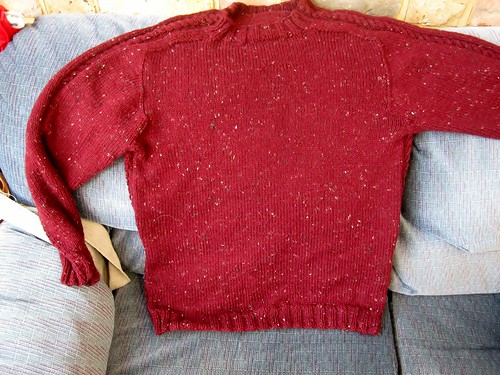
Sweater was reblocked and is now back with its owner, several inches longer then the original.
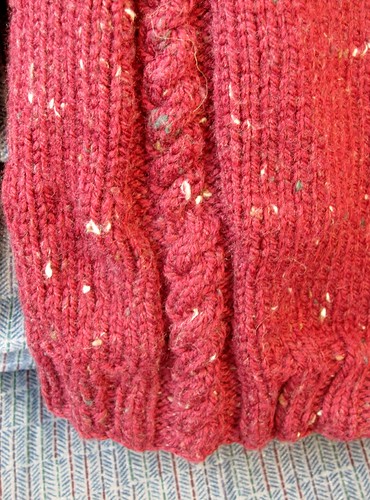
The only real scarring is in the cables - I didn't manage to line up the stitches perfectly, so there is a half-stitch disjointedness on each side. However...I'm pretty sure he will never notice, and it's not such a big deal that I'm willing to go back and redo the whole thing.
With that under my belt, I gaily sallied forth to treat Patient #2: my Whisper cardigan
The construction of the Whisper cardigan is pretty interesting. You first knit a shrug, then pick up stitches to knit a wide band of ribbing. A bunch of the ribbing stitches are cast off for the neckline, and the rest of the stitches become the back and sides of the finished sweater.
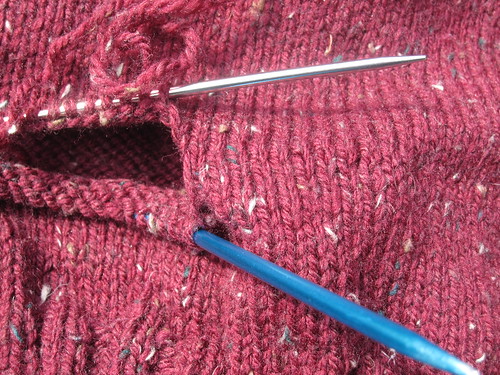
Sadly, somehow in my zealous fervor to get to the body, I managed to end up with a cast off neckline that was waaaay too tight. In steps my handy internal surgeon, yet again. This time, since there was no adding of length to be done, we started straight off with Step 2: prepping the patient:

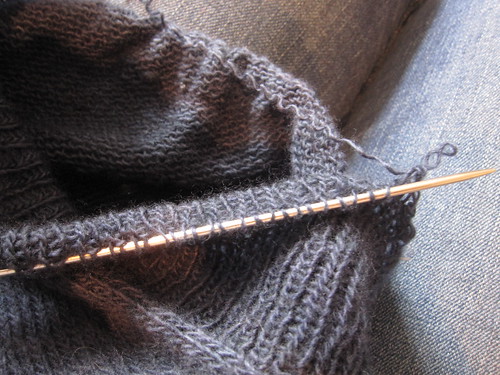
Tiny needle, picking up all the ribbing stitches along the neckline.
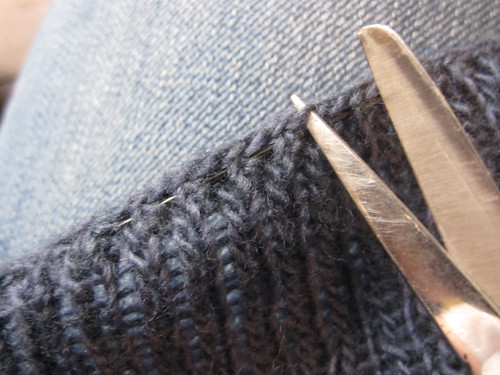
Step 3: Incision, or in this case, the ripping/picking out of the cast off stitches.
Step 4: Suturing, aka binding off again, this time with Jeny's SSBO.
Step 5: all better!

Collar lays flat, no riding up or binding, looks much better.

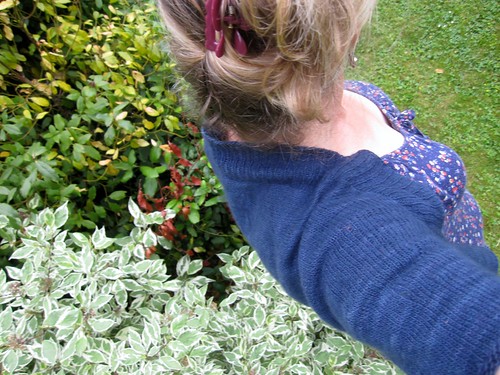
And I desperately need a haircut. Better get that done before Saturday!
First up: the sweater I made for a friend's Dad:
While this sweater was a perfect fit around the chest, it was also sadly a bit short in the body. Since I didn't want to start over from the beginning (it was knit in the round from the bottom up), I decided a bit of cut and paste was the most efficient solution.
Step 1: gather the materials.
I took the remaining yarn, cast on a new sweater body, and knit the ribbing and approximately 3 extra inches of sweater body before moving on to Step 2.
Step 2: prep the patient
I took a small needle (something like a US 3 I think) and picked up all the stitches in one row.
Step 3: the incision/excision
I then cut the yarn a few rows below the row where I'd picked up all the stitches on one needle, and picked out everything, leaving a body with live stitches and a cast-off, abandoned ribbing.
I then lined up the new ribbing section and the old sweater body, took a needle, collected several adult beverages and gathered my courage before grafting the 200 stitches together. This took approximately four days (many adult beverages!), and Kate Atherley's excellent post about grafting stockinette, reverse stockinette and cables.
Step 5: off to recovery
Sweater was reblocked and is now back with its owner, several inches longer then the original.
The only real scarring is in the cables - I didn't manage to line up the stitches perfectly, so there is a half-stitch disjointedness on each side. However...I'm pretty sure he will never notice, and it's not such a big deal that I'm willing to go back and redo the whole thing.
With that under my belt, I gaily sallied forth to treat Patient #2: my Whisper cardigan
The construction of the Whisper cardigan is pretty interesting. You first knit a shrug, then pick up stitches to knit a wide band of ribbing. A bunch of the ribbing stitches are cast off for the neckline, and the rest of the stitches become the back and sides of the finished sweater.
Sadly, somehow in my zealous fervor to get to the body, I managed to end up with a cast off neckline that was waaaay too tight. In steps my handy internal surgeon, yet again. This time, since there was no adding of length to be done, we started straight off with Step 2: prepping the patient:
Tiny needle, picking up all the ribbing stitches along the neckline.
Step 3: Incision, or in this case, the ripping/picking out of the cast off stitches.
Step 4: Suturing, aka binding off again, this time with Jeny's SSBO.
Step 5: all better!
Collar lays flat, no riding up or binding, looks much better.
And I desperately need a haircut. Better get that done before Saturday!